
Once you get into making your own personal products, you may notice how many oils are used in different recipes. If purchasing hundreds of dollars worth of essential oils is not your thing, you can get some of the same benefits from plants and flowers you have grown by preparing herbal oil infusions with them.
Take that rosemary plant on your back porch for instance – if you make an herbal infusion with it you can use that oil to make your homemade lotion, body wash, or facial cleanser, and you won’t have to add expensive essential oils if you don’t want to. You might also use a rosemary infused olive oil as a base for an impressive homemade salad dressing or in other savory dishes.
Tips for Making an Herbal Infused Oil
Choose Your Method
There are several methods for making herbal oils, most requiring a great deal of time to make. For example, the solar infusion method requires very little hands on time, but two or more weeks to make! I’m very impatient with DIY projects – once I decide to make something, I want to make it RIGHT NOW, and I don’t like to wait very long. With a hot infusion method, you can have an oil infusion in a few hours.
I prefer to use a slow cooker with a “warm” setting (like this one), which prevents the oils and herbs from getting too hot and cooking. The lower the heat and the slower the infusion, the stronger your herbal oil will be. If your slow cooker only has a “low” setting, you can still use this method, but you’ll need to check the temperature frequently, turning your slow cooker off and back on to regulate the heat.
Determine Your Purpose
Before making your herbal infused oil, you’ll want to have some idea of the ways you’ll be using your oil. Do you want to use it for homemade healing salve? DIY hair treatments? Natural baby care items? Gourmet cooking? Knowing this ahead of time will be helpful in determining which oils and herbs you want to use.
Choose Your Oil and Herbs
If your finished oil will be used for culinary purposes or in herbal salves, a high quality olive oil may be your best choice. Extra virgin olive oil is more stable and doesn’t go rancid as quickly as most other oils. (Find high quality extra virgin olive oil here.) However, if using your finished oil in beauty products, jojoba oil, sweet almond oil, or coconut oil may be wonderful choices. (Find high quality carrier oils for beauty products here.)
Most flowers or herbs can be used for infused oil, but be sure you know a little something about the herb you choose. Some herbs can be used for their healing qualities, while others may be chosen for their pleasant aroma.
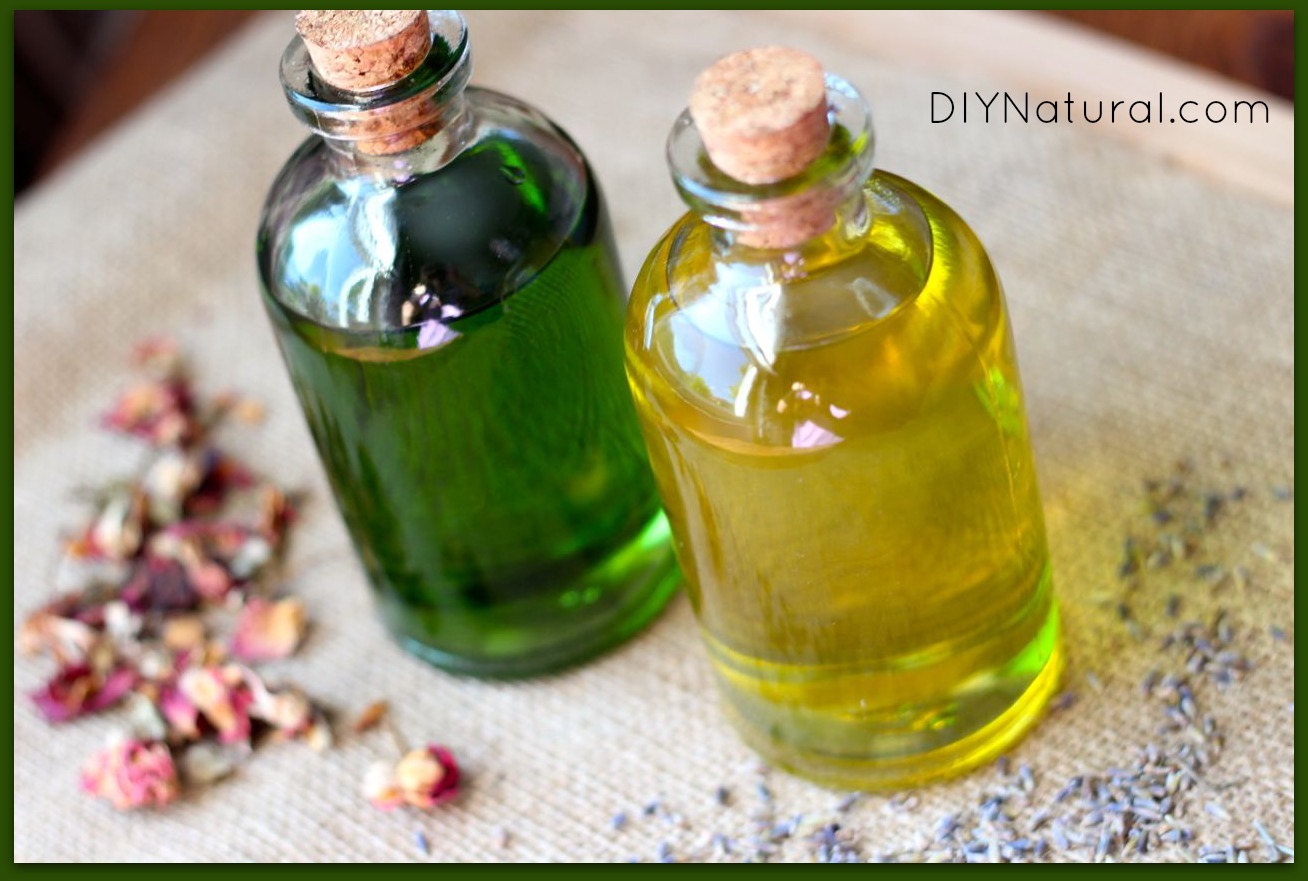
I prefer to use dried herbs and flowers because fresh herbs contain water that can cause mold growth and spoilage of your finished oil. Grow your own or purchase organic dried herbs so you don’t end up with pesticides in your herbal oil. (Find organic herbs and dried flowers here.) Some of my favorite herbal infused oils to make are lavender, rose, and rosemary, but choose whatever you like based on scent and/or beneficial properties.
Slow Cooker Method for Herbal Infusions
1. Place a hand towel in the bottom of your slow cooker. This serves to keep the direct heat off jars and promote more even heat distribution, as well as cushioning jars from bumping the pot which could cause chips and breakage. Fill slow cooker about half way with water. Turn slow cooker on “warm” setting to preheat.
2. Prepare herbs by gently rubbing between your palms before adding to a glass mason jar. Fill jars 1/3 – 1/2 of the way with herbs, then cover with oil, leaving at least one inch of headspace in your jars. Stir the herb/oil mixture in each of your jars to cover herbs with oil and release any air bubbles.
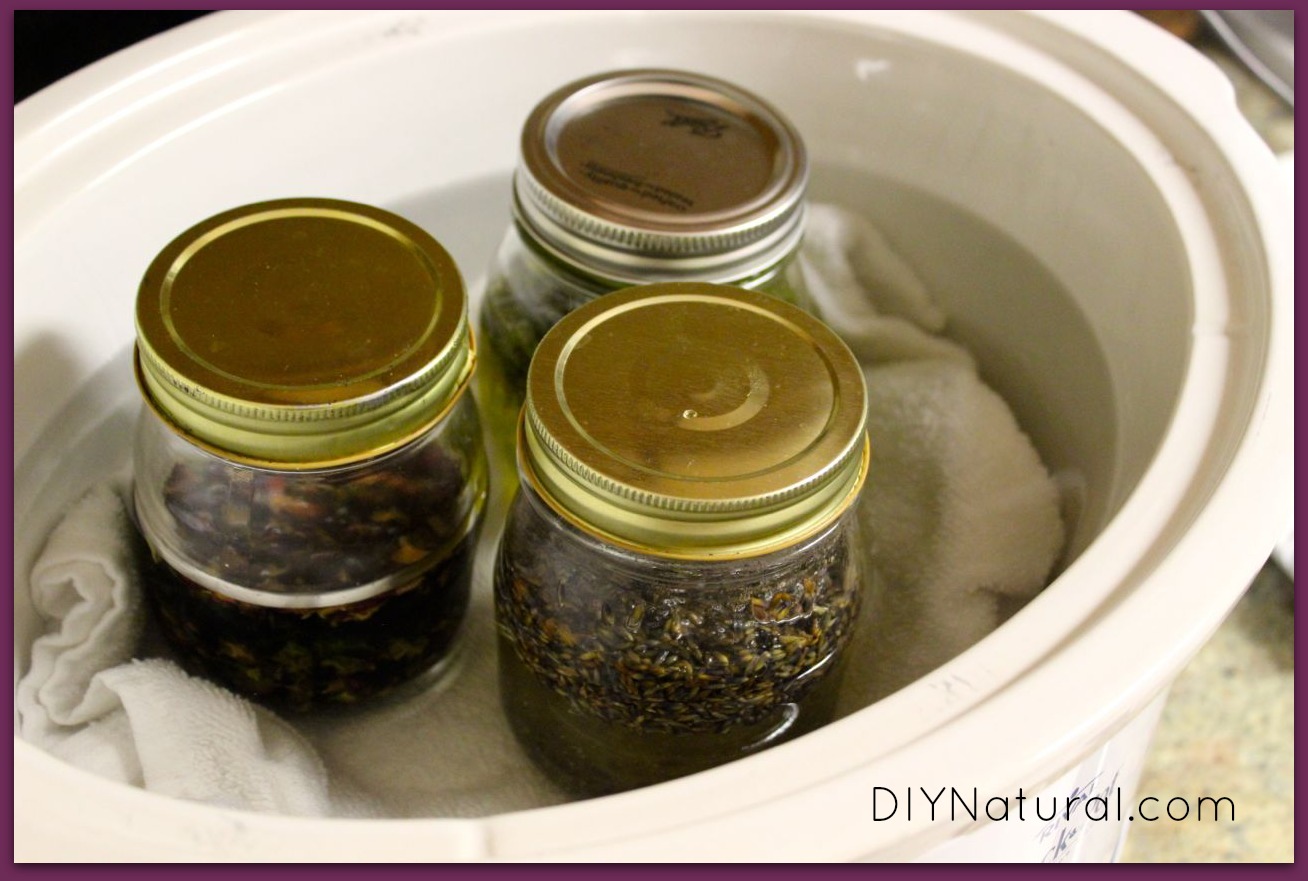
3. Cap jars and place into slow cooker on top of the towel. Allow oils to infuse for 8-12 hours on your slow cooker’s lowest setting. Temperature should remain between 100° – 120°. You may want to check the temperature every few hours, turning off the slow cooker for a bit if needed. Stir or gently shake jars a few times during the infusion process. (Hint: If you have a dehydrator with temperature controls or a yogurt maker, you can also use these appliances to infuse your oil.)
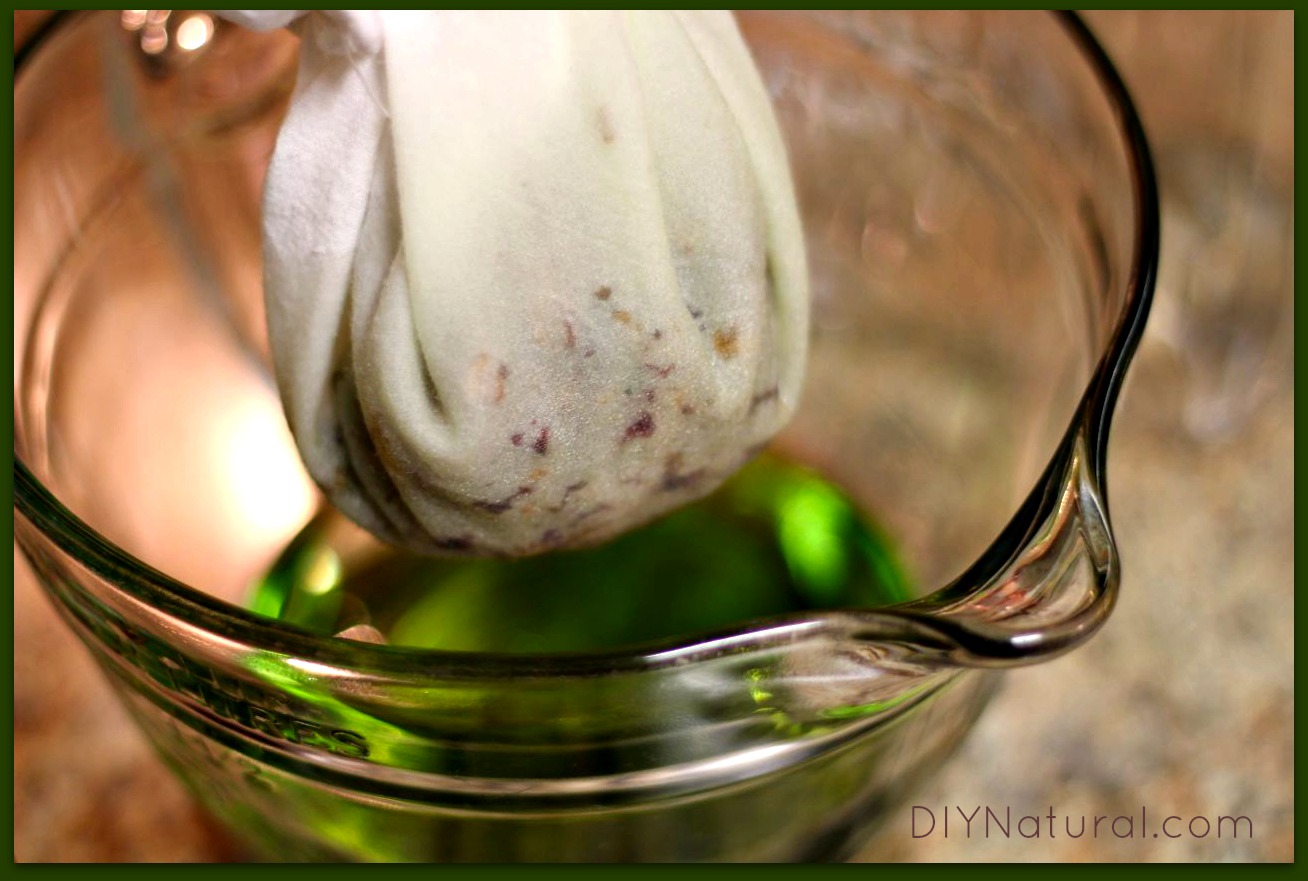
4. Once herbs have been infused, turn off slow cooker and allow to cool to room temp. Strain herbs/flowers out using a tea towel or several layers of unbleached cheesecloth. Compost or discard the spent herbs.
5. Transfer your infused oils to clean glass jars or bottles and cap tightly. (Find glass bottles here.) Label your jar with 1) the type of oil used, 2) herb it was infused with, and 3) date. Protect your herbal oils from heat and light by storing in a cool, dark place. Your oils may last a year or more if stored properly.

Using your Herbal Oil
There are many ways you can use your new, fragrant herbal oils. Try some of the following:
- add several tablespoons to a warm bath for softened skin and delightful aroma
- use as massage oil or baby oil
- add to your homemade lotion or spray-on moisturizer
- use alone as moisturizer
- use in wound salves and herbal ointments
- include it in homemade lip balms
- use in your homemade insect repellent
- add a little to your homemade body wash
- and don’t forget to use them in your cooking too!
Having your own herbal infused oils to play with is just too much fun. Keep them for your own projects, or give them away as gifts to friends and family who love a little DIY experimentation.
How would you use your own herbal oils?
*******


love this idea amazing
How did the rose oil turn green?
The oil infused with rose petals started out green – it’s grapeseed oil.
Hello, I love your ideas and recipes. I was wondering however if you ever worked with the juice/oil from the roasted red pepper. I roast my pepper until it starts to oooze that delicious oil/juice. I always put in a jar and throw it in the fridge. I was wondering if I should be more aware of things like mold etc… Is there something I should be doing to this juice to preserve it longer? Can I also use it to infuse with other things? Please advise. Thank you.
Hmmm…not sure about any of this Sheila. Roasted red pepper juice would be different than the types of oils I’m referring to in this article – different extraction processes and properties. I have not worked with roasted red pepper oil so I really can’t offer any advice.
I absolutely love your site! I have tried many of your projects and have loved the results 🙂 Look forward to trying this one!
Clearly laid out and very understandable. I appreciate all the links for supplies.