
A healthy veggie chips recipe! When I realized I could make my own chips at home, I was sold. My own ingredients. My own oil and salt. Chips can be healthy!
There is something about a crunchy and salty snack that satisfies that snack craving like nothing else.
But it can be hard to find healthy snacks that fit that salty and crunchy category. And when you do find them, they can be pricey, particularly if you’re seriously addicted to that salty crunch like I am.
When I realized that I could make my own chips at home, I was sold.
I mean, my own ingredients. My own amount of oil and salt.
Chips could be healthy!
And not just potato chips – I could make my chips even healthier by using other nutrient-rich veggies for my chips as well!
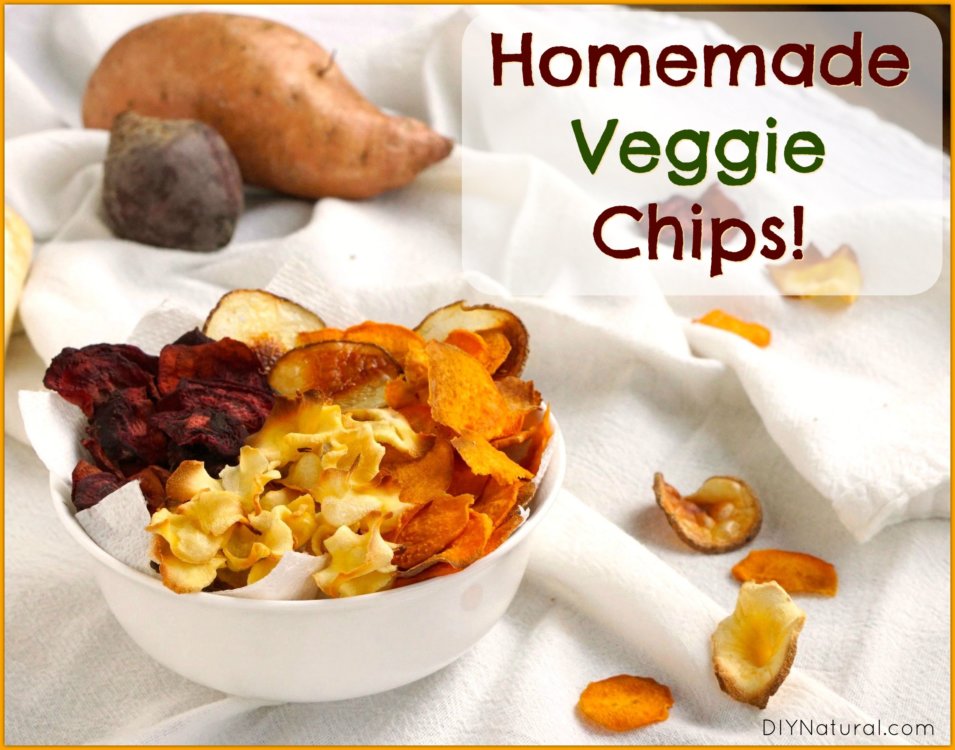
Homemade Veggie Chips Recipe
I’ve tried a lot of recipes for making homemade chips, and honestly, many of them have ended up in burnt chips or chips that just won’t crisp.
That’s why this recipe does two things a bit different:
- By placing your salted vegetable slices on a paper towel to sweat for 15 minutes before baking, you draw some of the moisture from the vegetable before it goes into the oven. This way, the vegetable slices start off with less moisture that needs to be baked out.
- By allowing chips to cool slightly between baking times, you can really tell which chips have crisped and which have not. This also keeps the chips from burning because they get too hot.
Sure, this process is a bit more labor intensive than setting the timer and forgetting about them, but I’ve found that this way, I don’t end up with a bunch of chips that are dark and inedible.
Seasoning Homemade Veggie Chips
One of the fun things about this homemade veggie chips recipe is that you can flavor your chips however you like.
Here are some great options:
- Cinnamon sugar
- Chinese five spice powder (for a warm sweetness)
- Cajun seasoning or chili powder
- Homemade ranch seasoning
- Curry powder
- Cumin
Feel free to get creative!
Making Chips With Other Veggies
The other great thing about this veggie chips recipe is that you can use whatever vegetable you have on hand.
The recipe below is great for using with any type of root vegetable:
- Carrots
- Rutabega
- Taro and Yucca root – these have a fun potato-like flavor and crunch
- Potatoes
Storing Your Homemade Chips
Homemade baked chips really are best if eaten the same day they are made.
If you’d like to make a big batch and store them, I typically keep them in a brown paper bag or in an uncovered bowl.
When your baked chips are stored in an air-tight container, you have to make sure your chips are very dry. If just one chip has a little residual moisture, it will start to soften the whole batch of chips. Resulting in sad, un-crisp chips.
If your chips do get soft overnight, don’t worry. Just 5-10 minutes in a warm oven is typically all they need to crisp up again.

Baked Veggie Chips Recipe
Prep
Cook
Total
Yield 4 servings
Ingredients
- 1 large parsnip, peeled
- 1 large sweet potato, peeled
- 2 large purple or golden beets, peeled
- sea salt (find unrefined sea salt here)
- olive oil (melted coconut oil or ghee can also be used)
- seasoning of choice, optional
Instructions
- Slice the veggies 1/16th inch thick using a mandolin slicer or a sharp knife.
- Toss the slices with a sprinkling of sea salt. (I like to keep the different veggies separate at this point so the beets don’t stain everything.) Place the salted vegetable slices on a paper towel-lined platter in a single layer. Let the slices stand for 15-20 minutes, then blot them dry with additional paper towels.
- Preheat your oven to 375°F. Position your oven racks in the upper and lower third of your oven.
- Toss the vegetables with a drizzle of oil, until lightly coated.
- Place the vegetables in a single layer on parchment-lined baking sheets.
- Bake for 25 minutes, checking after 15 minutes and after 20 minutes, and removing any smaller chips that look dry and crisp.
- Remove the chips from the oven and let them cool for 5-10 minutes on the baking sheet.
- Once the chips have cooled slightly, remove any crispy chips from the baking sheet, and return the baking sheet to the oven with the remaining, not-yet-crisp chips. Bake for 5 more minutes.
- Again, cool the chips for for 5-10 minutes. Remove any crisped chips. Then return the baking sheet to the oven for 5 minutes.
- Continue this process until all the chips are baked to your liking.
- Once the chips are crisp, sprinkle them with additional sea salt (if necessary) or your seasoning of choice.
- Repeat with any remaining vegetable slices.
Chips are best when eaten the day they are made, but they will stay good for 1-2 days on the counter. (You do not need to put them in an air-tight container.)
*******


