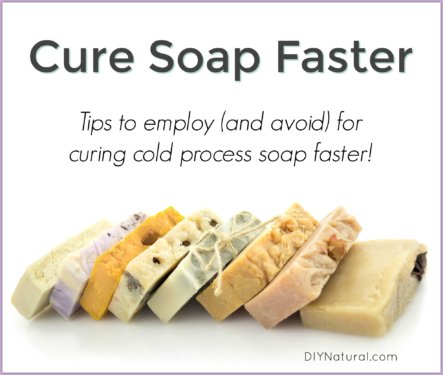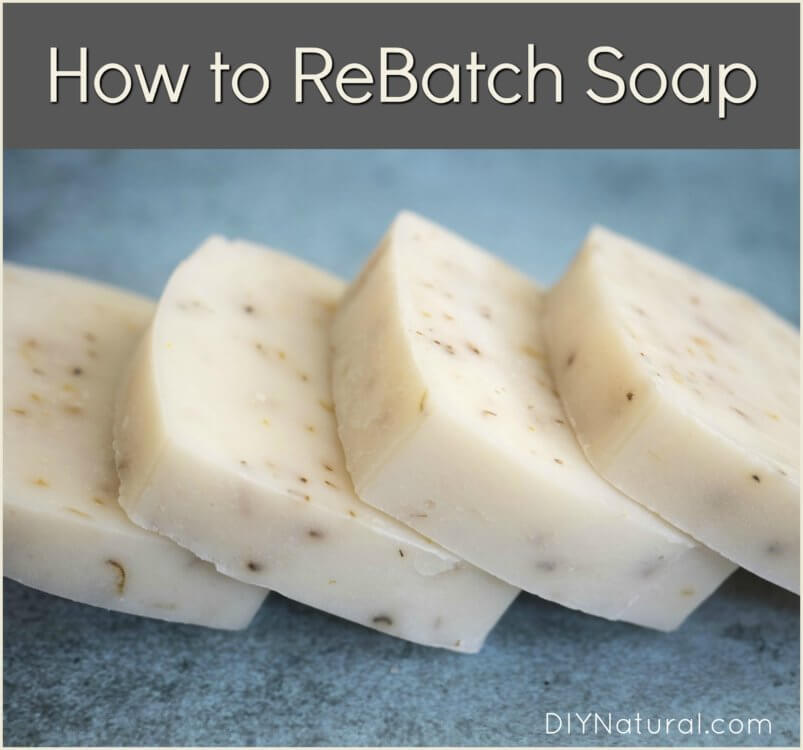

Rebatching soap is the simple process of fixing a failed batch. Anyone making a lot of natural homemade soap has a failed batch sooner or later. Now we can fix it!
Back in the days before stick blenders, mixing was a problem, leaving the soap in layers of grease and lye. There was no saving these, they had to be thrown out.
Now that mixing isn’t much of a problem, there are still some things that can go wrong. Miscalculating, bad ingredients, old lye – any of these could cause trouble.
Fortunately, rebatching your failed batch of soap is a simple process.
Determining the Problem
Before rebatching soap, you’ll need to determine exactly what went wrong with your soap.
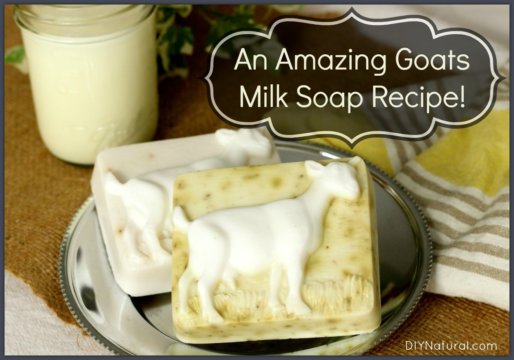
Recently I made several batches of goat’s milk soap for a friend. Four of the batches turned out well, but one was very soft. I knew I’d used the right amount of lye and my lye wasn’t old, so the culprit had to be mis-measured oil. Sure enough, when I dissolved some of the fresh soap in some hot water, I got a pool of oil floating on the top. This is a tell-tale sign of too much fat.
Other problems could include:
- Too much botanical material – This doesn’t leave enough soap between the herbs to stick together.
- Crumbly soap – Most commonly this is because it wasn’t mixed long enough, or it was made at a temperature that was too low or too high.
- A batch that has “seized” or become a solid chunk very quickly – This is usually because of the addition of something that soaks up the oil quickly, like clay, or an essential or fragrance oil that contains either alcohol or another chemical that makes the soap harden quickly. Sandalwood essential oil has always given me problems, as have larger amounts of cinnamon and clove. (I even have one fragrance oil that works great in melt and pour soap, but seizes up in cold process soap.)
Break Down the Soap
Once you’ve determined that the problem with the soap isn’t too much lye, which is one of the only problems that can’t be fixed, you’ll need to break down the soap.
If the soap is solid, you can use a box grater (like this) to make shredded soap that is easy to work with. If your soap is crumbly, you can just crumble it all into a bowl. If it’s soft, you may just need to cook it down, which is the next step.
You can break down soap before or after the cure time is done, but I prefer to do it after. Note: If you are breaking down fresh soap that hasn’t cured, you’ll need to wear gloves since there will still be active lye present. After it’s cured, this isn’t a problem.
Rebatching Soap
There are two methods of rebatching soap: the oven method and the slow cooker method. Remember that your soap may contain more or less water at any given time, so you may need more or less water while rebatching. You’ll need to experiment to find out the exact amount you’ll need.
1. Oven Method
Ingredients & Supplies
- glass baking dish with cover (foil is NOT recommended because it can react with the alkalinity of the soap)
- ¼ cup distilled water
- optional, additional ingredients
- soap molds
Process
- Weigh your soap, then add to the glass baking dish.
- Add water to the soap.
- Cover and bake at 200°F for 30 minutes. Stir, then bake another 30 minutes.
- Remove from oven and add any additional ingredients you wish.
- Spoon into molds. Soap will be chunky and hot!
- Cool and remove from mold(s).
- Cure for 3 weeks or so if you used fresh soap. If it was already cured, you can use the soap as soon as it hardens.
Notes
With the additional amount of water, your soap could end up sticky and hard to remove from molds. I use silicone molds so it peels out easily, but you can also freeze the soap for 20 minutes or so for easier removal. Be careful when removing it as it can be slippery.
Once it’s hard, you can wrap it the way you like. This soap is easier to color and will keep its scent longer.
If the soap you are rebatching is too soft (like the goat’s milk soap I made), you may need to add harder soap to bind it. Cooking it down alone may not be enough to harden it. I cooked mine down to a very soft state and used it for a facial soap. I transferred it to containers and just scooped out what I needed.
2. Slow Cooker Method
You can use the same basic recipe for rebatching soap in a slow cooker. This method is recommended for larger batches, since most slow cookers heat on the sides, not the bottom.
Process
- Add ¼ cup of water per pound of soap.
- Turn the slow cooker on high to get it heated up, then down to low for the cook. Depending on your slow cooker you may want to use a medium setting. Some heat hotter than others. If it looks like it’s scorching on the sides, turn it down.
- You can cover the crock pot or not, but you’ll want to keep an eye on it.
- Stir occasionally, but not too much. Too much stirring will create a lot of foam.
- When the noodles or soap cubes start to look translucent, cook just a bit longer and then add any extra ingredients and mold as instructed above.
Notes
This soap doesn’t have the fluidity that cold process soap does, so small intricate molds are not recommended. I use a silicone cake pan (on a cookie sheet for stability) and cut it into smaller pieces after un-molding. I like the cobblestone look to this soap, which is more rustic and less perfect. You can also use different colored noodles or cubes for a confetti look.
Rebatched soap can be used like any other soap, but may be softer and won’t last as long.
Once in a while I miscalculate the water amount and end up with a semi-liquid soap. If that happens, you can use it for laundry soap. Use ¼ cup per load or less. I use around a tablespoon and it works great!
Have you ever tried rebatching soap? If so, tell us about your experiences!
*******