If you have a lot of extra plastic bags then this pumpkin craft is perfect for you. Recycle old plastic bags into reusable fall decorations.
Generally, I never have plastic bags laying around. I love my large reusable grocery totes because they save me time carrying things in and out of my car. Plus there is no waste!
However, over the last six months, I have been doing a lot of grocery pick-ups which means that I am stuck with LOTS of plastic bags. They have been taking over my closet, and no matter what I do, they seem to be spilling out everywhere.
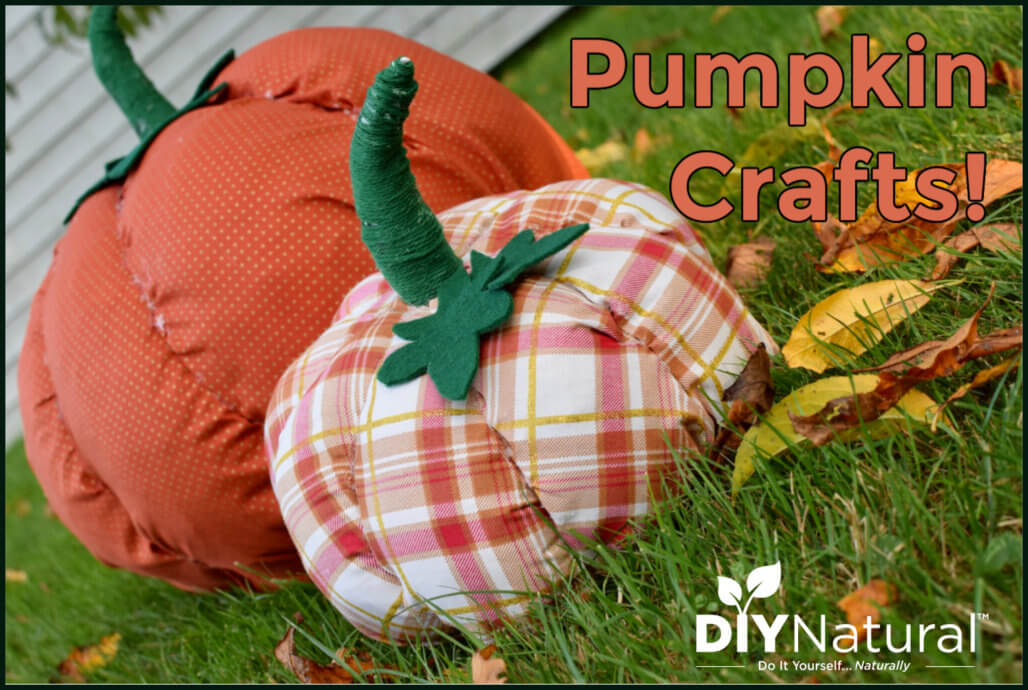
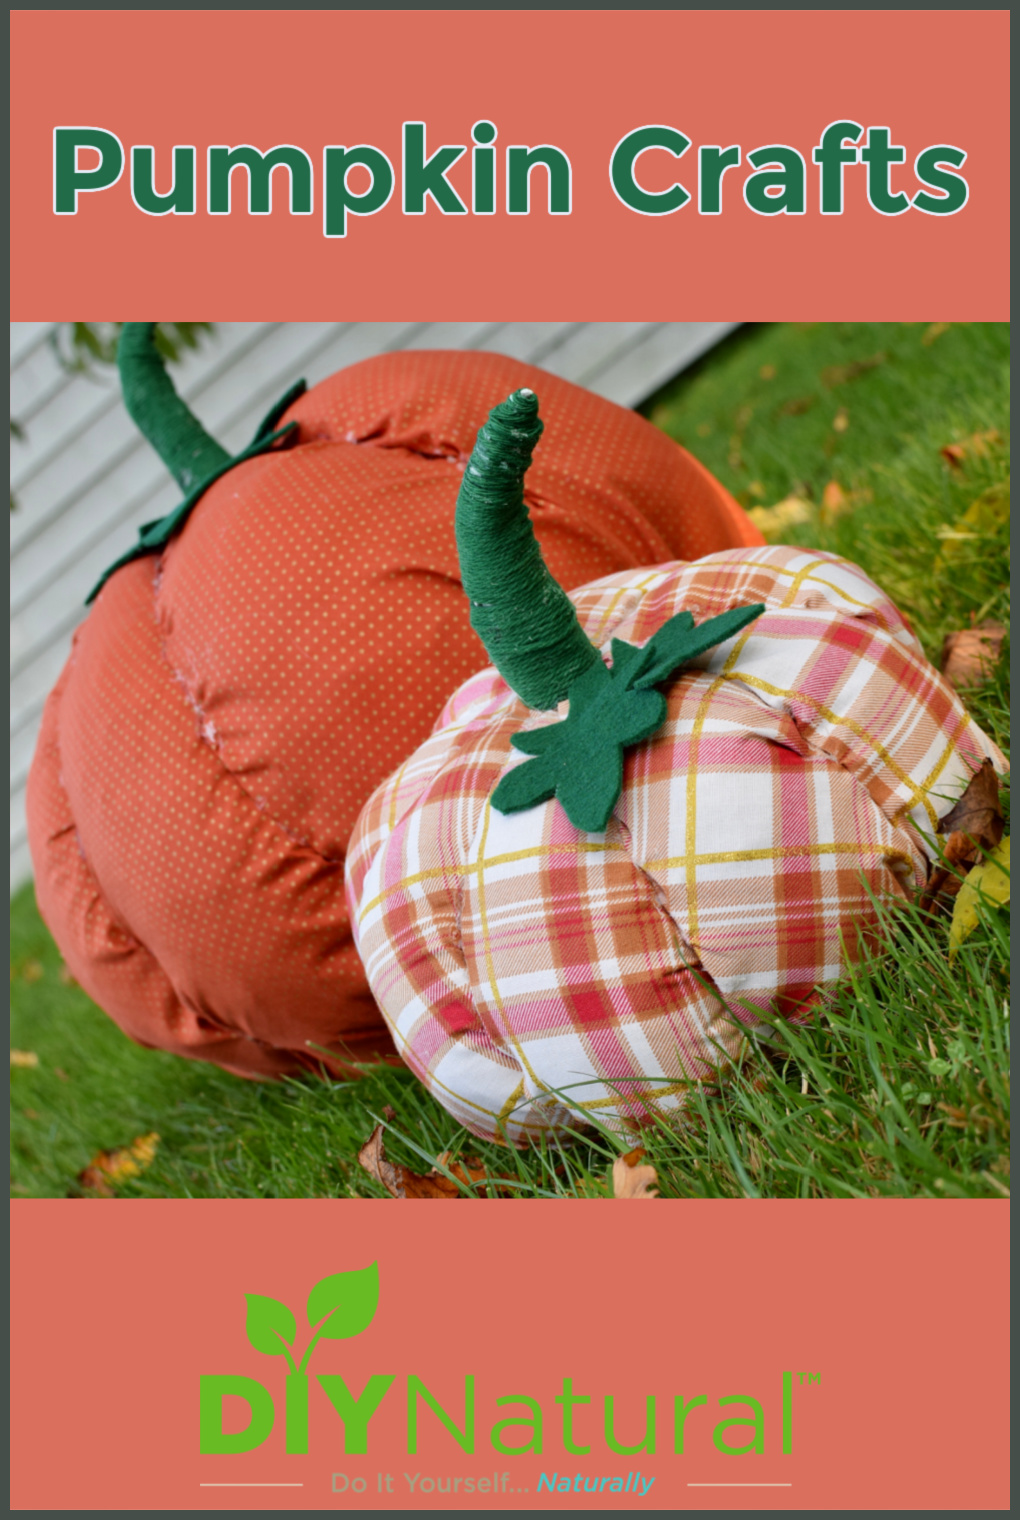
I wanted to recycle them into something reusable, and since fall is coming up, pumpkins came to mind! Plastic bags are so versatile and can be made into pretty much any shape, which makes this DIY pretty simple.
They turned out better than expected, which says a lot because I am not the “prettiest” crafter. I love cute home decor ideas, but am a simple girl at heart. Luckily, these plastic bag pumpkins are very forgiving.
Just remember to have fun and be creative!
Pumpkin Crafts: DIY Plastic Bag Pumpkins
Materials
- Plastic bags (40-60, depending on what size you want to make your pumpkins and how many you want to make).
- Fabric (any fall prints or colors will do!)
- Rubber bands or string
- Hot glue gun
- Green yarn
- Green felt
- Tape
Instructions
Making the pumpkin:
- Begin by stuffing a grocery bag full of other plastic grocery bags. Using the handles, tie at the top to secure.
- Place rubber bands (or string) around the pumpkin to divide it into 8 equal sections (4 rubber bands).
- Check the shape of your pumpkin and make sure it is symmetrical, evenly round, and pumpkin shaped. If not, then shape it accordingly by gently pressing on the plastic bags or by moving the rubber bands carefully.
- Next, measure fabric around your pumpkin. You will want a fair amount of fabric, with a bit of give to it. Cut your fabric if necessary.
- Wrap your pumpkin in the fabric by placing it in the center, then securing each corner to the top by using the hot glue gun. Bring the rest of the loose fabric to the top so that nothing is flapping or hanging down (you might have to pull a little to get things to be secure.
- Once the hot glue is dry, place that side down on the ground. This will be the bottom of your pumpkin.
- Taking four more rubber bands, divide the pumpkin once again into 8 equal sections. If you can feel them, use the existing rubber bands below the fabric as a guide. If not, don’t worry!
- Once you have eight sections, begin to cover up the rubber bands by pulling fabric gently over the rubber band and gluing the fabric in place with the hot glue gun.
- Repeat this until all the rubber bands are covered by the fabric. If you don’t want to spend the time gluing, you could also use ribbon to hide the rubber bands.
Making the stem and leaves:
- To shape the stem, grab one or two plastic bags and twist them tightly, with more at one end until it resembles a pumpkin stem.
- Secure the shape by wrapping tape around the plastic bag. Make sure to wrap tightly, especially to form the point at the end.
- Next, wrap yarn or ribbon around the stem until the tape is fully covered.
- Secure to the top of the fabric pumpkin with hot glue.
- To make the leaves, trace pumpkin leaf shapes onto felt and cut. I googled an image of pumpkin leaves to help me get the right shape.
- Secure to the fabric pumpkin with hot glue.
What are your favorite pumpkin crafts? And do you have other uses for excess plastic bags?
Tip: check out our other pumpkin-related articles.
*******