It’s pretty easy to fire clay pottery without a kiln. Pit firing pottery is the simplest way but you can also make a homemade DIY kiln.
Note: follow this link for more homesteading articles and ideas.
I’ve always wanted to make my own pottery, but kilns are so expensive. And they are a huge drain on utility bills. Is there a way to fire pottery without a kiln? Yep, there sure is. Let’s learn how to fire clay without a kiln!
Pit Firing Pottery: Method 1
Many years ago, when this land was first being settled, Native Americans made their own tools and cooking vessels. Clay is readily available in many areas, mine included. And clay can be fired so that it doesn’t break down when it gets wet.
Later, glazing and other decorations came into play, but today we’re just dealing with firing the clay.
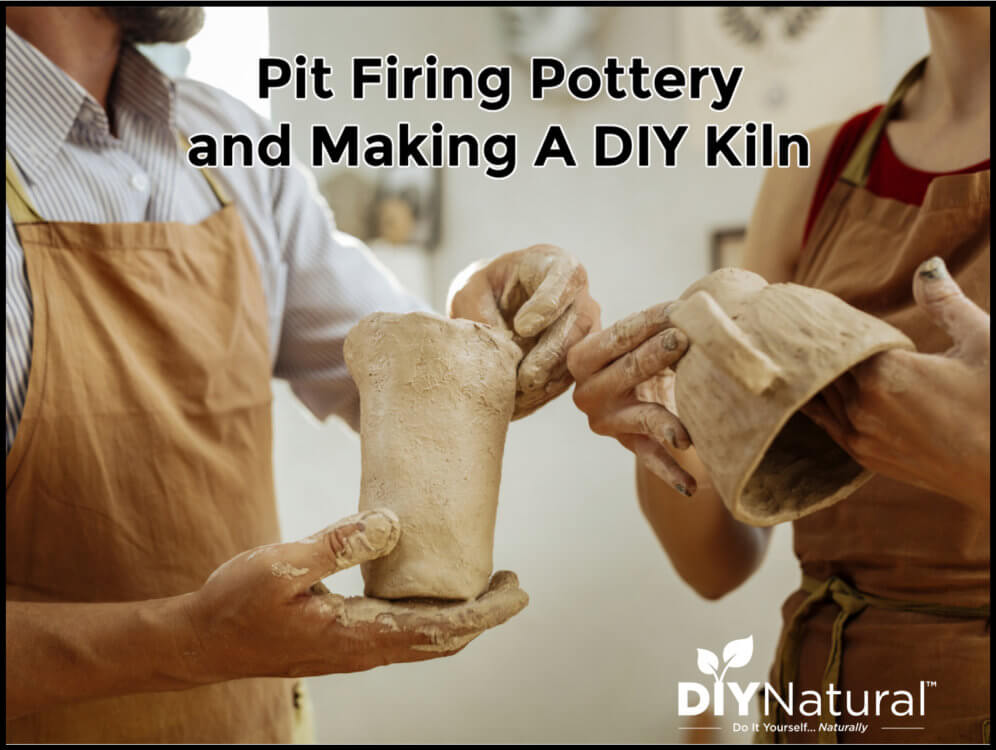
Forming Vessels
Clay mugs, bowls, and pots can easily be made without a wheel. Just be sure they are thick enough to stand up to use when you make them. If they are too thin, they can crack during the process. Using a bowl as an example, after it is made, allow it to air dry for a week or so. This ensures that there is no moisture inside the clay that can cause problems.
Firing
Once the clay is completely dry it’s time to pit fire the pottery. I’ve used my fire pit with good success but you can dig a pit if you want to. Place your vessels in the center of the pit, making sure they don’t touch. Pack your pit with enough sawdust to cover at least half of your vessels. Be sure you get sawdust inside the vessel as well. You can lay vessels on their side, bottom, or top, just make sure to surround with sawdust. Next, build a fire with newspaper, kindling, and medium-sized logs on top of your vessels, and light! Let the fire burn out and allow vessels to cool until they’re cool to the touch. Lastly, rinse off your vessels well and allow them to dry. They are now ready to use!
There may be some discoloration from the different temperatures within the fire. This only adds to the beauty. If you choose to paint your bowl, be sure to use a food-safe paint.
DIY Kiln: Method 2
Not into pit firing pottery? You can easily make a homemade kiln, or something close to it.
Equipment
- Two large clay pots, unglazed
- Sawdust (the large bales from garden supply places are perfect_
- Coal, hard lump charcoal if possible, regular charcoal if not
- Tongs for lifting pots
- Fireproof gloves
- Clay projects
- Time!
Instructions
- Like pit firing pottery, your DIY kiln will need a heat source. Charcoal! Start by igniting your coal in one clay pot. Wait until it is ash-covered on the surface, which is when the coals are the hottest.
- While you are waiting, assemble the second pot. Put a layer of sawdust in the bottom. This is to insulate the pot from the heat. I use a layer of sawdust 6-8 inches deep. Then place your projects on the sawdust, making sure there is space between each one. If you have something with a hole in it or that is recessed, fill the hole with sawdust. For example, if you have a bowl, place sawdust inside of the bowl.
- Next, cover all of the pieces with another layer of sawdust. I make this layer about 6-8 inches too. This helps to insulate your pieces from direct heat.
- Once you have all of this assembled, it’s time to fire! Ok, there won’t be any fire. You’ll be providing the heat source in a different way. Carefully lift the clay pot with the coal in it, using the tongs, into the pot with the clay items in it. The pot with the coal will rest on top of the sawdust.
- Let it sit for several hours. After a few hours, remove the top pot and check your pieces. They will most likely be black due to the lack of oxygen. They can be painted over later. If they are dark and very hard, they can be cooled. If they are not place them back in the kiln with sawdust, add more coal, and fire longer.
- When the pieces are hard enough, allow the coal to burn out and cool down completely. Like pit firing pottery, the DIY kiln cool-down period is necessary to help any remaining moisture in the clay to work it’s way out. Removing them too fast can result in cracks.
- Once they are fully cool, you can dust them off and use them as they are or paint them as you wish.
Finishing With a DIY Raku Kiln
If you are feeling really creative, you can make something like a raku. Take a clay pot and fill it with crumpled newspaper. Only use the blank and white paper, not the glossy, colored ads. When your pieces are hot from the DIY kiln, carefully take them out and place them in the newspaper. Cover them well with more newspapers and leave them to cool. The newspaper and ink, most are soy-based, will create interesting colors. After the pieces are cool, you can glaze them with clear acrylic.
This method works especially well with clay jewelry pieces. You can make the clay into anything you want and fire it the same day! Avoid anything very dense, like a ball, as the moisture may not fully escape, or if it does, it may explode in the pot. This is rare, but it can happen.
Pit Firing and DIY Kiln Safety
Be sure to only do this outside. Coal can create carbon monoxide which can be dangerous outside. And these methods heat up to very high temperatures, so be sure to do it on a gravel or concrete surface to avoid fires. I keep my garden hose nearby just in case. And I never leave it unsupervised, Curious kids and pets could get burned.
And now you know how to fire clay without a kiln!
Have you ever tried pit firing pottery or making a DIY kiln? Share!
*******


Can you use glazes with these methods?