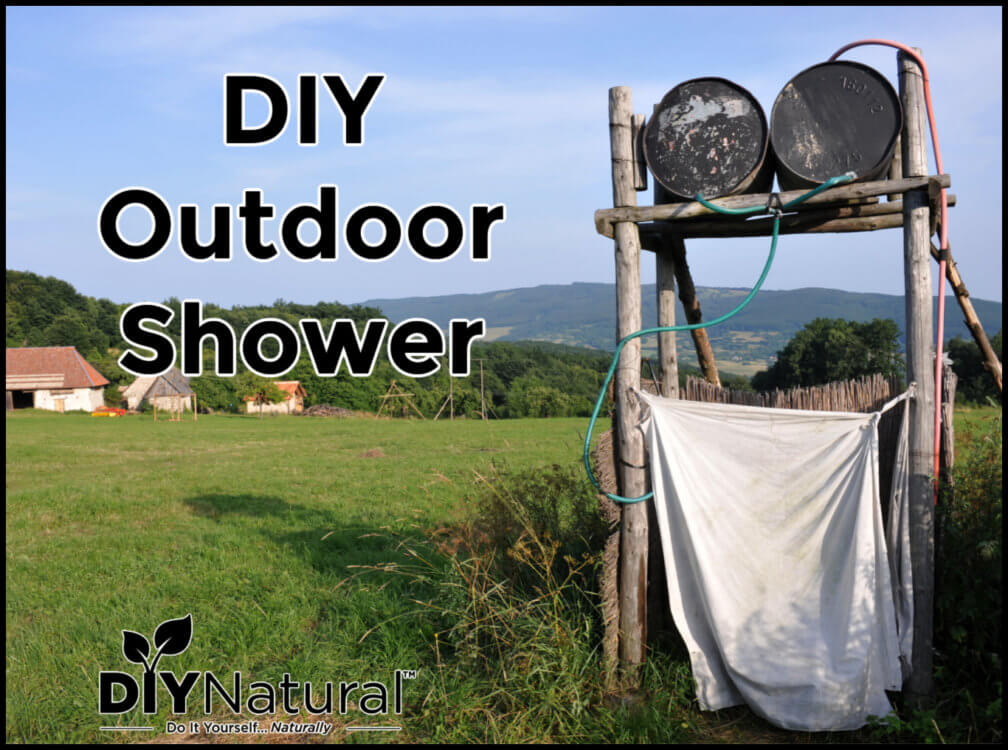
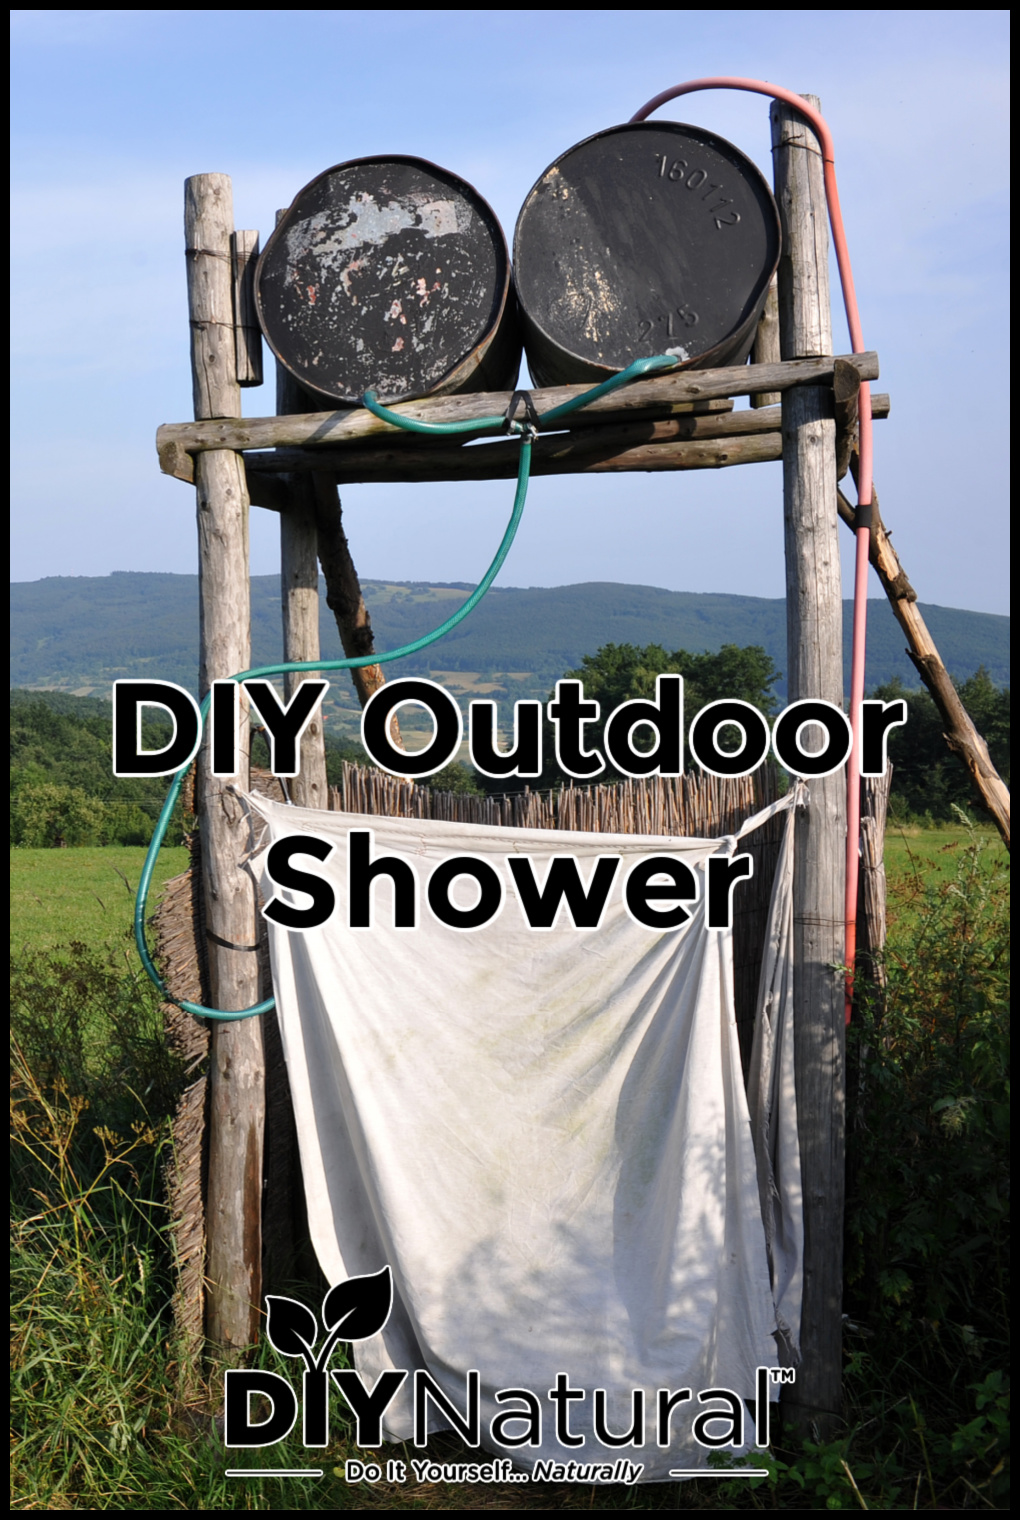
I think outdoor showers are a must on the farm and now that I finally own a home I am building a DIY outdoor shower on top of my goat shed!
Spring Has Sprung!
Yesterday was one of the first few nice days of spring. I spent the afternoon cleaning out the goat and chicken yards. Needless to say, I was a mess! I’ve always wanted an outdoor shower. But living in rental homes, I just couldn’t convince the owners that it was a great thing to do. Now I have my own home and I know just where to start.
Building a DIY Outdoor Shower
There a few things to consider when you plan an outdoor shower. Here are some things to think about:
- Drainage
- Line of sight
- Wind direction
- Water catchment device
- Color of water catchment
- Weight of water catchment
- The angle of the sun
- Obstructions
Drainage
Drainage is important. You can have moss for the floor (one of my favorites), or you can build a cage of sorts to contain small pebbles or wood chips. Over that, you may want a nonslip surface, like teak wood slats. I’m building my DIY outdoor shower with a slight incline so that the water drains into a holding area that will filter the greywater. Soap and shampoo in small amounts will not hurt the grass or other plants. Greywater, that water from dishes or washing machines, has been used for years as moisture for lawns.
Line of Sight
Line of sight means that you don’t want to put your DIY outdoor shower where the neighbors or passing cars can see you. I built a simple box like a phone booth and attached shower curtains to the sides, You could also put the shower on the backside of a house or barn.
Wind Direction
Wind direction is another thing to consider unless you have solid doors or walls. We have prevailing winds from the west and north, so I positioned my shower to face south.
Water Catchment Device
The water catchment device is probably going to be the biggest expense of a DIY outdoor shower. I chose a 5-gallon camp water jug, but you could go bigger if you want. I’ve seen some that use the 275 cage enclosed water containers, like for cattle or chemical use. There’s a place south of here that sells used detergent containers like that for $75. Quite a bargain for that much water. Mine is on top of my goat shed and uses a large funnel with a mesh filter in the spout. I collect quite a bit of rainwater this way.
Catchment Container Color
The color of the container is the most important thing. Most jugs are blue or natural and don’t heat well. The secret to hot water is to paint it black! Black absorbs heat better than any other color, but other good choices would be dark blue or dark green. Mine isn’t painted yet, but I have some hunter-green paint especially for plastic. This will help the paint to stick and not peel off as fast. The texture of the paint is important too. Choose matte or eggshell, as glossy paints will reflect the sun. If you don’t want to or can’t paint your DIY outdoor shower container, you could drape the container with a dark fabric. This can help to absorb the sun’s rays as well.
Weight of Catchment Container
One thing I didn’t think about at first was the weight of the container with water in it. Water weighs about 8 pounds per gallon, so a 5 gallons jug could weigh around 50 pounds. Not too bad, right? But, if you use one of the bigger containers, that could be 2,000 pounds, not including the container itself! You may need to build extra support for that. Or, you could leave it on the ground and have a small pump that lifts the water in a tube up to the shower point. There are smaller pond pumps that could fit into the container. Just be sure you have enough power to lift the water to the height that you want. Luckily, pond pumps are made for waterfalls and have the lift ratios printed right on the label.
Angle of Sun
The angle of the sun is important too. I placed my DIY outdoor shower to the south, so I have the sun coming from the east and west at all points. Facing it to the north could lead to cold water if the sun doesn’t hit it well. Consider the time of the year too. The angle of the sun will be different from spring to fall.
Algae can occur as the sun warms the water, so use some sort of algae-killing force. I sprinkle a few bleach crystals in the water once a month. They will kill any algae and then dissipate over time. Y’all know I hate bleach, but it has a purpose here and not a long-lasting one at that. Another option is a barley ball. This is a ball similar to a hamster ball that is filled with barley straw. As the straw decays, it produces enzymes that kill algae.
Obstructions
Looks for obstructions as you plan your shower. I had to remove a few bamboo poles as my grove is very close to where I wanted to put it. Look for trees, buildings, or even mountains. I live in a cove where the sun sets earlier because of the height of the mountains.
Draining Your DIY Outdoor Shower
One more thing to remember is to drain the tank in the fall. Freezing temperatures can cause the water to turn to ice and expand, possibly breaking your container. And leaves and sticks can collect over the winter, making it a mucky mess to clean out in the spring.
Do you want to make a DIY outdoor shower? Now you know how to do it!
*******


Pictures of your shower would have been nice to see.