
Lasagna Gardening
It has nothing to do with pasta – lasagna gardening is for anyone who wants a great garden!
When I first moved to the house I’m in now, I had visions of tilling up my back yard and putting in a garden. The natural clay and rock put an end to that – so I put in some raised beds and containers along with some straw bale gardens. And since I’m always ready to try something new, I’m also doing lasagna gardening.
What is a lasagna garden?
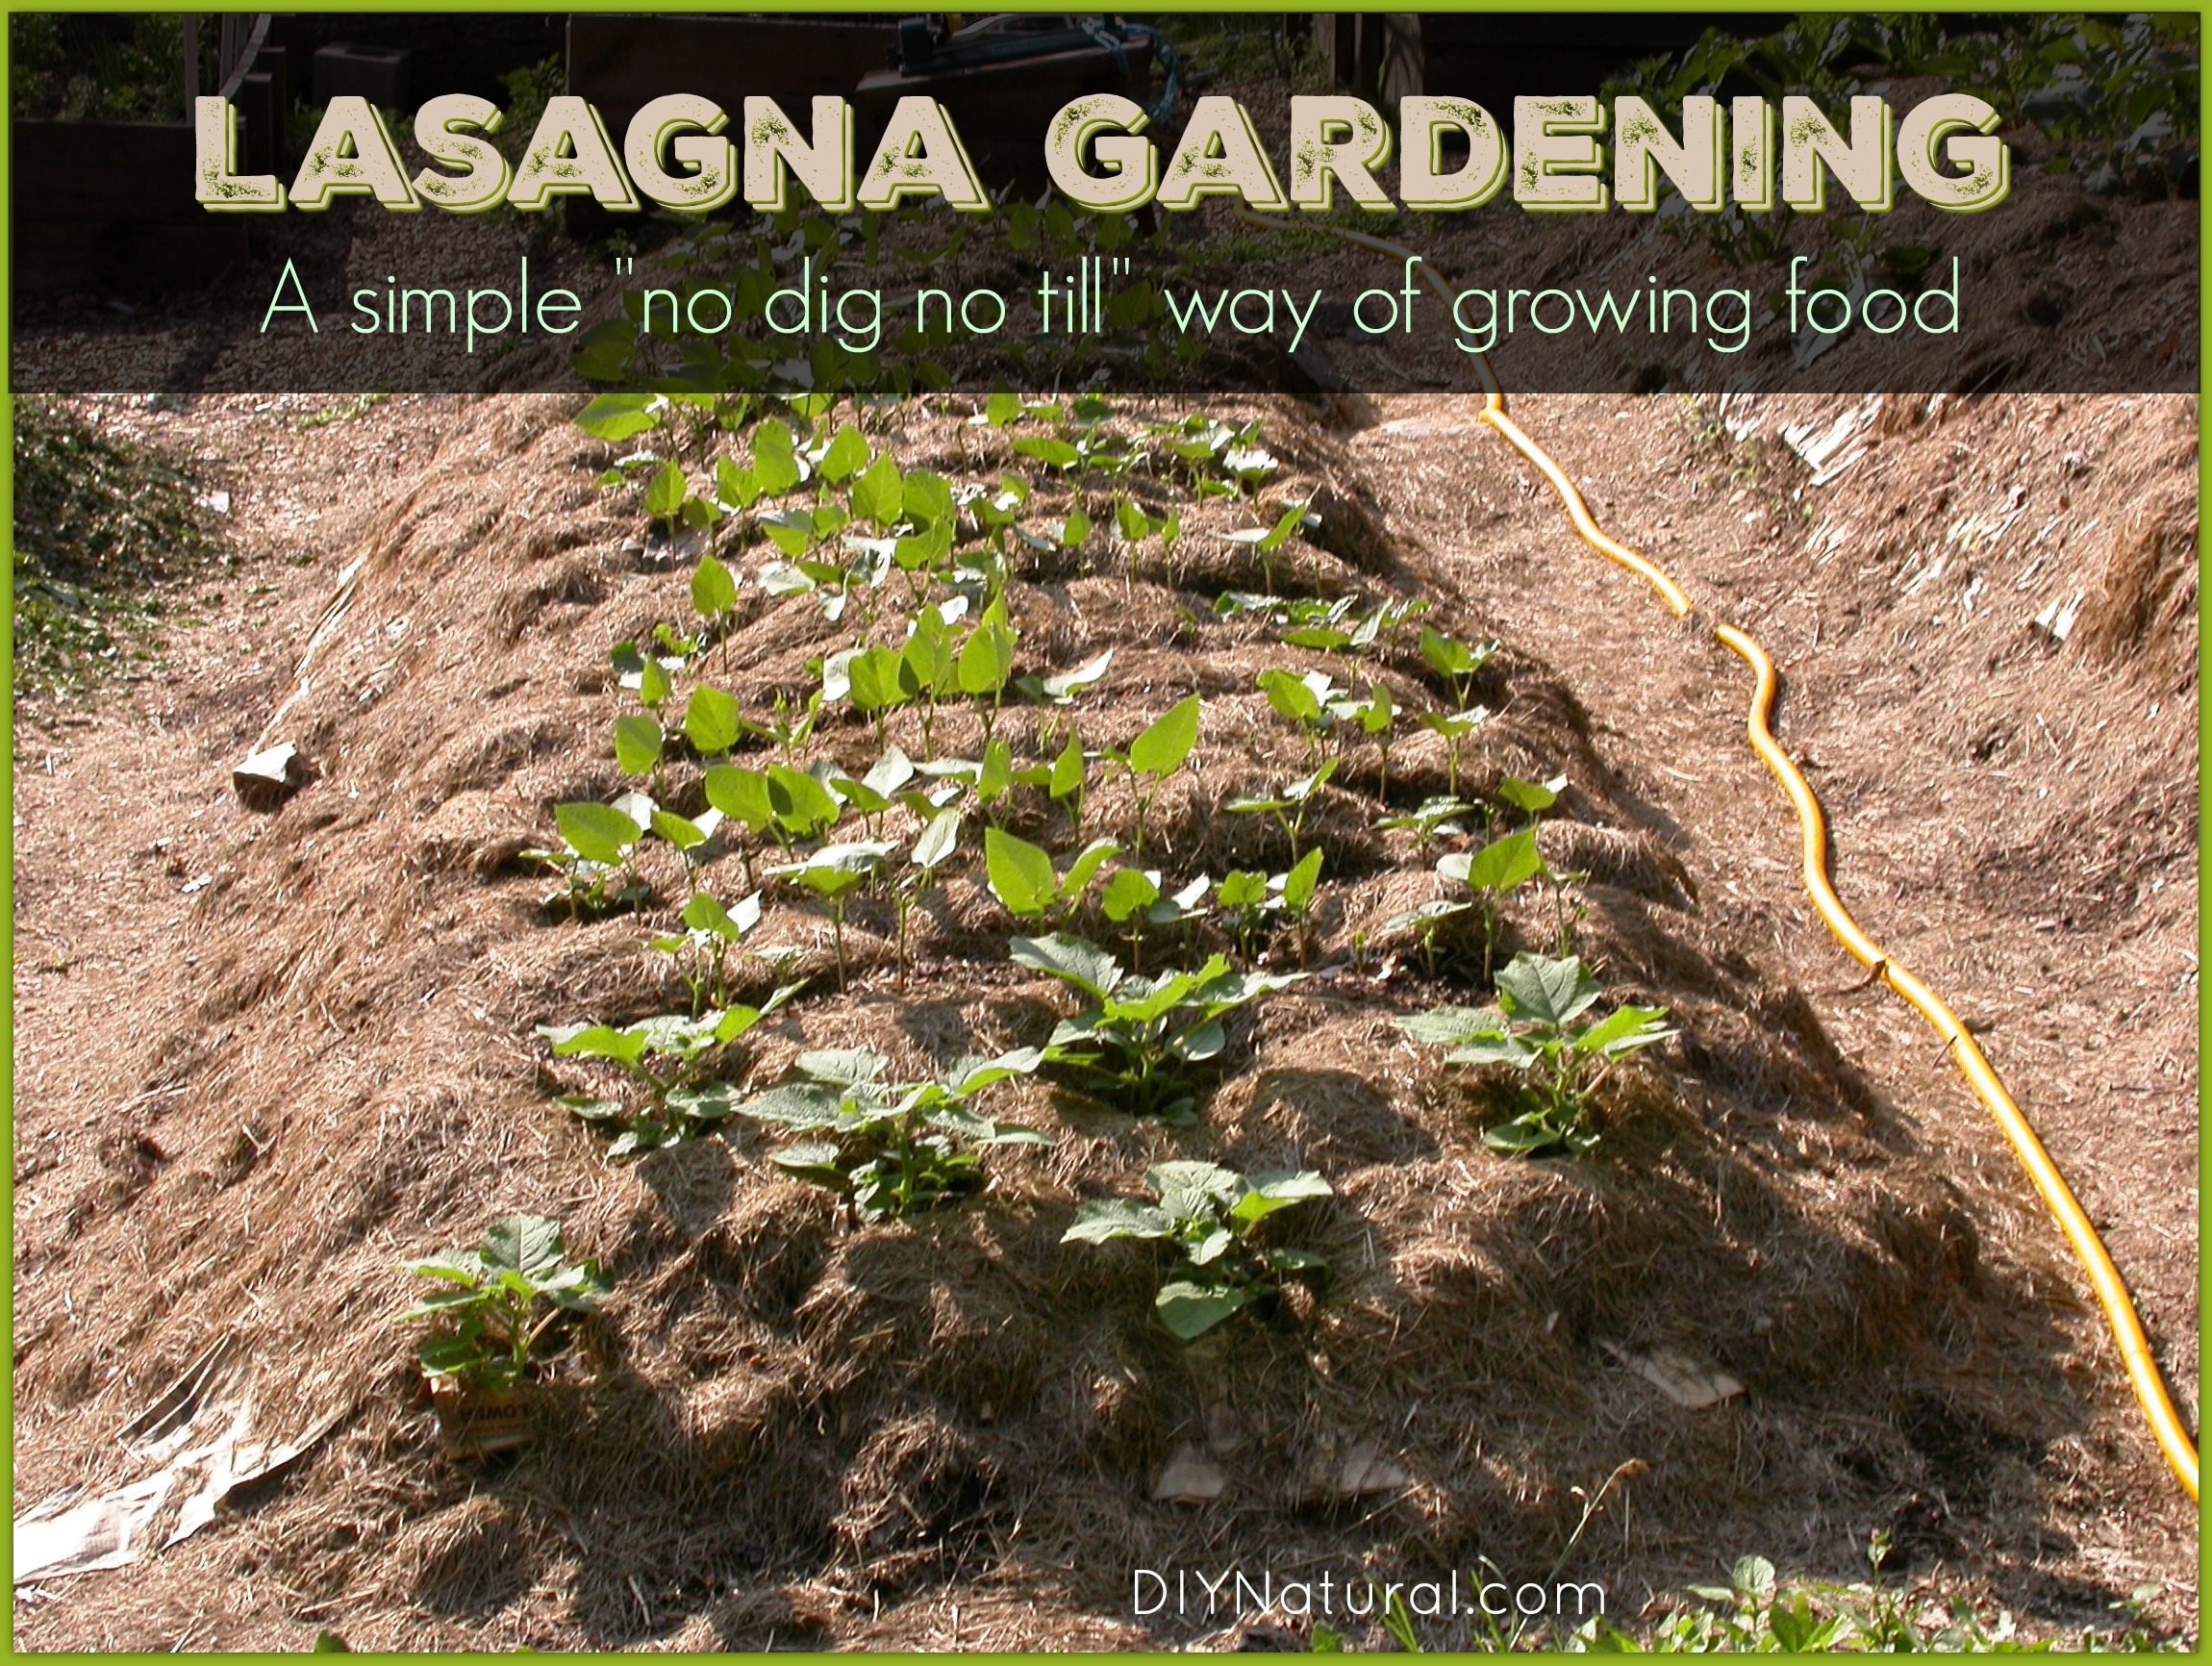
Lasagna gardening is all about layers. The beauty of it is that you can place these gardens anywhere there is enough sun and it’s fairly flat. They can be large or small depending on your needs. You don’t need to worry about tilling up a space, just heap layers upon layers until it’s the right height. You can use compost, manure, leaves – just about anything that will break down and feed your plants.
Advantages to Lasagna Gardening
There are many reasons to build a lasagna garden. Here are a few:
- You can put them anywhere there is enough sun.
- There is no digging, tilling, or cultivating, except when you plant and harvest.
- There are fewer weeds.
- They can be built to any height, making them more accessible to someone who has a hard time getting around.
- You can use all existing materials if you have a yard.
- Local manure and compost from neighbors can be used.
- They can be any size you want.
- You can use whatever materials you want.
- There is less watering needed once it’s established.
How to Make a Lasagna Garden
The steps are simple and you can vary them to suit your needs. You can just pile the layers on the ground, you can build sides if you want, or you can build raised beds on legs. It’s all up to you.
Here is the basic idea of lasagna gardening. You’ll want to layer it so that the first item on the list is what you place on the ground first, then layer it all until you get to the last layer, which will be on the top.
The Process
1. First, map out your area. You’ll want a fairly flat surface with exposure to at least four hours of sun a day. Most veggies don’t produce well with less than that.
2. Build your sides or raised bed, or outline the area with chalk line.
3. For the first layer, use a thick layer of newspaper or cardboard. This will provide a solid base and keep weeds down. If you want to go organic, you can put down a thick layer of straw. Using 6-8 inches will be good for starting out. Reserve some straw to place in between layers. Wet down this layer.
4. For the next layer, you can use compost or manure. The compost should be well broken down for the plants to be able to take advantage of the nutrients. Manure should be well aged. Fresh manure is nitrogen heavy and is considered “hot.” Plants need nitrogen, but too much can burn your plants or could cause spikes in green leaf activity. For herbs, this is great, but for veggies you want to balance nitrogen with phosphorus for good root production. Water the layer.
5. Layer about an inch of straw on top of that. The extra straw will provide some aeration. Wet down the straw.
6. If you want to add elements of other gardening techniques such as hugelkultur, now is the time. I add some fairly large logs to the center of my lasagna garden and then put the next layer right on top of that. If using logs, wet them down well after adding.
7. For the next layer, you can use veggie scraps, coffee grounds, egg shells, or basically anything that is newly added to compost. These will break down slowly and add more nutrients to the soil. Cover with straw again and wet down the layer.
8. For the next layer, add anything “brown,” which means carbon based. Examples are straw, shredded newspaper, shredded leaves, used napkins, toilet paper tubes, newspaper, etc. If you haven’t used straw, add a layer now. Water the layer.
9. Then you’ll want another “green” layer. Veggie scraps, lawn clippings, coffee grounds – anything that is nitrogen based. Are you still watering? Good! Continue watering after each layer.
10. Keep going in this manner until your garden is at least two feet deep. You can go much deeper if you wish. Remember, after a while, some of the elements of your garden will break down and it won’t be as tall as it was to begin with.
11. For the final layer, you can use compost or manure (well aged).
12. Plant your plants!
Additional Considerations
As with any garden, there are some things to consider:
- If you are using logs, try to stay away from cherry, locust, or anything that could be toxic. Cherry wood is bad for animals, so I’d hesitate to use it with food gardens. Locust takes forever to break down so it may be of little use for years. Try to stick with pine, maple, oak, and other such wood.
- Problems with pests may be reduced, but not eliminated. Sprinkle cayenne pepper around to discourage raccoons, rats, and mice.
- Sprinkle some cinnamon around to prevent fungal diseases. It will help keep things like powdery mildew at bay.
- If you do need to treat for bugs, use a natural product like diluted neem oil. Spray the base of the plant and try to keep away from the flowers. You won’t want to harm bees, the chief pollinator of gardens.
- If you do enclose your garden, use a natural wood product, nothing treated.
- Check your cardboard for staples, tape, and glue. These won’t break down in a garden, or if they do, it will be very slow.
- Be sure to use straw and not hay. Straw breaks down very well and adds nitrogen to the soil. Hay takes longer to break down and has a lot of seeds which will sprout and produce weeds in your garden.
Want to learn more about lasagna gardening? Check out this book:
*******


I absolutely love this. Thank you so much for sharing!!
Hi Debra on the NEEM OIL how do u use the oil, straight or break it down with what, when you spray. Hay keep up the good work I enjoy all the great info you put out. Thanks for taking the time in do the news letters I read every one .GREAT STUFF Thank you again AL