I learned how to roast coffee beans at home so I could create my own favorite blends, save money, and ensure my beans were high quality, fresh, and organic!
I’m a self confessed coffee addict. I even went so far as to get a job running a coffee shop on a college campus.
We’ve finally come up with a great blend at the shop, after trying many different coffees, types, and varietals. I keep thinking I should just learn how to roast coffee beans at home so I can make my own favorite blends!
Reasons to Roast Your Own Coffee
Sure, it’s easy to buy coffee that’s already roasted, but while you might like that flavor, the roast might not be right. A good coffee will cost anywhere from $16-$24 a pound, or more for premium blends! Buying green (raw) coffee beans is more economical, costing between $5-$7 a pound. If buying green beans, you can also customize the blend, mixing a few types of beans together to get a different flavor profile.
Aside from customizing your blend and saving money, you can also roast green coffee beans just the way you like them. Lighter, with more caffeine and more acidic, medium for less acid and more flavor, or dark with a robust flavor and less caffeine. Coffee beans contain over 800 compounds that are transformed during the roasting process. This is known as the Maillard Reaction.You also see this on seared meat and browning of bread. You’d never know what’s in your coffee when the beans are green, since this only happens during roasting.
How to Roast Coffee Beans: 5 Different Methods
A NOTE OF SAFETY: Coffee beans will get very hot. I recommend using hand and eye protection while roasting. Additionally, it will get very smoky when roasting coffee and oils may be released into the air. It’s best to roast coffee outdoors if at all possible. If you can’t roast outside, make sure your area is VERY well ventilated.
Remember, when learning how to roast coffee, there are several ways to do it, but the process is similar for each method. Here are several to choose from:
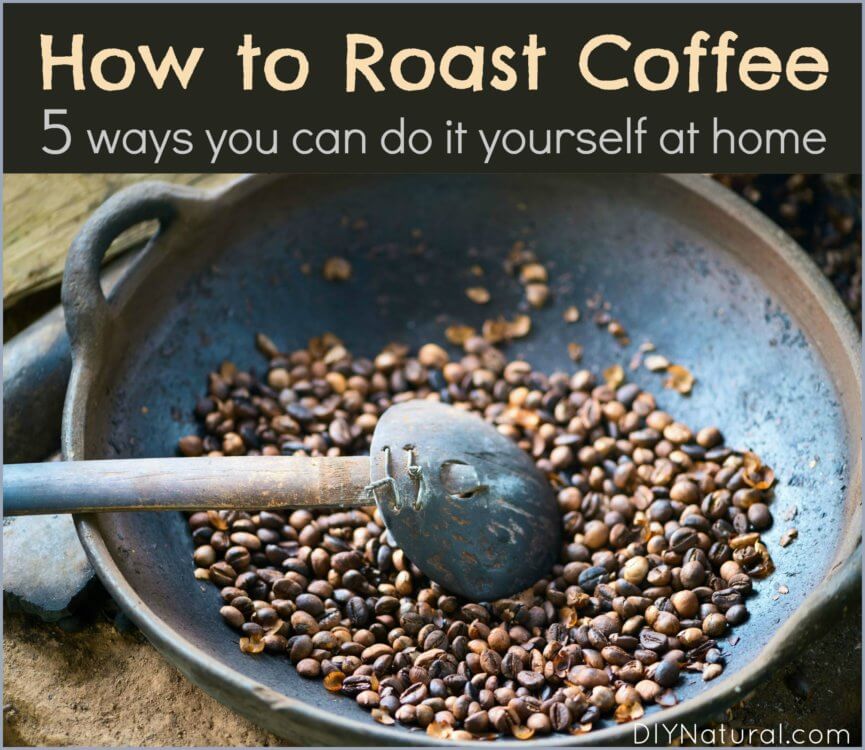
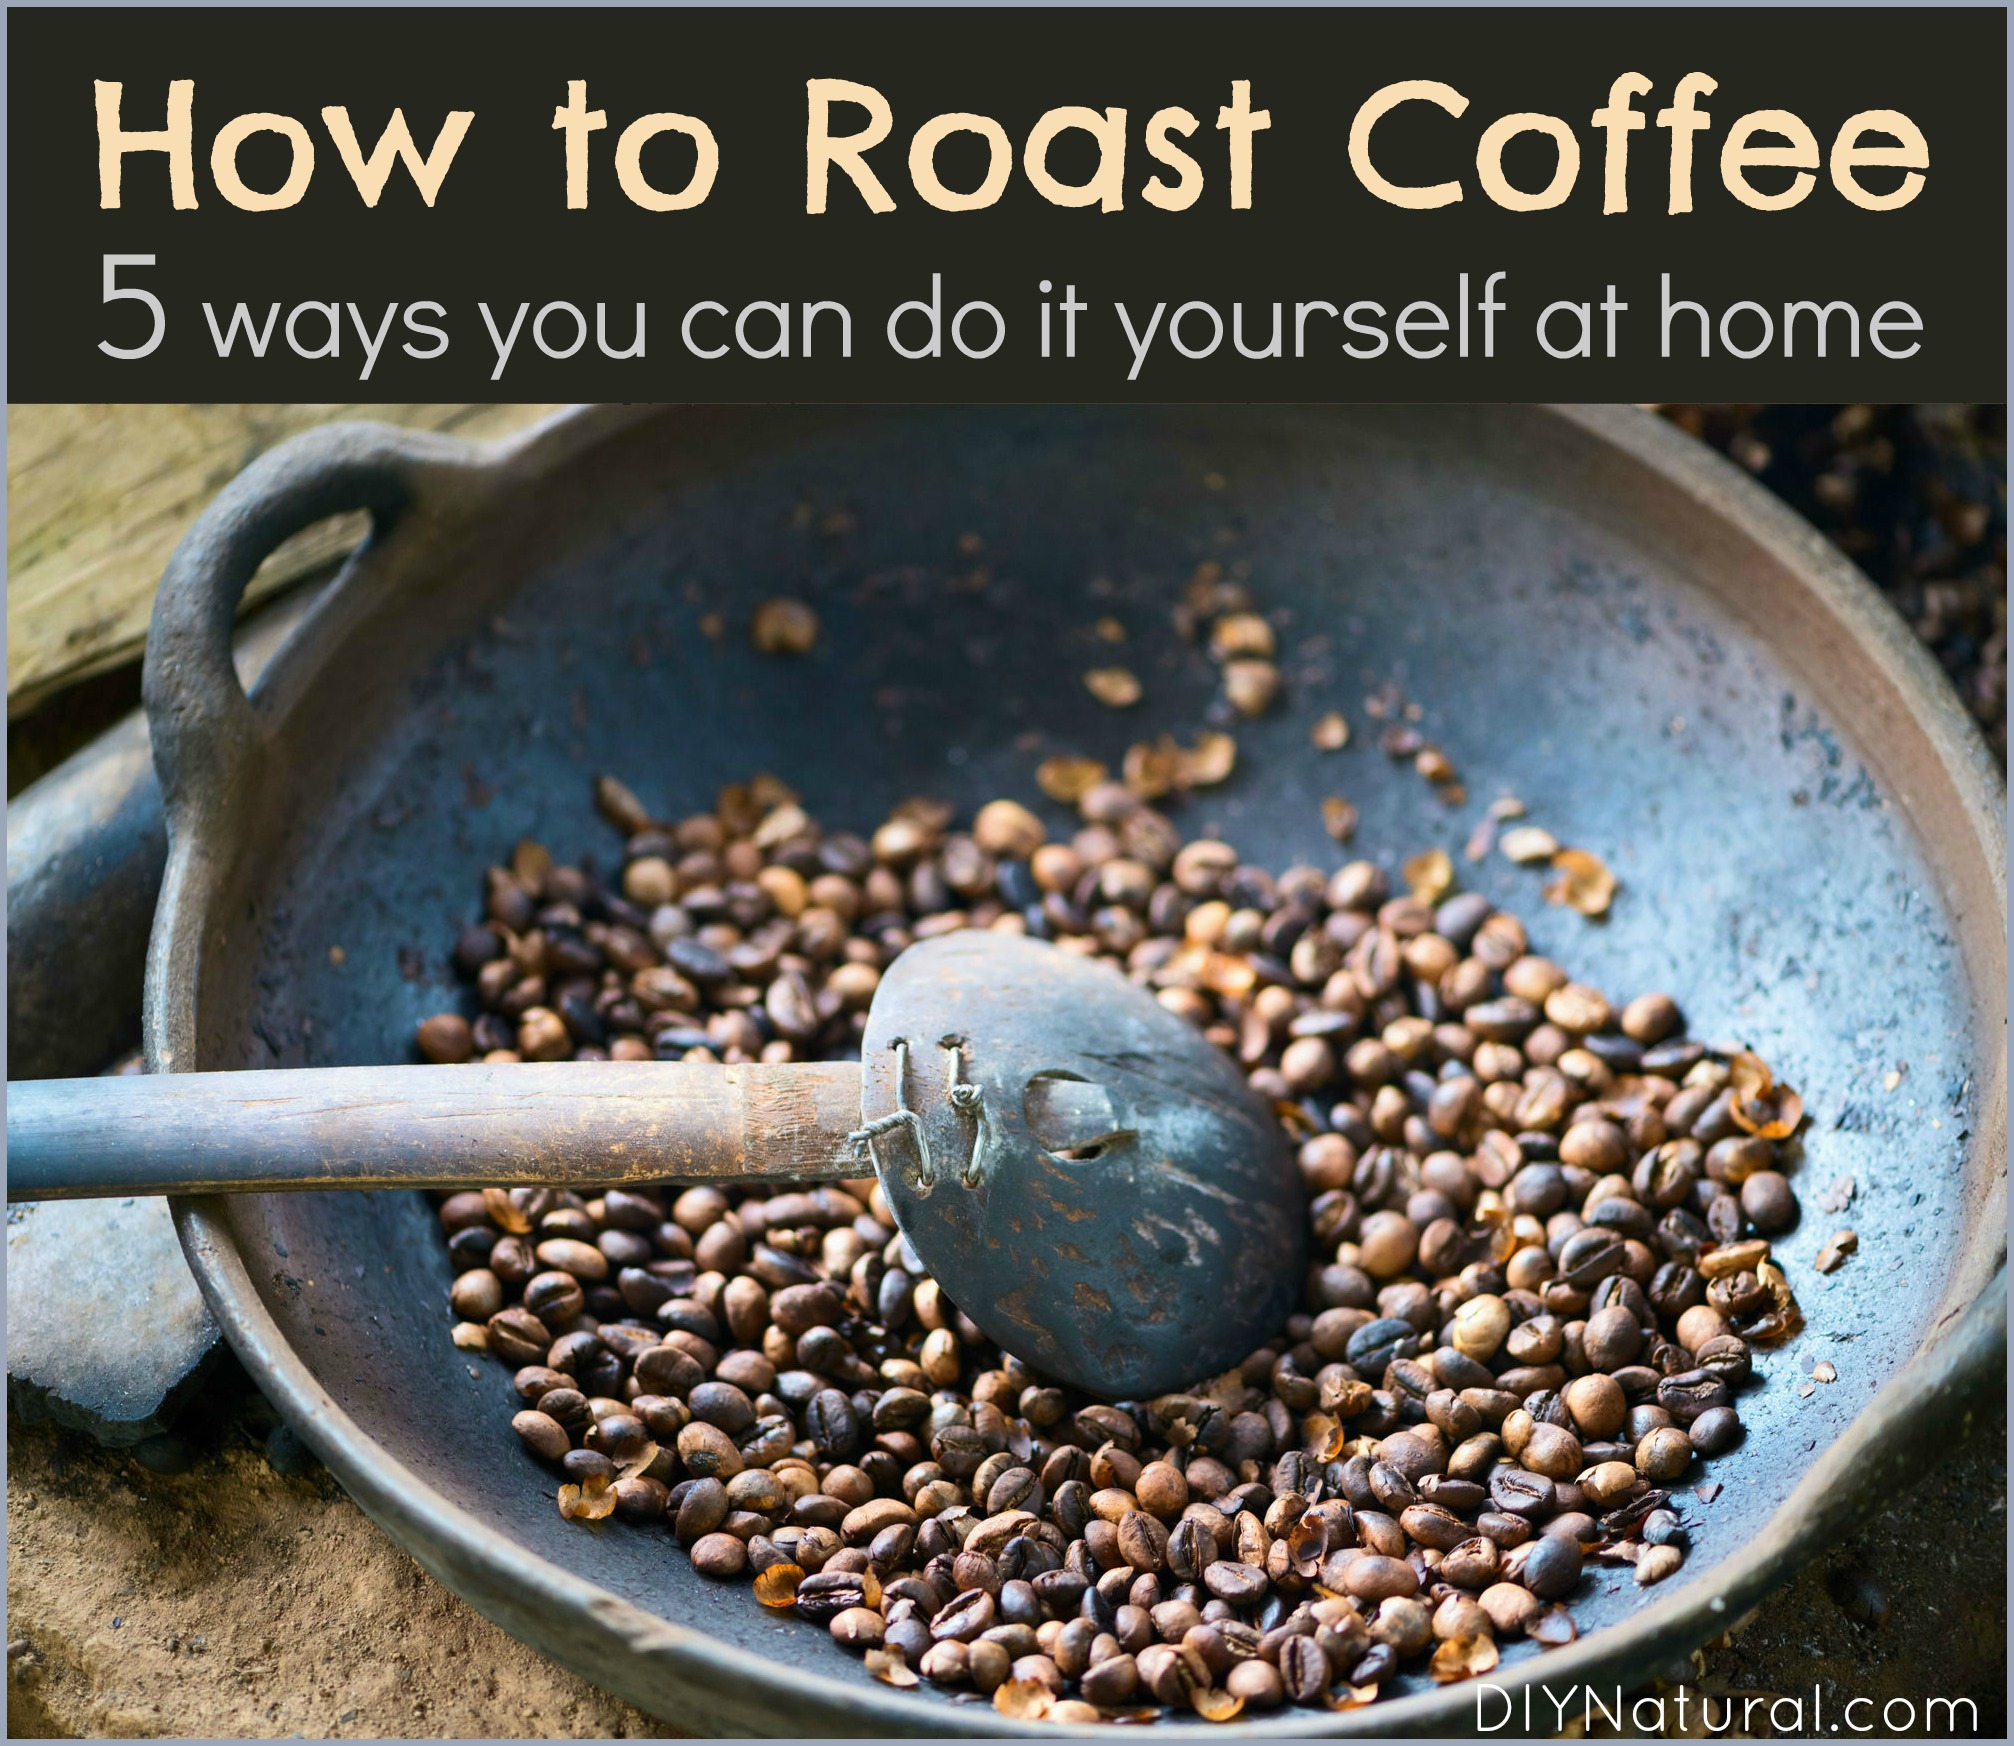
Cast Iron Pan On a Grill or Stove Top
Cast iron holds its heat well and heats evenly, making it a top choice for roasting coffee. I prefer to do mine on the grill, but you can do it on your stove top if you wish. Ceramic coated or stainless steel pans work well too, just don’t use anything non-stick or coated. The heat must be very high and it can be toxic to heat non-stick pans that much.
Cookie Sheet In The Oven
This method works well too, but there is a lot of stirring and smoke involved. It’s not as easy to roast coffee this way, but it can be done.
Hot Air Popcorn Popper
Using a popcorn popper is the way a lot of roasters get started, myself included. I had an outlet outside and set up the popper on a picnic table. Popcorn poppers have an agitation arm built in so you don’t need to stir. They also reach the proper temperature without the operator having to constantly check. Most popcorn popper warranties include a clause stating the warranty is voided if used for anything besides popcorn, so be sure to check that out if it’s a concern. At best, your popper will only last through 4-5 roasts, so I’d get a cheap one to start.
Stove Top or Manual Popcorn Popper
Similar to the hot air popper, stove top poppers work well too. But you do need to manually crank it to move the coffee beans around.
Coffee Roasting Machine
My first coffee roaster was an IRoast, a pretty inexpensive machine that does all the work for you. I got mine at a yard sale, but they can run $200 or more new. Other brands include FreshRoast and Nesco and are available online. They can be expensive, but they are built to last, unlike popcorn poppers.
How to Roast Coffee Beans
When learning how to roast coffee beans, remember, the process is very similar for all the different methods.
The key thing to remember is that not all coffees are the same, temperatures and machines can vary, and your preferences will vary. Experiment! I burned my first batch because I was thinking it would take longer than it did. Even in a commercial machine, the entire roasting process is less than 14 minutes – and that’s with 50-pound bags!
Process
1. First, choose and purchase green coffee beans. (Find organic green coffee beans here.) Next, heat your roaster. For popcorn poppers and roasting machines, turn them on and set to the right temperature if needed. For pans and ovens or grills, heat to 450°F – 500°F. It needs to be very hot. No oil is needed since the coffee produces its own oil and cooking oil will scorch at those temperatures.
2. Add coffee beans to your roaster. For machines, use about ½ cup for poppers and follow the directions for roasting machines. For pans, spread a thin layer on the pan, spreading the beans thin. This will ensure even heating and roasting.
3. If using a pan, stir the beans constantly. Wear protective clothing as it’s going to get very warm!
4. Light roasts take between 4-6 minutes and medium roasts 5-8 minutes. Start listening for the first “crack.” This audible pop is an indicator of the first stage, which will yield a lighter roast. If you prefer a medium roast, listen to the second “crack,” usually at around 7 minutes. For a darker roast, leave the beans in another 30 seconds to 1 minute. Watch them carefully because they can burn quickly at this stage!
5. When beans are done, turn off heat and transfer to a stainless steel or ceramic coated colander. Avoid using plastic – it will melt. The beans will still be very hot, so use hot pad holders. I use two colanders and toss the beans from one to the other, winnowing the chaff off of them. (Green coffee beans have a protective silver skin on the outside that becomes dried chaff that must be removed. If not removed, coffee will taste funky.) If you do this outside, the breeze will remove the chaff for you.
Storing and Grinding the Coffee Beans
After cooling the beans, they need to sit for about 12 hours to “de-gas.” Carbon dioxide builds up over time and needs to be removed before storing. You can get containers and bags that have a de-gassing valve on them. This allows the CO2 to get out, but doesn’t allow oxygen to get in, which would oxidize the beans, making them stale quickly. If you don’t have a de-gassing chamber (container or bag), then you can let the beans sit on the counter for 12 hours or so and then store them in an airtight container after that.
Always grind beans fresh if you can. The taste is so much better and the beans don’t oxidize as quickly. I use a burr type grinder for even grinding, but you can also use an inexpensive blade type one.
A Few Notes
When using a hot air popper, place a bowl under the spout to catch the chaff, or do it outside. Otherwise it’ll make a mess. And remember that it will make a lot of smoke, so be prepared to deal with smoke detectors. The smell is somewhat like burnt toast, which is another reason this is best done outdoors.
Be sure that if you do take it outside, that the cord is properly grounded and in a GFCI receptacle. And you’ll want to do it under a canopy of some sort in case it rains.
Roasting your own coffee can be fun, rewarding, and economical. Have you tried learning how to roast coffee beans at home? What was your experience?
*******


Thanks for sharing this, can’t wait to make it. So any flavors would be added after it sits for 12 hours?
I just roasted my 1st batch on the stove top with a Belgium made frying pan. I hadn’t seen your post yet. So of course my house got very smokey and we set up a fan and open up lots of windows. I personally like the roast dark because of the lesser amount of caffeine. Could you please write more about the things that happen to the bean as each stage goes. Like the health benefits or dangers etc.