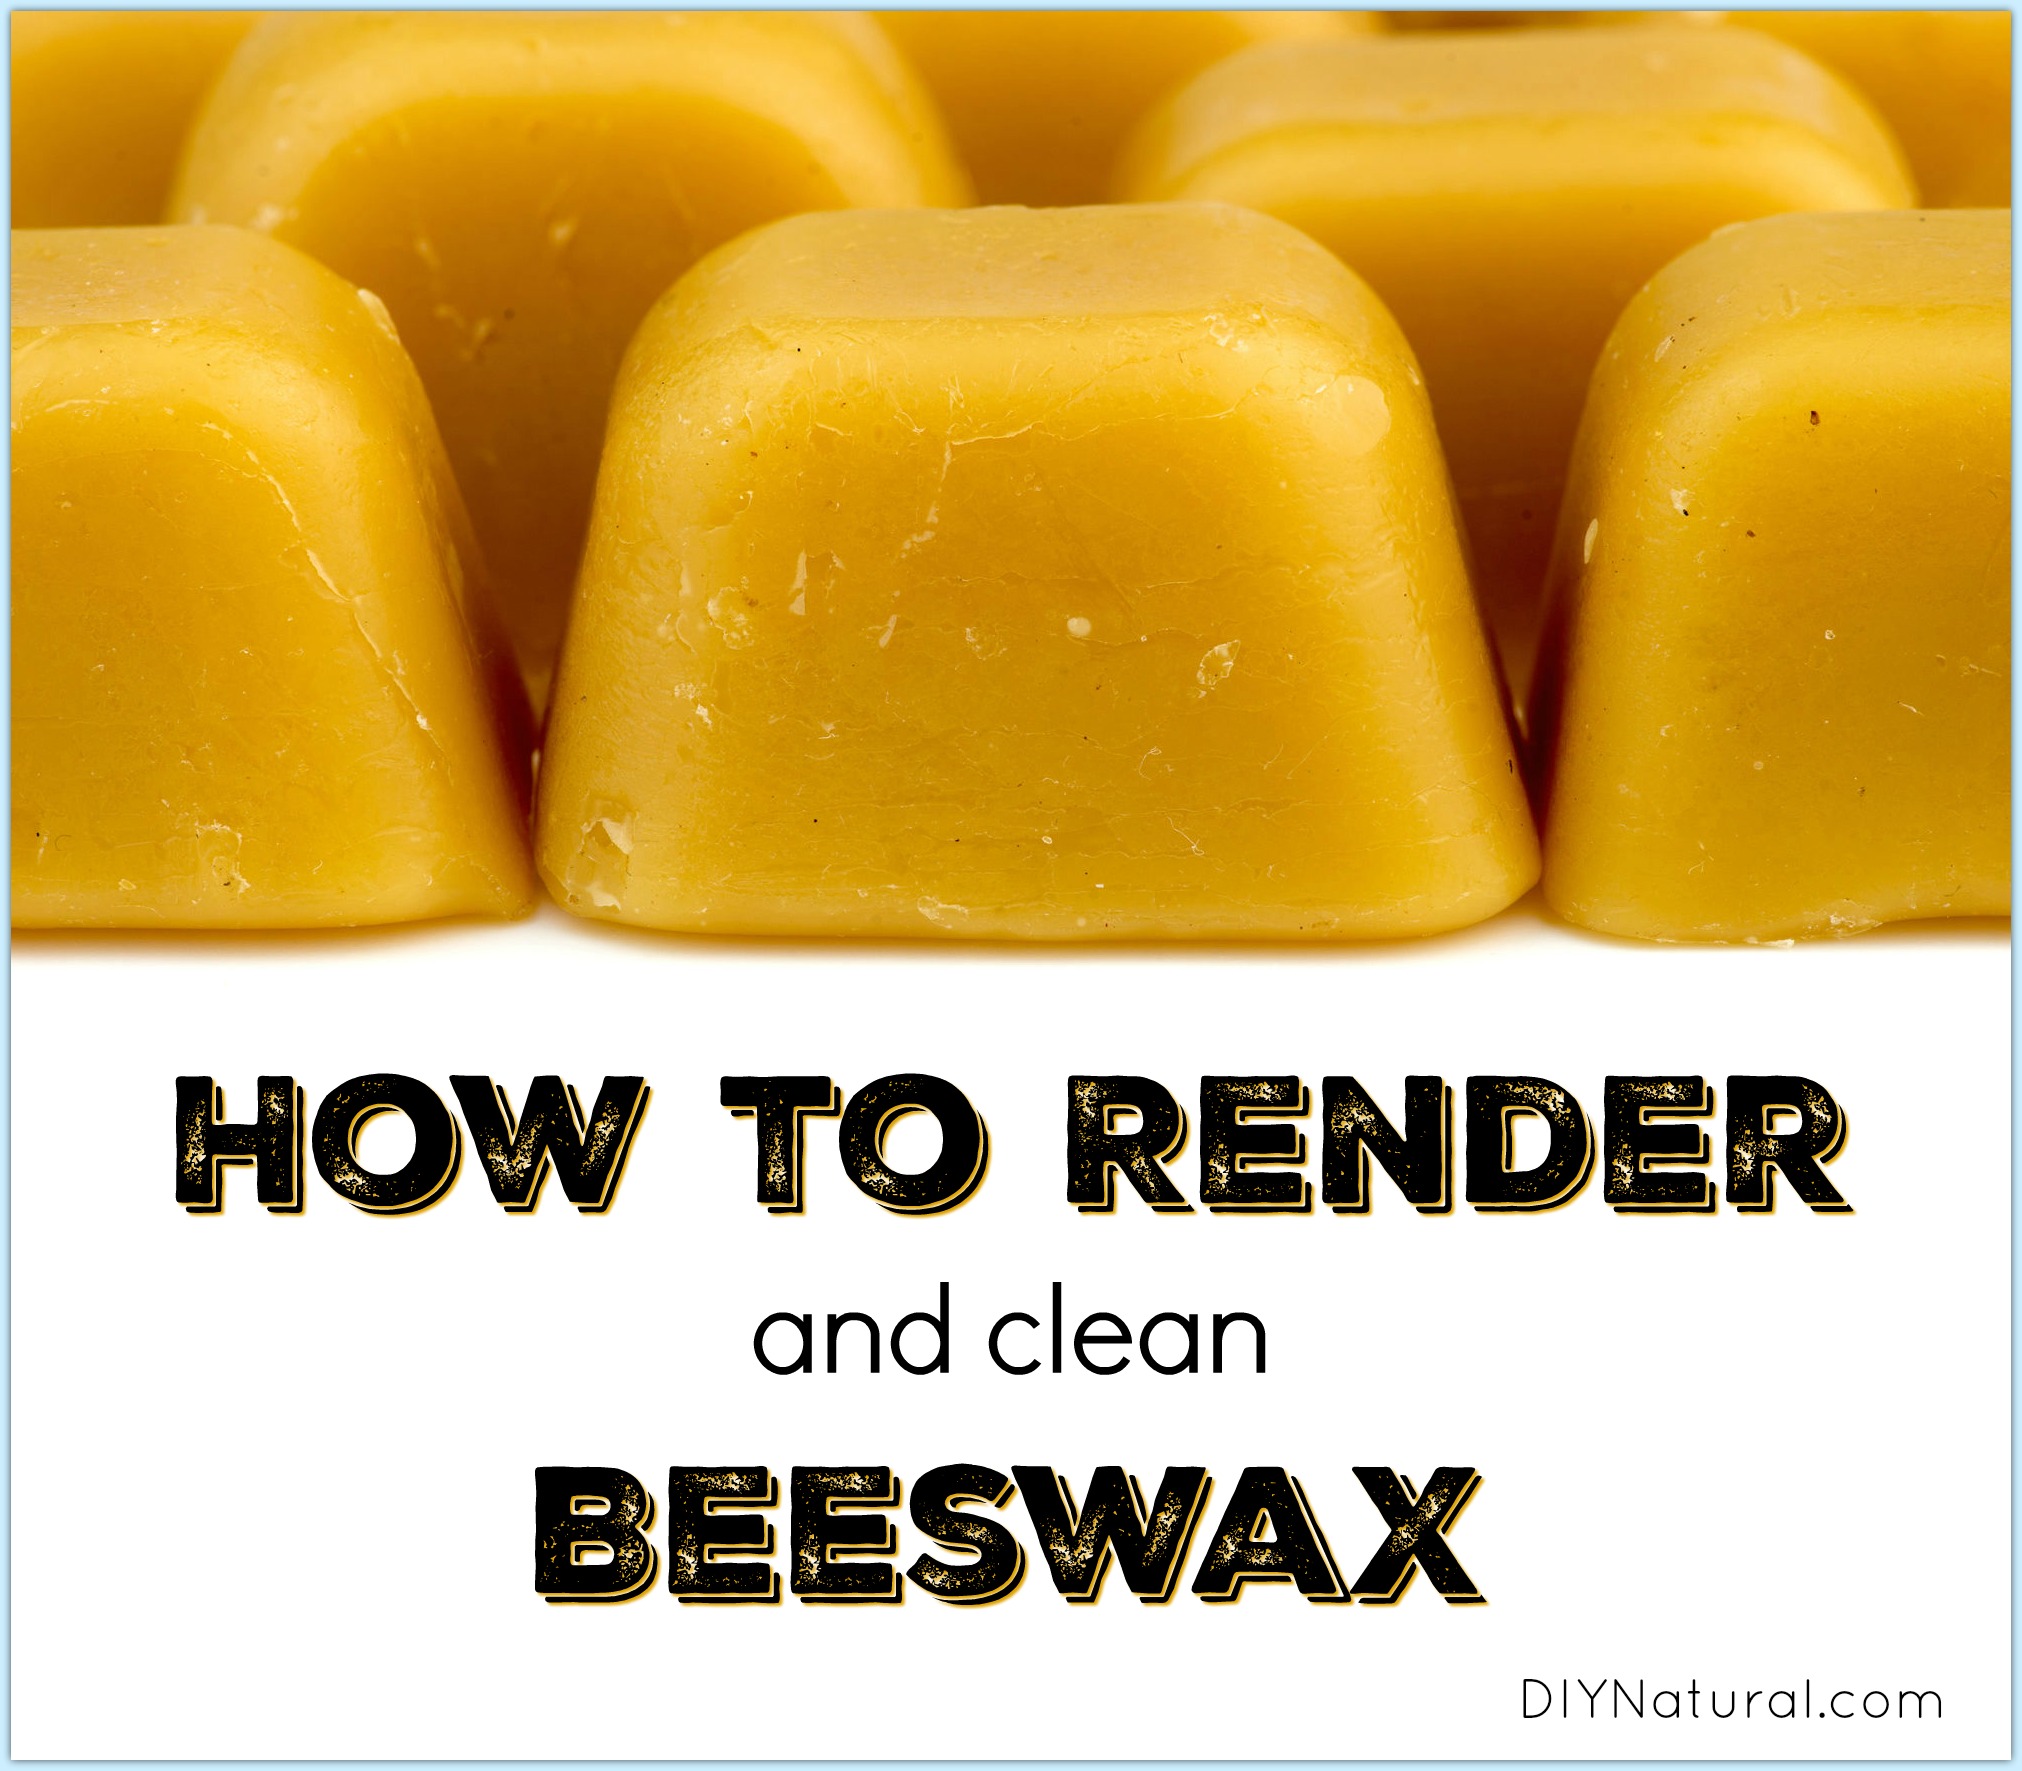
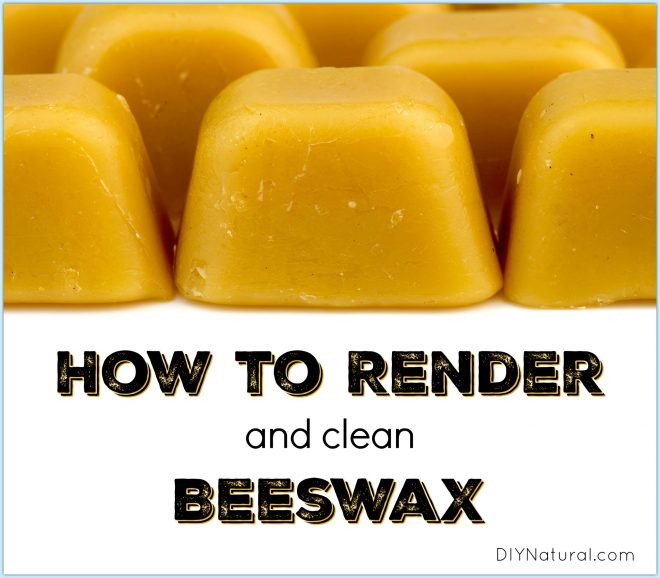
Learning How to Render Beeswax
You’ll find many recipes and projects on this site that call for beeswax. While it is more convenient to buy it in small pellets, or pastilles as they are sometimes called, there are many advantages to buying directly from a beekeeper and learning how to render beeswax yourself.
The wax you’ll get from a beekeeper may be in its raw, unfiltered form – full of impurities like dirt and waste from bees. These impurities will need to be removed in order to get that gorgeous, golden beeswax for making your DIY projects.
You can simply strain beeswax through a sieve, but that will clog up quickly as the wax cools. Fortunately, I have a better method that is very simple and doesn’t involve the use of strainers.
The Advantages of Rendering Beeswax Yourself
When you know how to render beeswax, you can be sure there were no chemicals involved in the process. Wax is like a sponge, so it absorbs any chemical used on the hive. Having chemicals in your beeswax is a problem if you’re using it to make natural products.
When you render your own wax, you often know the farmer who keeps the bees who created the wax. So the wax is local, created from local plants. This can have a great effect on people with allergies when consuming local honey. While not much is left of the pollen when you render wax, it can help provide another layer of protection. I don’t fully render my wax, so some of the natural pollen (and honey) is left behind.
You can also save a great deal of money and help support the local economy if you render your own. Beeswax local to me costs about $18 a pound if it’s refined, but I have seen it as low as $2 a pound if I want to do the work myself.
How to Clean and Render Beeswax
The process for rendering wax is very simple, but it can be time consuming. Be prepared for an all day, or even several day, project. Also keep in mind that beeswax is highly flammable, so you may want to keep a fire extinguisher nearby as a safety precaution.
Supplies
- unfiltered, raw beeswax
- distilled or filtered water (find the best water filtration systems here)
- old, large pot (not your favorite one)
The Process
Step 1: Start with a large, old pot. It should be large enough to accommodate the amount of wax you have, plus the same amount of water. A ceramic coated pot, like the type used for canning, is perfect. I use one I purchased at a thrift store for $4. Alternatively, you can do it in a smaller pot in several batches. (I got 20 pounds of wax once, and it was a huge amount to work with! I have always made smaller batches since then.)
Step 2: Place wax into the pot and cover with water. (I use distilled water to be sure there are no impurities in it.) Don’t cover – I’ve found it’s not necessary and the cover can be very hard to clean. Turn the heat on low and leave it for a while. Depending on how much volume there is, it may take a while. You can turn the heat up to medium, but don’t allow it to boil.
Step 3: After a while, the water will get hot enough to melt the wax. Allow the mix to simmer a while, then turn off heat. Allow it to cool – this could take a few hours. When it’s completely cooled, a disk of wax will be on the top and dirty water underneath. (I throw the water in the compost as it will contain bits of dirt, pollen, and other things. It’s not suitable to pour down the drain.)
Step 4: Push on the wax to release it from the sides of the pan. When you pull the wax out of the water, it will have a layer on the bottom, where the wax met the water, that may still be dirty. Cut or scrape that off and set aside to render again later. The beeswax on the top is now partially rendered, which is how I use a lot of mine for soap. For things like lip balms and creams, I render it a second and even third time to be sure I get all the extraneous impurities out of it.
How to Store Beeswax for Later Use
I’ve ended up with beeswax in large pieces, only to find that it’s hard to break apart when I need a little bit for a project. (I use a hammer and chisel on these giant chunks sometimes.) If you want beeswax to be easier to work with, you’ll need to process it into smaller pieces before storing it. My favorite method is to cut large chunks into a few manageable chunks, then melt them in a makeshift double boiler. Once melted, pour into thin layers on cookie sheets and allow to cool completely. Once cooled, it easily breaks into pieces. Break them into small chunks – even into pellets if you like – and store for later in a large container. These thin, small pieces are simple to work with and melt down very quickly when using them for a project!
Want Pure Filtered Wax Without the Work?
If you don’t have access to raw beeswax from a local beekeeper, you can still get pure, natural wax for your projects. Find a gorgeous filtered beeswax here.
Have you ever rendered wax? If so, tell us about your experience!
*******


Even easier- put the wax in a paint strainer bag or panty hose and into a pot of water on the stove, the impurities will stay inside the mesh, the wax melts through. Pull out the strainer and discard when it is all melted, then you can allow the beeswax to set up in the pan or in a container. No need to do multiple rounds, it comes out completely clean the first time around!
I’ve done it the same way with cheesecloth. I suspended the cheesecloth over and in the water with a wooden spoon placed across the top of the pan. Lift up the spoon after the wax has melted through and toss it out. Super easy
Great Ideas Melissa and Donna! I never thought to have the strainer right in the water. That’ is something I’ll be trying soon!
Hi Donna Dion, I agree with you