
I love candles, but after having to use them for a heat source one winter when the power went out, I noticed gray spots on the walls. It wasn’t behind the pictures, so I’m guessing it was from burning all those candles. (And it can’t be scrubbed off, which makes it worse.)
Additionally, most of the candles on the market contain petroleum wax, chemical fragrance oils, and artificial color. I don’t like inviting these things into my home when I can help it.
Natural candles are so much better!
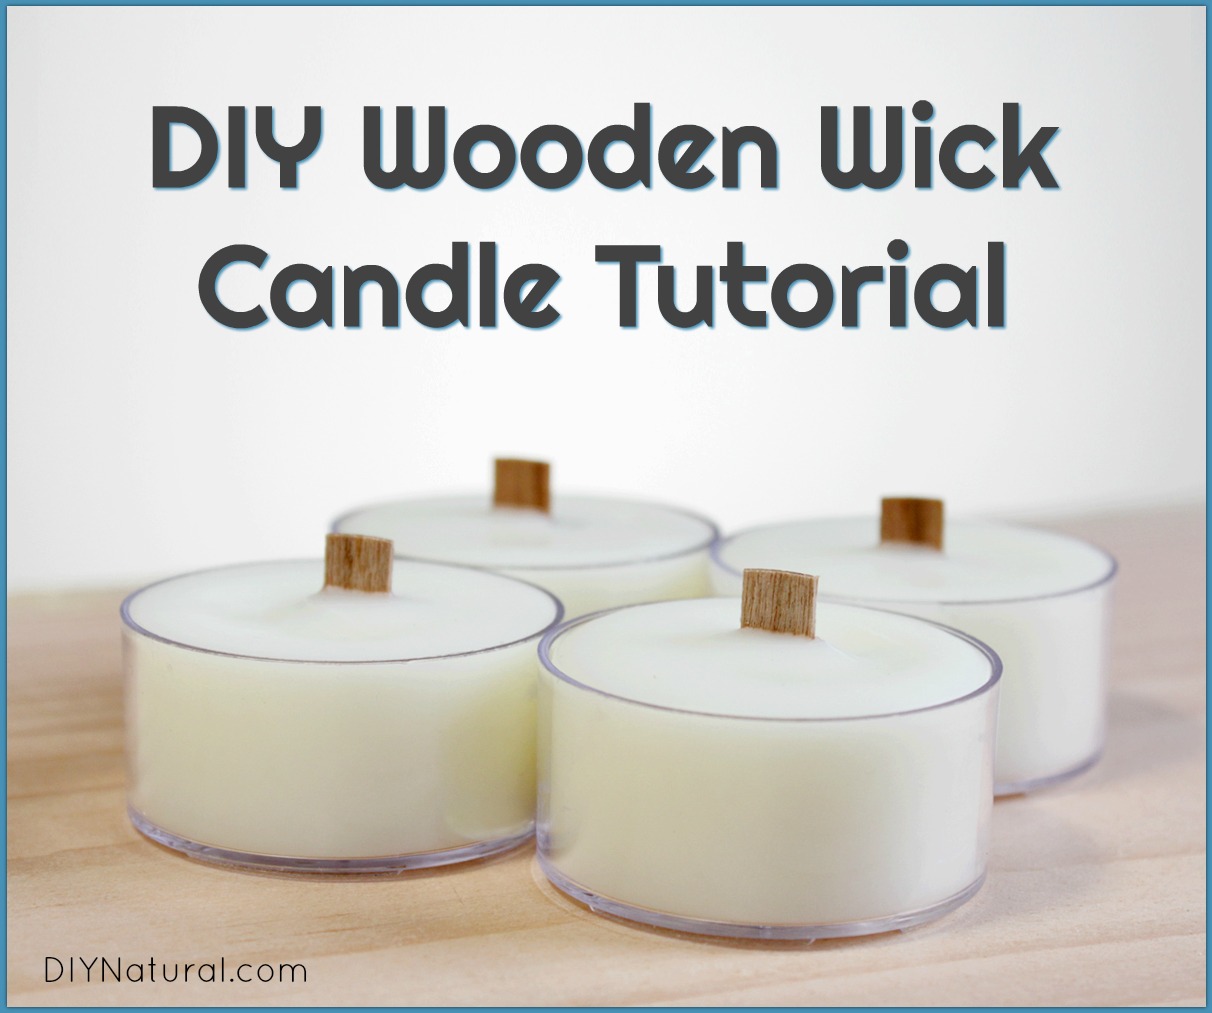
How to Make Woodwick Candles
Supplies
To learn how to make woodwick candles, you’ll need:
- wax (soy wax, beeswax, myrtle wax, bayberry wax, or another natural wax)
- wood wicks and base clips (find them here or make your own)
- containers (I use ½ pint glass jars)
- optional, essential oils (find pure essential oils here)
- slow cooker
Instructions
To begin, turn your slow cooker on low and leave it dry (don’t add water).
Fill your jars with wax. Soy wax is available cheap and pure from many places on the internet, just be sure to use a container blend or it can shrink as it cools and pull away from the sides of the jar. If your wax is harder, add a teaspoon of a hard oil like coconut or palm. I have a lot of RSPO palm oil for making soap, so I use that. It makes it just a bit softer so that it adheres to the sides of the container.
Place jars in the bottom of the slow cooker. Depending on your slow cooker size, you can fit in 5-9 jars of this size in there. As the wax melts, you may need to add more to get the candle to the level you want in the jar.
Cover the slow cooker and go to the next step.
Optional: If you want color, add a few small pieces of natural crayons. You can find them made from beeswax on Amazon.
Instructions continued
Let this melt, stir, and add more if you like.
Prepare the wicks while the wax is melting. Assemble your purchased wicks, or make your own.
To make wicks, you’ll need some balsa wood in ½-inch wide strips. You can get balsa wood at most any hobby shop or online here. (I’m impatient and didn’t want to wait, so I used a tongue depressor.)
Using an empty jar, measure where you want the wick to reach, and cut it off at that point. This is usually about a half inch below the top of the jar. Then cut the strip of wood to the width you want. Usually ⅓-½ inch wide is good. Make a wick for each candle you are making.
Place all of your wicks in a bowl and cover them with oil. You can use any type of oil if you are going to use the candles right away. But if you are going to sell them or give them as gifts, choose an oil that will not go rancid quickly. I use fractionated coconut oil because it’s liquid and I’ve never had coconut oil go rancid.
Let wicks soak for about 30 minutes. Then take them out and let them drip on a paper towel.
Assembling the Candle
After the wax is completely melted, optional essential oils can be added. Remove jars from slow cooker and stir oils in thoroughly. (A wooden chopstick works well for this.) For a ½-pint jar, 10-15 drops of oil should be sufficient. Adjust this depending on the oils and your nose.
Now attach the wood wick to a base clip. You can get these online or you can make something as a substitute. I used a metal washer and it worked great. Just trim the bottom of the wick so it fits into the hole in the washer. It should be very snug.
Take the wick with the washer or clip and lower it into the melted wax. Get it in the center, but don’t worry about the top. You can fix that in a minute.
Let the wax cool completely. This may take a few hours. Once it’s cool, use a hairdryer set on high to melt the top of the candle, smoothing out the wax. Let it cool again and remove any stray wax from the edges of the glass.
Once it has cooled completely, check for “cold scent throw.” This is the amount of fragrance you can smell when the candle is cold. Candles can be placed back in the slow cooker to melt and then add more essential oil if needed.
NOTE: Never add essential oils to the melted wax in the top of a burning candle. Most essential oils are flammable! Melt the wax, mix the essential oil in, and let it cool.
Decorate Your Candles
You can finish your candle any way you wish. I like to tie a bow on it and add a sprig of dried lavender. To keep your bow from slipping, add a dot of glue to the back of the bow and press it to the glass. You can also use paint markers to create special designs on the candles.
Have you ever tried making wood wick candles? If so, how did it go?
*******


Hi, Debra! I live in a developing country, and I’ve had a hard time finding something to use as wick. I like your tongue depressor idea. Do you cut its width? How many wicks might you get from the width of one tongue depressor? Thanks for sharing this! I’ve been looking for a way to make candles here for many years!
When I make the small 4 ounce size jars, I can get 6 or so wicks out of a tongue depressor. If I do pint jars, it’s more like 2. So it really just depends on the size of your jar. I cut them s=to size, than if the jar is narrow enough, I cut the width. Best of luck, Cindy!
For Christmas I made 24 beeswax candles. I filled the 1/2 pint jars with wax and put them in the oven at 200 , let the wax melt put the prepared wicks in added more wax and put them back in the oven to melt the new wax. After they cooled for the ones that had cracks I lit one of the candles and as the wax melted I fill the cracks. Worked great and it made a lot of candles at the same time. There made be a safety reason it shouldn’t be done this way but I don’t know what it is. Please remove this post if you feel this process is dangerous.
No worries at all Martha! The oven method works just as well as the crock pot. Just be really careful taking the candles in and out of the oven.
Hi! Can you put a photo or describe how it was that you used the washers to hold the wood wicks exactly? Thank you!
Hi Brett! I’m trying to post a photo of the wick in the washer, but I’m not having any luck. I’ll keep trying!
Wouldn’t the hair dryer cause the melted wax to splatter everywhere?
Hi!
I agree! I think that we are supposed to use the hairdryer to “pretty up “ the candle after it cools.
Thant’s right Joanne. You want to let the candle cool completely before using the hair dyer. And if you keep it far enough away from the candle, Gina, it won’t splatter at all. The idea is to soften it up just enough to make to top smooth. You don’t need to remelt a lot of the wax.