As a soap maker, people always ask me about lye. Why I use it, it is toxic, what are the precautions, and even how to make lye at home. It’s actually simple to make lye from scratch; simple precautions just need to be taken.
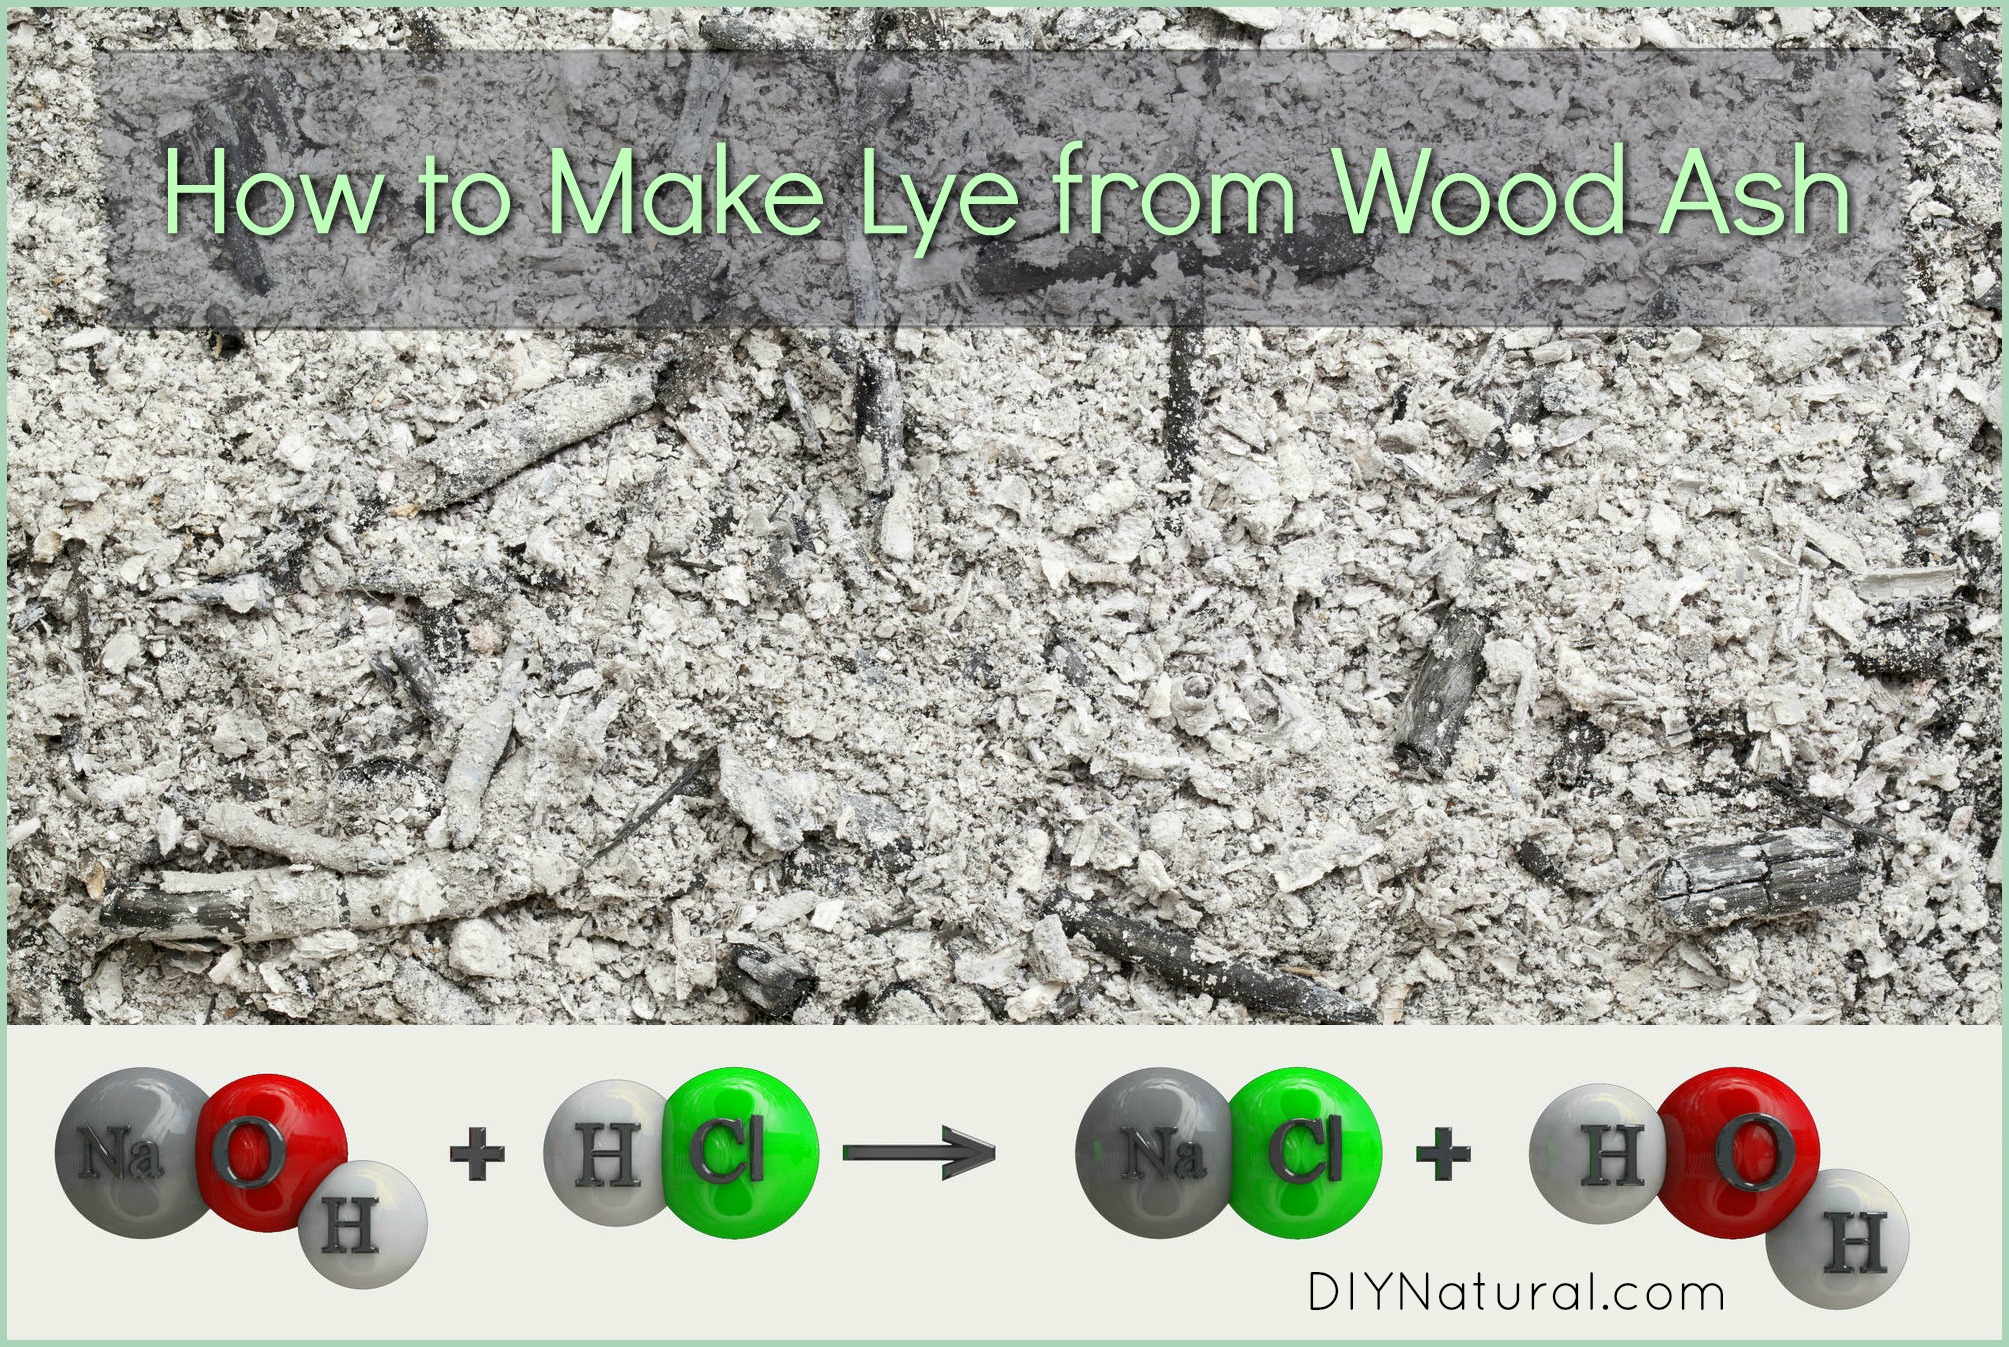
How to Make Lye from Wood Ash
First, you need to know that the lye commonly used to make hard bar soap is made synthetically. It starts as a salt, then through an electrically charged process, is transformed into liquid lye. This is then set and the moisture is allowed to evaporate, leaving behind lye beads or flakes, depending on the process. This is then the lye you would use to make soap.
When you make your own from wood ash it produces a slightly different lye, which will leave soap softer. The reason for this is that the end product is closer to potassium hydroxide, which is used to make liquid soap.
What You’ll Need to Make Lye
The supplies for making your own lye are few. You’ll need a five gallon bucket with a spout on the bottom, some sand, some impervious rocks, the same type of gravel, water, and wood ash.
Preparing the Supplies
1. Drill a hole near the bottom of the five gallon bucket. Insert a faucet fitting and secure it with a nut on the inside. (Use plastic so the lye won’t affect it. Don’t use metal, as the lye can be tainted by most types of metal.) Seal around the faucet fitting with silicone and wait until it is fully cured.
2. Next, begin filling the bucket. Near the bottom, add a layer of gravel, a few inches deep. (The gravel and rock should both be a type of non-alkaline rock. Quartz and granite are two great choices, where limestone would not be. The alkaline nature of limestone would ruin the lye.) Then add a good layer of sand, about six inches deep. Most sand sold is quartz, so this should be fine. Next is a layer of rocks. I use river pebbles, about 2-3 inches across. This layer should be three to four inches deep. Last is your wood ash. Hardwood ash, such as oak or maple, works best, but you can use any type of wood ash. This should fill the bucket almost to the top.
How to Make Lye: The Process
1. Making the Lye
Once the bucket is prepped, start pouring in water. Rain water is best since it contains no minerals, but you can use well or tap water that has been filtered. Pour in a bit, then let it settle. Tap the sides to get out any air bubbles, then add some more. Continue doing this until the bucket is full. Set the cover on it and wait. Check in a few hours to see if it needs more water, then leave it overnight.
2. Testing for Doneness
The lye water will turn a slightly amber color from the wood ash. This is normal.
CAUTION: Be careful when checking it because it is still caustic even if it’s not done. Don’t allow kids or pets to go near it.
To test it to see if it’s ready, lower a potato into it. If the potato sinks, it needs more time. But if it floats, it’s too strong, you’ll need to add more water. If it sinks slowly and just sort of hovers, it’s ready. Be sure to remove the potato.
3. Storing the Lye Properly
Place a plastic pitcher (one used only for soap making) under the spigot and slowly open the valve. The lye should drain out clear, or nearly clear. It can be stored in the pitcher until it’s ready to use. It will last for a few weeks if kept sealed. Be sure to label it clearly so it’s not mistaken for water. When lye is mixed with water, it looks very similar to plain water.
Using Your Homemade Lye for Soap
You can use homemade lye just like you would with any soap recipe. If you are using my how to make soap recipe, just add the two amounts of the lye and water together. So then it would be one cup total (¾ cup water and ¼ cup lye). If you are using weighed amounts, add the weights of the lye and water together and use this amount.
Since all ash and water is different, as well as amount of time is takes for the lye to form, you’ll need to do some experimenting. Soap made with homemade lye may not turn out perfect the first time. I recommend making a small batch of soap first to test out your lye.
Your soap will most likely be softer because of the lye structure. You can combat this by adding less lye or adding a bit of salt when mixing. (This is a trick pioneers used to make harder soap.) Less lye could make your soap softer as well, but could add less moisture, so you’ll want to try a few things to see how it goes.
Learning how to make lye can be fun and easy – just be careful! Have you tried to make your own lye?
*******
So exactly how do you use this, as the “regular” lye in most recipes is in a dry format, not liquid? (suppose we have other recipes that are not yours, how do we compensate for other measurements?) I am completely new to sopamaking, but would like to be able to make my own lye and not have to rely on something I’m not sure is untainted with ingredients I don’t want. Also, I’d like a bit more info regarding the actual ash: how fine does it need to be? Could it be a mixture of different woods? What if there were small amounts of other materials, such as paper or other burnables, so long as they are permitable burnables? (no plastics or colored paper…etc.)
This is a good article, but for most of us, a bit more information would have been nice.