
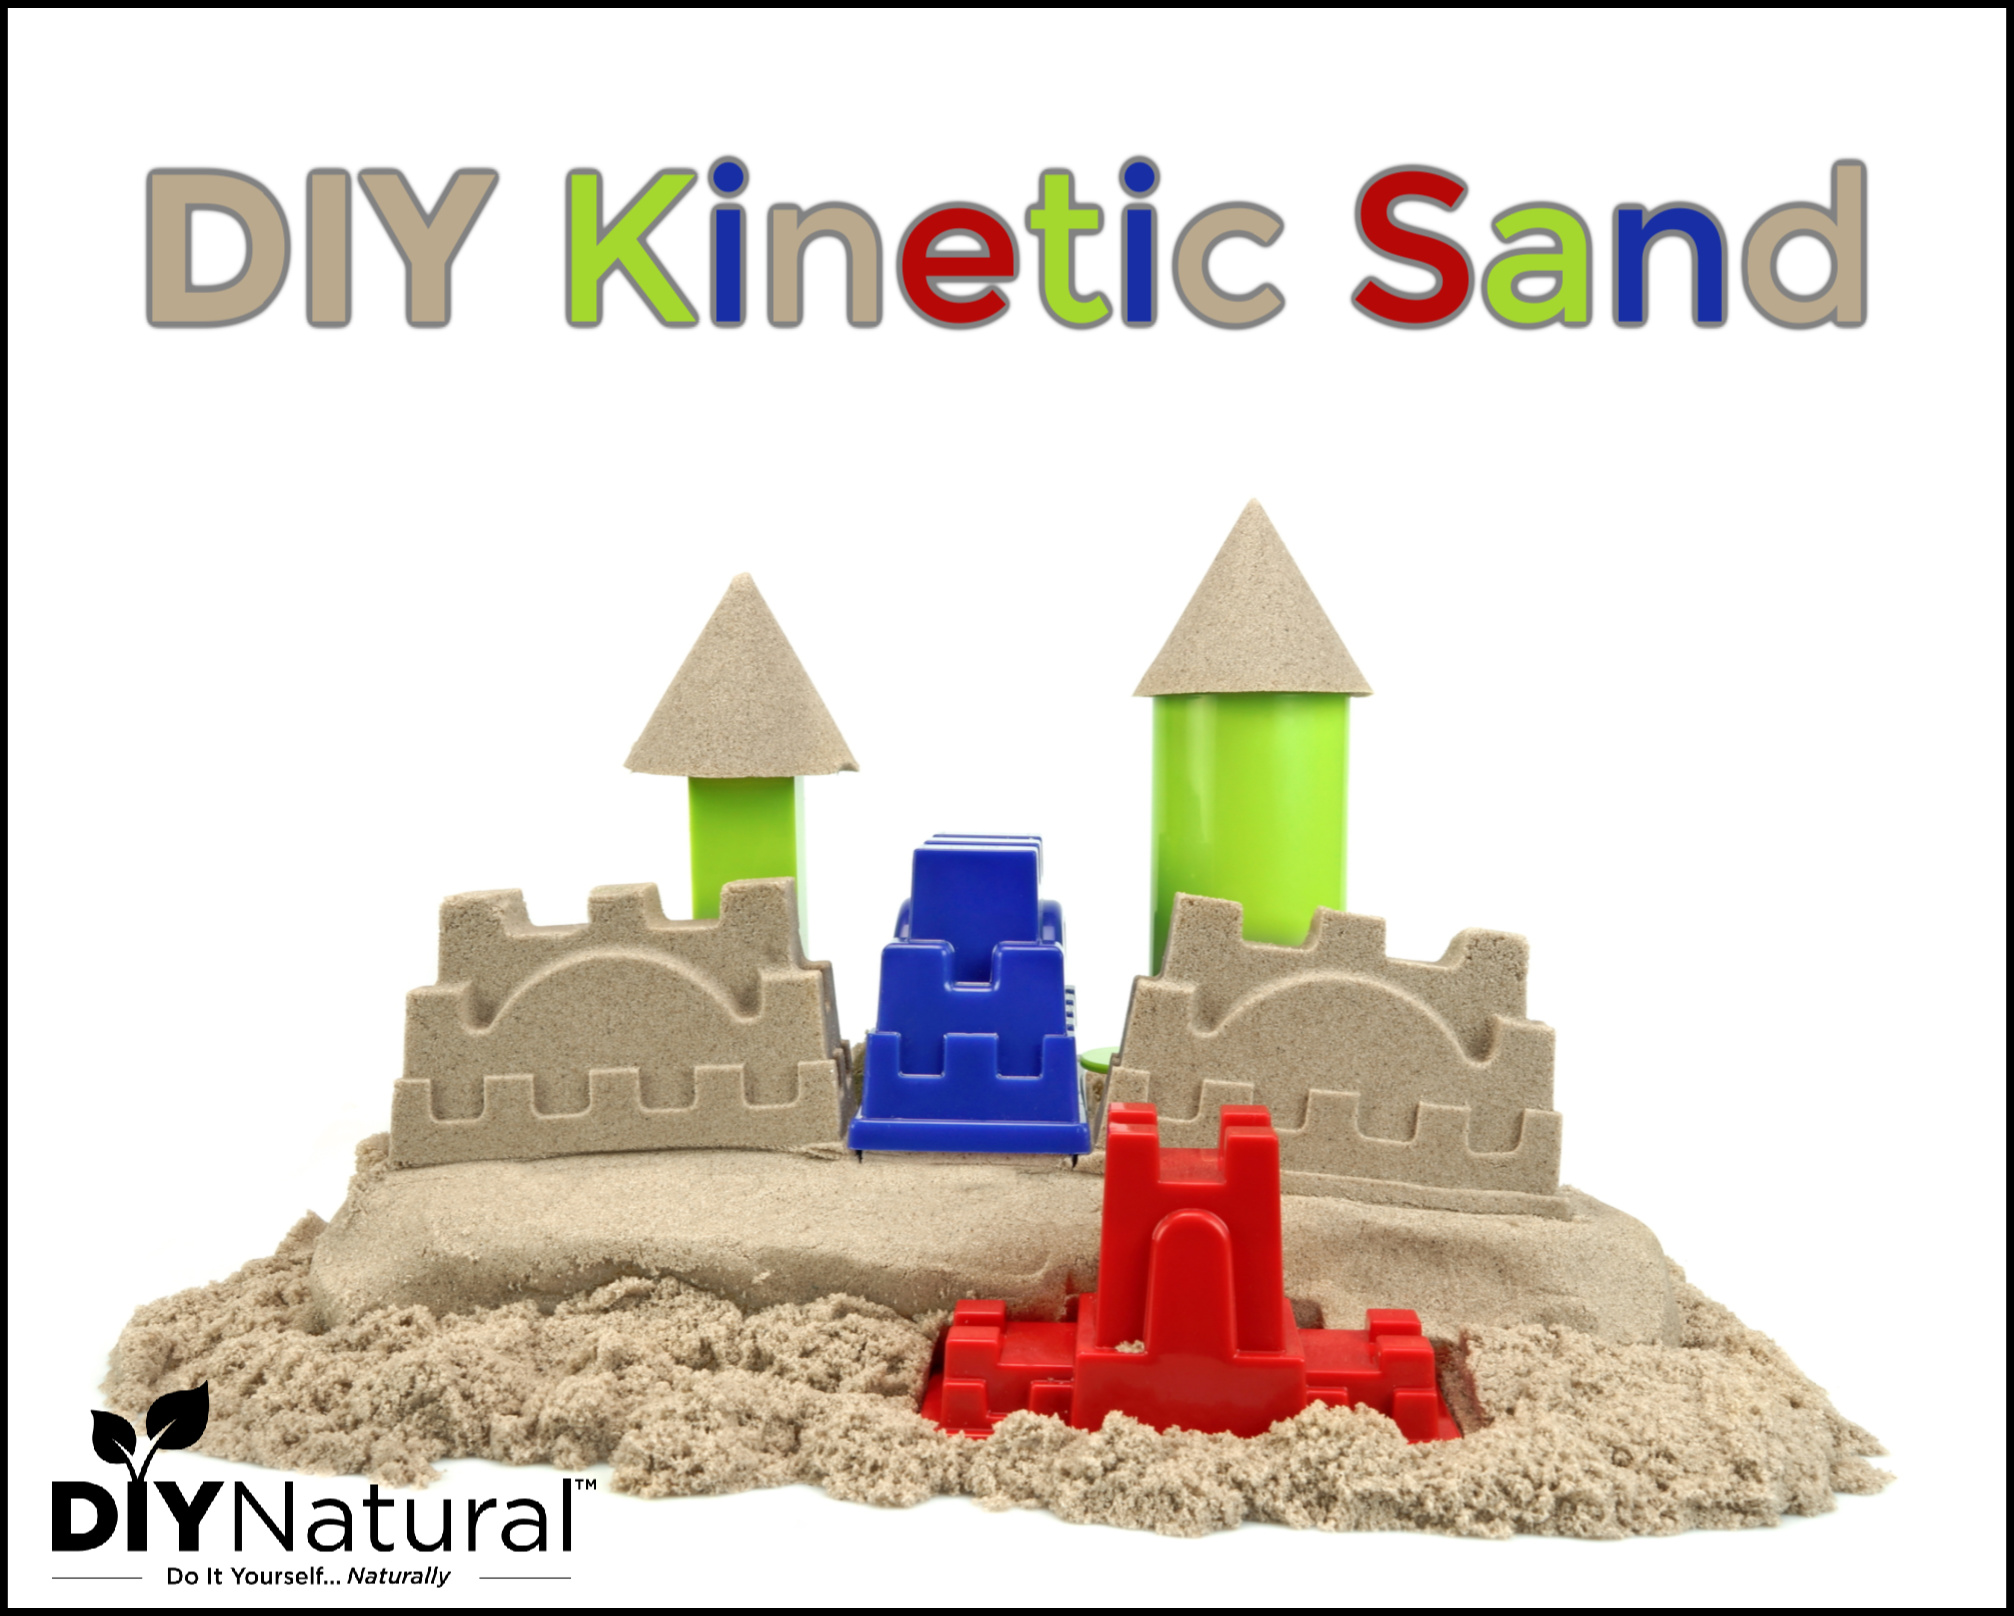
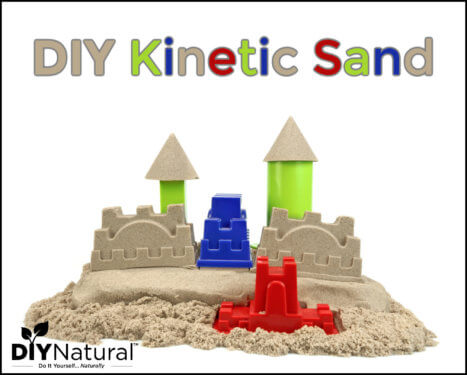
Learning how to make DIY kinetic sand is a great project for kids. It is also a fun way to keep them occupied on rainy and bad weather days!
Trying to keep kids busy is hard! To illustrate, from rainy days to snowstorms to summer boredom, kids need things to do. Instead of parking them in front of the TV or sending them to play video games, why not create some fun? There are many projects that kids can participate in, like making this homemade playdough recipe or even learning how to make kinetic sand!
What is Kinetic Sand?
Kinetic Sand™ is trademarked toy sand that is made from sand and silicone. You can mold it and remolded it, like beach sand, but it doesn’t dry out. You can purchase it or make similar sand with just a few ingredients that you probably have at home.
How to Make a DIY Kinetic Sand Recipe
Learning how to make DIY kinetic sand is a great project for kids. It is also a fun way to keep them occupied on rainy and bad weather days!
- Prep Time
- 15 minutes
- Active Time
- 15 minutes
- Total Time
- 30 minutes
- Servings
- 16 ounces
- Estimated Cost
- $3
Equipment
- 1 bowl
Ingredients
- 2 cups colored sand
- 1 Tablespoon cornstarch
- 1/2 Tablespoon liquid soap (dish soap)
- 1-1/2 to 2 cups water
Instructions
-
First, ensure your sand is dry. You may also want to sift it through a screen to get out any larger pieces.
-
Next, mix the sand and cornstarch together very, very well.
-
Stir the soap and water together in a separate container.
-
Now pour 1 cup of soapy water into the dry mixture and mix well.
-
From here, add small amounts of liquid together with the sand, mixing well as you go. You may not need all of the water, or you may need a bit more. You want to get your batch of play sand dough to a consistency where it is damp, but not liquid. Also, it should hold its shape for a few seconds to a minute. If you get it too wet, you can either let it dry out or add a bit more sand.
Recipe Video
Notes
There, you just made DIY kinetic sand! Store your sand in a container with a good seal. If you take care and don’t let your sand dry out in between playtimes, it will last for a very long time. This homemade kinetic sand is GREAT for sensory play and sensory activities!
Made this recipe?
Mention @diynatural or tag it #diynatural!
Coloring Your DIY Kinetic Sand
Plain-colored sand can be fun, but can also get boring after a while so try making it in fun colors.
We don’t recommend using food coloring as it may stain skin and containers. And food color with sand will just look murky. A better idea is to use colored sand, which you can find at craft stores and garden supply centers, or online here. Look in the wedding section of craft stores as they often stock sand with unity candles.
Pet stores may also have colored sand for making kinetic sand in the aquarium section. I’ve even found colored sand at dollar stores. Be creative and look around. You never know where it may turn up!
Substitutes for Cornstarch
If you don’t want to use corn starch in your DIY kinetic sand, you can substitute arrowroot powder or even potato starch or kudzu starch. Any type of starch will work in this case. Flours won’t work as they become like glue when they are hydrated with water. Liquid starch does not. And bacteria may grow in flour/water mixes. Starches are better in this case.
Tip: Next you should try making an edible slime recipe.
Learning how to make kinetic sand is easy and fun! Make some today.
*******

Hello!! I am happy to report that after letting our sand dry out overnight, we started over from scratch and tweaked the recipe just a bit.
2 cups of sand
1/2 tbsp soap
1 tbsp cornstarch
1 cup water
Poured small amounts of soap water I sand and mixed thoroughly before adding more. Only used a 1/4 cup
I think we could add more water but I used a smaller bowl this time.
I’m so bummed! Followed directions and it did not work. We are letting it dry out for a bit and hopefully that will help. I would agree that there may have been to much water.
Mine was a total fail. Maybe it’s because I used very fine, colored sand from a craft store? It was soupy even with a fraction of the water. Hmmm.
It did not work
Interesting. Where do you get the sand?