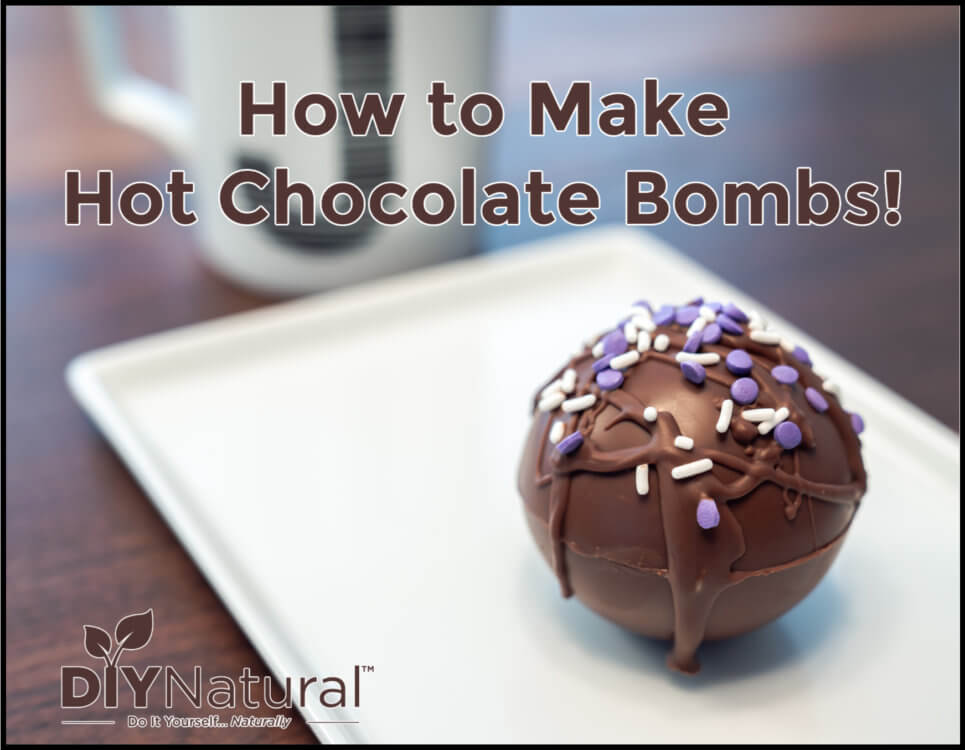
Before learning how to make hot chocolate bombs I thought it was just chocolate melted in a cup of milk. Enjoy my hot chocolate bomb recipe!
How to Make Hot Chocolate Bombs
Hot Cocoa Bombs are so much more than just chocolate melted in milk! So let’s break it into steps and get started so we can enjoy this amazing treat ASAP!
Making the Hot Chocolate Bomb Shell
You can use a few types of chocolate for this, just be sure it will harden enough.
Ingredients and Equipment
- silicone half circle mold
- melting chocolate (wafers, chocolate bark, or make your own)
- double boiler
Instructions
- To make the hot chocolate bombs, first, make sure that your mold is very clean. I run mine through the dishwasher. Silicone can withstand the higher temperatures that can sometimes melt plastic molds.
- Next, melt your chocolate in the double boiler. Don’t have one? Place a glass or stainless steel bowl over a pan of hot water. Don’t let any water or steam get into the chocolate or it could seize-become a solid mess in a very short time. You can add a bit of coconut oil to the chocolate to help it melt and add an extra bit of nutrition to your hot chocolate bombs recipe.
- Once the chocolate is all melted, spoon some into the cups of the silicone mold. You can tip it in different directions to coat the inside of the mold or you can use a brush to “paint” the mold. You may want to do a few layers to build up strength.
- Place the mold in the refrigerator for 10 minutes or so to harden. Don’t leave it in too long. The chocolate could “bloom” on you. This is where the cocoa butter comes to the surface of the chocolate, making it look dirty or moldy. It’s not harmful, but not great to look at.
Once your hot chocolate bomb shells are hard, carefully peel them out of the mold. Let them set on a drying rack or parchment paper until you’re ready for the next step.
Filling the Molds
This is where the fun begins. I love to get creative with my hot chocolate bomb fillings because plain hot chocolate is boring!
- Crushed candy canes and chocolate chips.
- Hot cocoa mix and a drop of almond extract.
- Hot chocolate mix and coconut extract.
- Maraschino cherry juice and chocolate chips.
- Butterscotch chips.
- Mini marshmallows and chocolate chips.
- Hot chocolate mix, a bit of cinnamon, and a bit of cayenne pepper.
- Toffee candy bits and chocolate chips.
- Instant coffee and chocolate chips.
- and for the adults-hot chocolate mix with a few drops of Kahlua.
In short, these are just a few examples of the many creative ways you can fill the bombs. Once you have your filling done, it’s time to close the bomb.
Sealing the Hot Chocolate Bombs
There are two ways to seal your bomb. The first is to use a warm plate. I place a plate in the oven at a low temperature, just enough to melt the chocolate. Take the plate out of the oven and place it on the stove. Take one of the unfilled dome halves and run the edges along the surface of the warm plate until the edges are slightly melted. Press this against the filled edge of the half dome to make a full sphere. Don’t worry about what it looks like right now. Allow to cool or place in the refrigerator for a few minutes. Once it is cool, then you can trim the excess off of the meridian of the dome. Pack the hot chocolate bombs in tissue paper for gift giving.
The second way to seal the bomb is to use a bit of warm chocolate and paint the edges of it. Then cool and trim as above.
Fancy it up!
Once your bombs are done, you can give them as gifts just as they are, or make them fancy. You can drizzle a bit of chocolate over the top and add sparkling sugar. Or use white chocolate on a dark bomb. Or the reverse. There are many ways that you can make your bombs look nice. I like to use a few sprinkles on mine to match the season. Whatever you do, have fun!
Are you going to try to make hot chocolate bombs? They are great as gifts or for a fun surprise after a day of playing in the snow.
*******


Get molds here.
Where do you get the bomb molds?
Why are they called *hot* chocolate bombs?
Sounds easy enough. Kinda surprised you don’t link the items to Amazon where you could make a few bucks on the sales.
I put a plate on top of a heating pad to warm it (and keep it warm), then use the warm plate to melt the halves and seal them together – that way I don’t have to worry about the plate cooling while I’m working.
I fill a coffee cup with boiling water and place a plate on top. The plate heats up just enough to melt the edges of the top dome so I can seal them together!
Where’s the recipe ingredients?
Erm, it’s just melted chocolate! Like how you make Easter Eggs?
These look great, I don’t know why I didn’t think of making these instead of buying them! Will be making these as gifts next Christmas ?