
In grade school, a friend came over to our house one afternoon while my Mom was making a pie. This friend was amazed that you could make pie crust at home. She thought it was something you could only get pre-made!
For many of us, even though we know it can be done, the idea of making a pie crust recipe from scratch seems too tedious or difficult.
Sure, the pre-made crust is easy to roll out or just dump your filling into. But, making a pie crust from scratch doesn’t have to be that much more difficult.
With the Holiday season coming up, there’s no time like the present to start practicing your pie crust recipe. Let this be the year that you impress all your family and friends with from-scratch pies!
Easy Pie Crust Recipe Basics
At its most basic, pie crust is simply a mixture of flour and fat with a little salt thrown in for flavor.
The fat is cut into the flour, like you would when making biscuits. Then, the mixture is brought to a stiff dough state with a little cold water.
What Fat Should I Use To Make Pie Crust?
The MOST traditional fat to use for pie crust is lard. If you can get your hands on some good quality leaf lard (or render your own pork fat) Grandma will be very proud. And you’ll have yourself one heck of a tasty, flaky pie crust.
Leaf lard can be hard to track down, so we typically stick with a crust made from a good quality butter.
Butter crusts are still nice and flaky, and incredibly easy to work with, making them perfect for the first time pie crust maker.
(You can also use oil, like melted coconut oil, to make pie crust. But, the resulting crust will be much more crumbly, and the dough is a bit more difficult to work with.)
Finally an Easy Pie Crust Recipe
To make it an easy pie crust, I like to break out my food processor for the dough. Cutting butter into flour can get a bit tedious, and the food processor brings the dough together in a matter of minutes.
Once the food processor has created the dough, I can plop it on my counter and roll the crust out. Super simple!
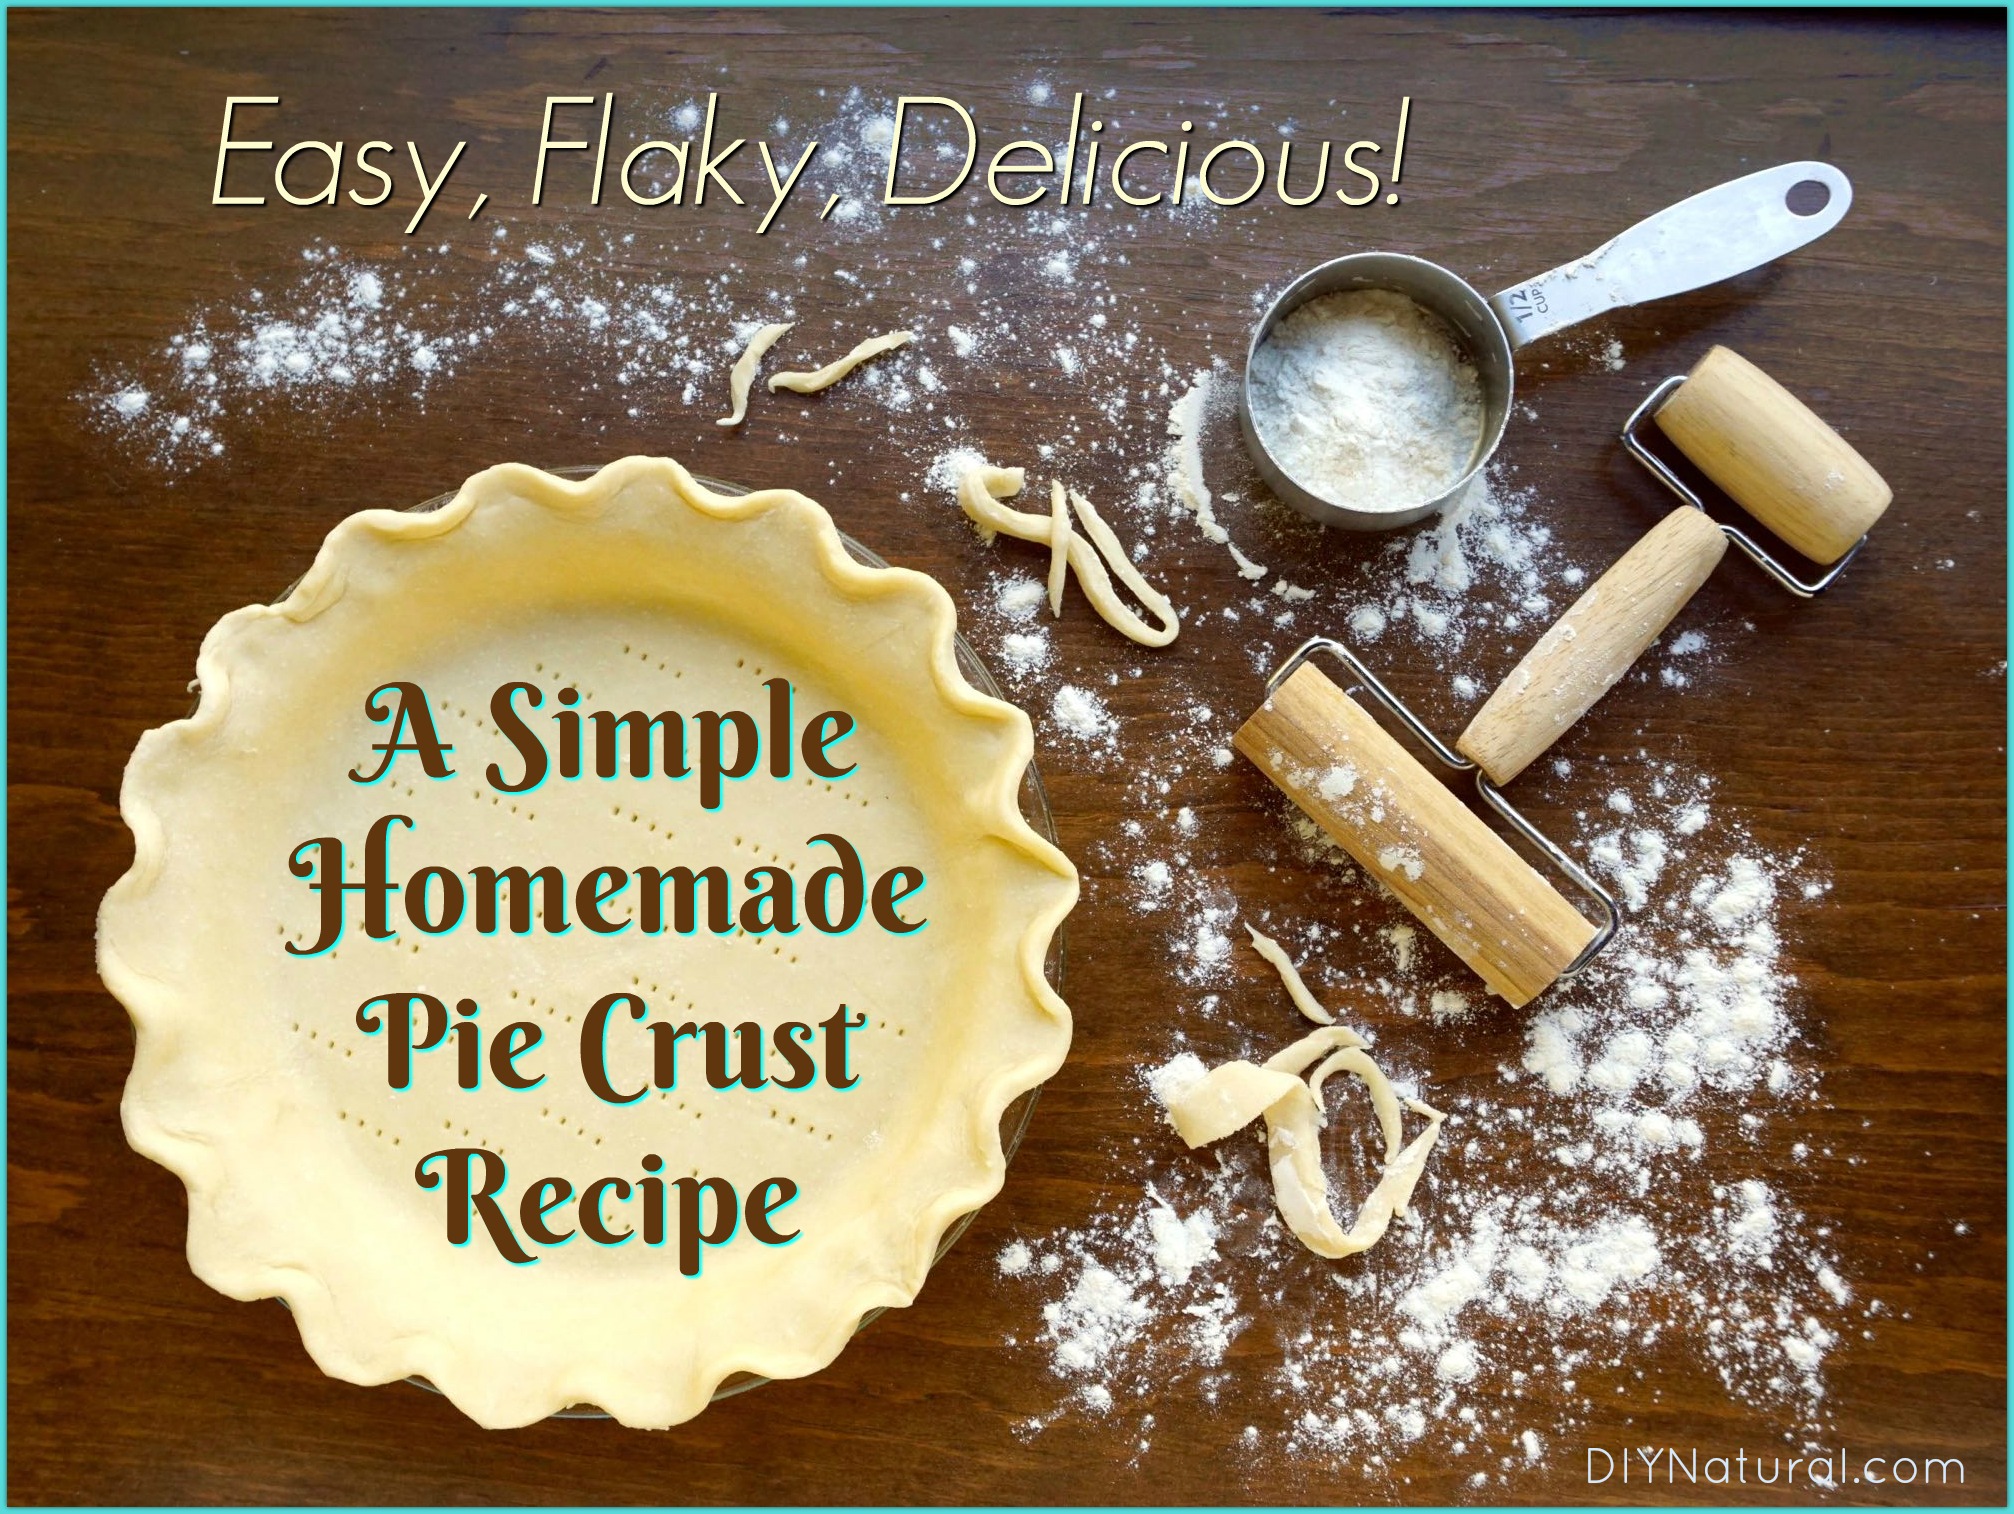
How To Roll Pie Crust
The important thing to remember when rolling pie crust is to roll it on a well-floured surface. That way your crust is easy to move from the counter once it is shaped.
You’ll want to dust your rolling pin with flour too, to be sure it doesn’t stick.
To make sure you have a large enough crust, add 3 inches to the diameter of your pie pan. So, if you have a 9-inch pan, roll your crust into a 13-inch diameter circle.
The recipe below is for a single, bottom crust. It can be doubled to give you ample crust for a double crusted pie, plus some extra for you to get fancy with decorations.
How To Bake With this Easy Pie Crust Recipe
There are two options you have when it comes to baking your homemade easy pie crust.
To blind bake, or not.
Blind baking is where you pre-bake your pie crust, and it is typically done if you have a very wet filling (like for a quiche). This ensures that the crust cooks through and doesn’t end up doughy as a result of the moisture from the filling.
To blind bake your crust, you want to weigh it down so it keeps its shape. You can purchase pie weights for this, or you can use beans or rice that you keep specifically for this purpose. (They won’t be good for cooking after blind baking.) Either way, I like to line my crust with aluminum foil before filling it with the weights, making it easier to remove the hot weights after the crust is done.
If you are filling your crust with a dryer filling mixture, like ground meat or fresh fruit, then there is no need to blind bake your crust. It will crisp up nicely before your filling starts to break down.
How To Decorate Pie Crust
If you’re making a double crusted pie, any leftover crust dough can be used to make decorations. Small cookie cutters work great for cutting shapes out of the rolled out dough.
When decorating your double crusted pie, use a little water to make the crust decorations stick to your top crust.
It is also a good idea to use a little water to help your top crust stick to your bottom crust around the edges.
Easy Pie Crust Recipe
Yield: 1 bottom crust for a 9 inch pie (double the recipe for a double-crusted pie)
Prep: 15 min
Cook: 10 min (to blind bake)
Ingredients
- 1½ cups unbleached all purpose flour (find organic all-purpose flour here)
- ¾ teaspoon salt (find unrefined sea salt here)
- 8 Tablespoons (½ cup) unsalted butter, cold
- 5 Tablespoons ice cold water
Directions
- Place the flour and salt in the bowl of your food processor.
- Cut the butter into small cubes and add it to the food processor. Pulse the butter with the flour and salt until the mixture is sandy and the butter has been cut into small, even bits. (Alternatively, place the butter and salt in a bowl and cut the butter in by hand, until the mixture resembles coarse sand.)
- Add the cold water and blend with your food processor (or a fork) until the dough comes together.
- Turn the dough out onto a well-floured surface. With floured hands, press it into a flat disc. Flour a rolling pin (or the top of the dough) and roll the dough out to a circle with a 13-inch diameter.
- Transfer the well-floured crust to your pie tin by loosening it from the counter and gently folding it in half. Gently position the crust in the tin, and unfold it to cover the whole tin. Press the crust into the tin.
- Trim and flute the edges of the crust, if desired. Then, prick the bottom of the crust all over with a fork.
- If blind baking, place a sheet of aluminum foil inside the crust and fill it with pie weights, dry beans, or dry rice. Bake the crust in a 400°F oven for 10-15 minutes, until lightly golden. (If not blind baking, proceed directly to filling and baking!)
- Remove the crust from the oven and let the weights cool slightly before removing them along with the aluminum foil.
- Fill and bake the pie as directed in your pie recipe.
This crust recipe can be doubled to make a double crusted pie. Make the crust as directed, but divide the dough in half. Roll the bottom crust out first. Then fill your pie. Finally, roll out your top crust. Moisten the edges of the bottom crust with a little water to help the top crust stick better when you push the edges together.
What’s your favorite pie to bake or eat?
*******


I really like your recipe and tips along the way. I will be trying this for Thanksgiving and hopefully won’t buy another crust. I will let you know how it comes out. Thank you
To name blind, I have a container of smooth round pebbles that were throughly washed and I’ve used them for years.
Bake blind.
Thanks for sharing.
Buy New Zealand sea salt AND fish! Why not come by for a visit?
I don’t recommend using sea salt for any recipe any more. I recently read an article in which 9 of 10 brands of sea salt tested contained microsized pieces of plastic. Only one brand that was from a country in Europe (I don’t recall which one) did not contact plastic. Just a thought/warning.
It’s funny because I hadn’t known that you could BUY a ready made pie crust until I visited the USA.
When we make a flakey pastry crust we roll it 3x. We roll it large and fold it in 3 in both directions then wrap it it plastic wrap and refrigerate it for about 30mins then roll it out and fold it again, and refrigerate it again and then roll it out and use it. This method takes tome but makes wonderful layers in the pastry.
That’s how we were taught how to make it. When I was 11 or 12 we studied various pastries, shortcrust, puff pastry, choux and flaky pastry. Yeast pastry and richer pastries came along later. Delicious!
Thanks for sharing this recipe. I really appreciate it. Beat wishes and many blessings. Mary Elizabeth Grove
Can you use bacon fat in place of butter? If so, would you use the same amount as you would have with the butter?
Yes you can! We love using bacon fat if we’re making a crust for a savory pie. Just use the same amount as the butter. Enjoy!