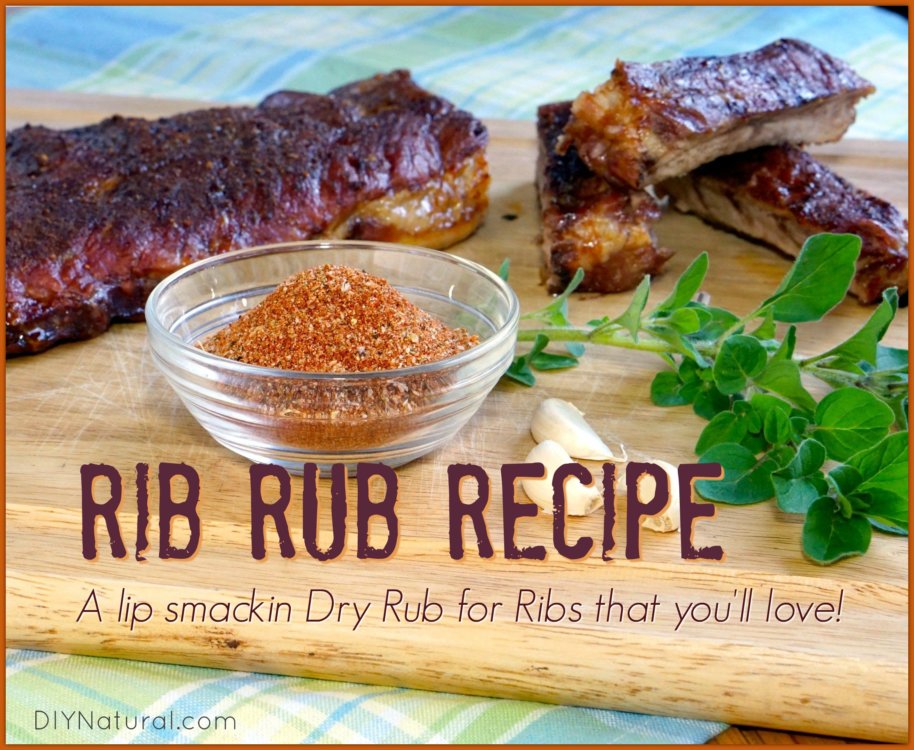

Make this dry rub for ribs for BBQ season. Making tender, flavorful ribs is easy to do at home, especially with this delicious rib rub recipe!
Dry Rub for Ribs: My Rib Rub Recipe
Summer’s coming, and for our family, that means cookouts, burgers, and ribs! Believe it or not, flavorful, juicy, fall-off-the-bone tender ribs are incredibly easy to make at home.
The Basics Of Seasoning Ribs
When it comes to seasoning ribs, the big question is wet or dry?
Wet ribs are mopped with a sauce during cooking and topped with that sauce for serving. Dry ribs are rubbed with a seasoning mix before cooking. Often the seasonings are the same for the two versions. The only difference is that a liquid (vinegar, oil, water) is added to the dry rub to create the wet sauce.
Wet or dry, rib seasoning typically includes sugar. The sweetness acts as a flavor enhancer and helps with the browning of the meat and the forming of the crust. But, it doesn’t have to be that way. My goal with this recipe was to create a stellar dry rub for ribs without sugar that still packed all the desired sweet and smoky rib flavor.
Cooking Ribs In The Oven
It is so easy to cook ribs in the oven, it might be dangerous. Once you realize how easy it is, you will be ready to serve ribs once a week.
- Prepare a baking sheet by lining it with aluminum foil and placing a roasting rack or oven-safe cooling rack on top of the foil-lined sheet.
- Rub your ribs all over (both sides) with your dry rub. (You want to do this step at least 30 minutes in advance. Or, if you have time, you can season your ribs a day in advance and keep them in the refrigerator until 1 hour before you are ready to cook them.)
- Preheat your oven to 300°F. This may seem low, but “low and slow” is what creates that fall-off-the-bone tenderness that we’re craving.
- Cook the ribs for 3 hours, checking them about every hour to be sure they’re not getting too brown or dry. If they seem to be drying out, cover the ribs with aluminum foil and continue cooking.
That’s it! The ribs are done when the thickest, meatiest part of the rack of ribs registers 160-170°F on a thermometer.
Grilling or Smoking Ribs
While cooking ribs in the oven is simple, you don’t get that intense, grill-kissed, smoky flavor. In my opinion, nothing beats ribs cooked in a smoker, but for a long time, we didn’t have a smoker to cook our ribs. Thankfully, it’s easy to turn your charcoal grill into a smoker to cook some seriously fall-off-the-bone tender ribs. If you’d like to learn how my husband and I do it, you can check out our guide to smoking ribs on a charcoal grill.
Dry Rub for Ribs Recipe
Prep: 5 min | Yield: ¾ cup
Ingredients
- ¼ cup paprika (find organic paprika here)
- 2 Tbsp garlic powder (find organic garlic powder here)
- 2 Tbsp onion powder (find natural onion powder here)
- 4 tsp coarse salt (find unrefined coarse sea salt here)
- 4 tsp cinnamon, ground (find organic ground cinnamon here)
- 1 Tbsp black pepper, ground (find organic black peppercorns here)
- 2 tsp cumin (find organic cumin here)
- 2 tsp allspice, ground (find organic allspice here)
- 1 tsp oregano, dry (find organic dried oregano here)
Instructions
Mix all ingredients together and store in a sealed container in the pantry until ready to use.
To Use
To use your dry rub for ribs, simply rub the ribs generously 30 minutes to 1 hour before cooking. Cook as desired on the grill, in the oven, or in a smoker.
Other Seasoning Ideas
On the grill or in the oven, my husband and I also love our Five Spice Asian Rib Rub for a fun and unique seasoning. If you don’t feel like smoking the ribs, using a homemade mesquite seasoning mix as a rub is a great way to infuse that smoky, mesquite flavor into oven-cooked ribs.
And, don’t forget the homemade BBQ sauce for serving with those juicy ribs!
Do you make your own dry rub for ribs? Share your secrets below!
*******


