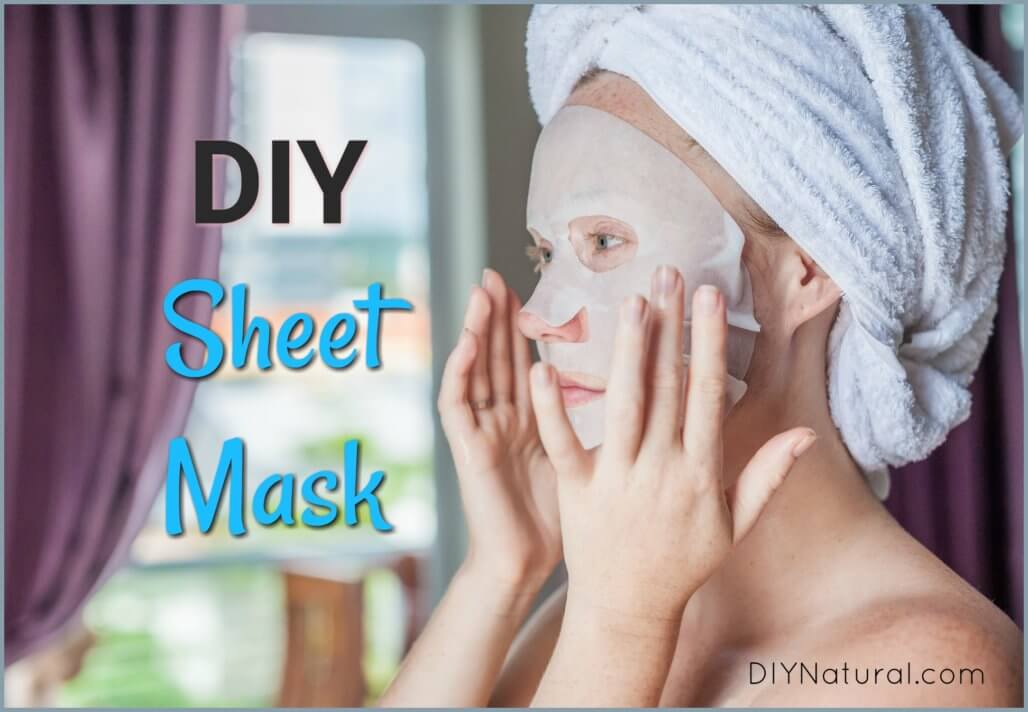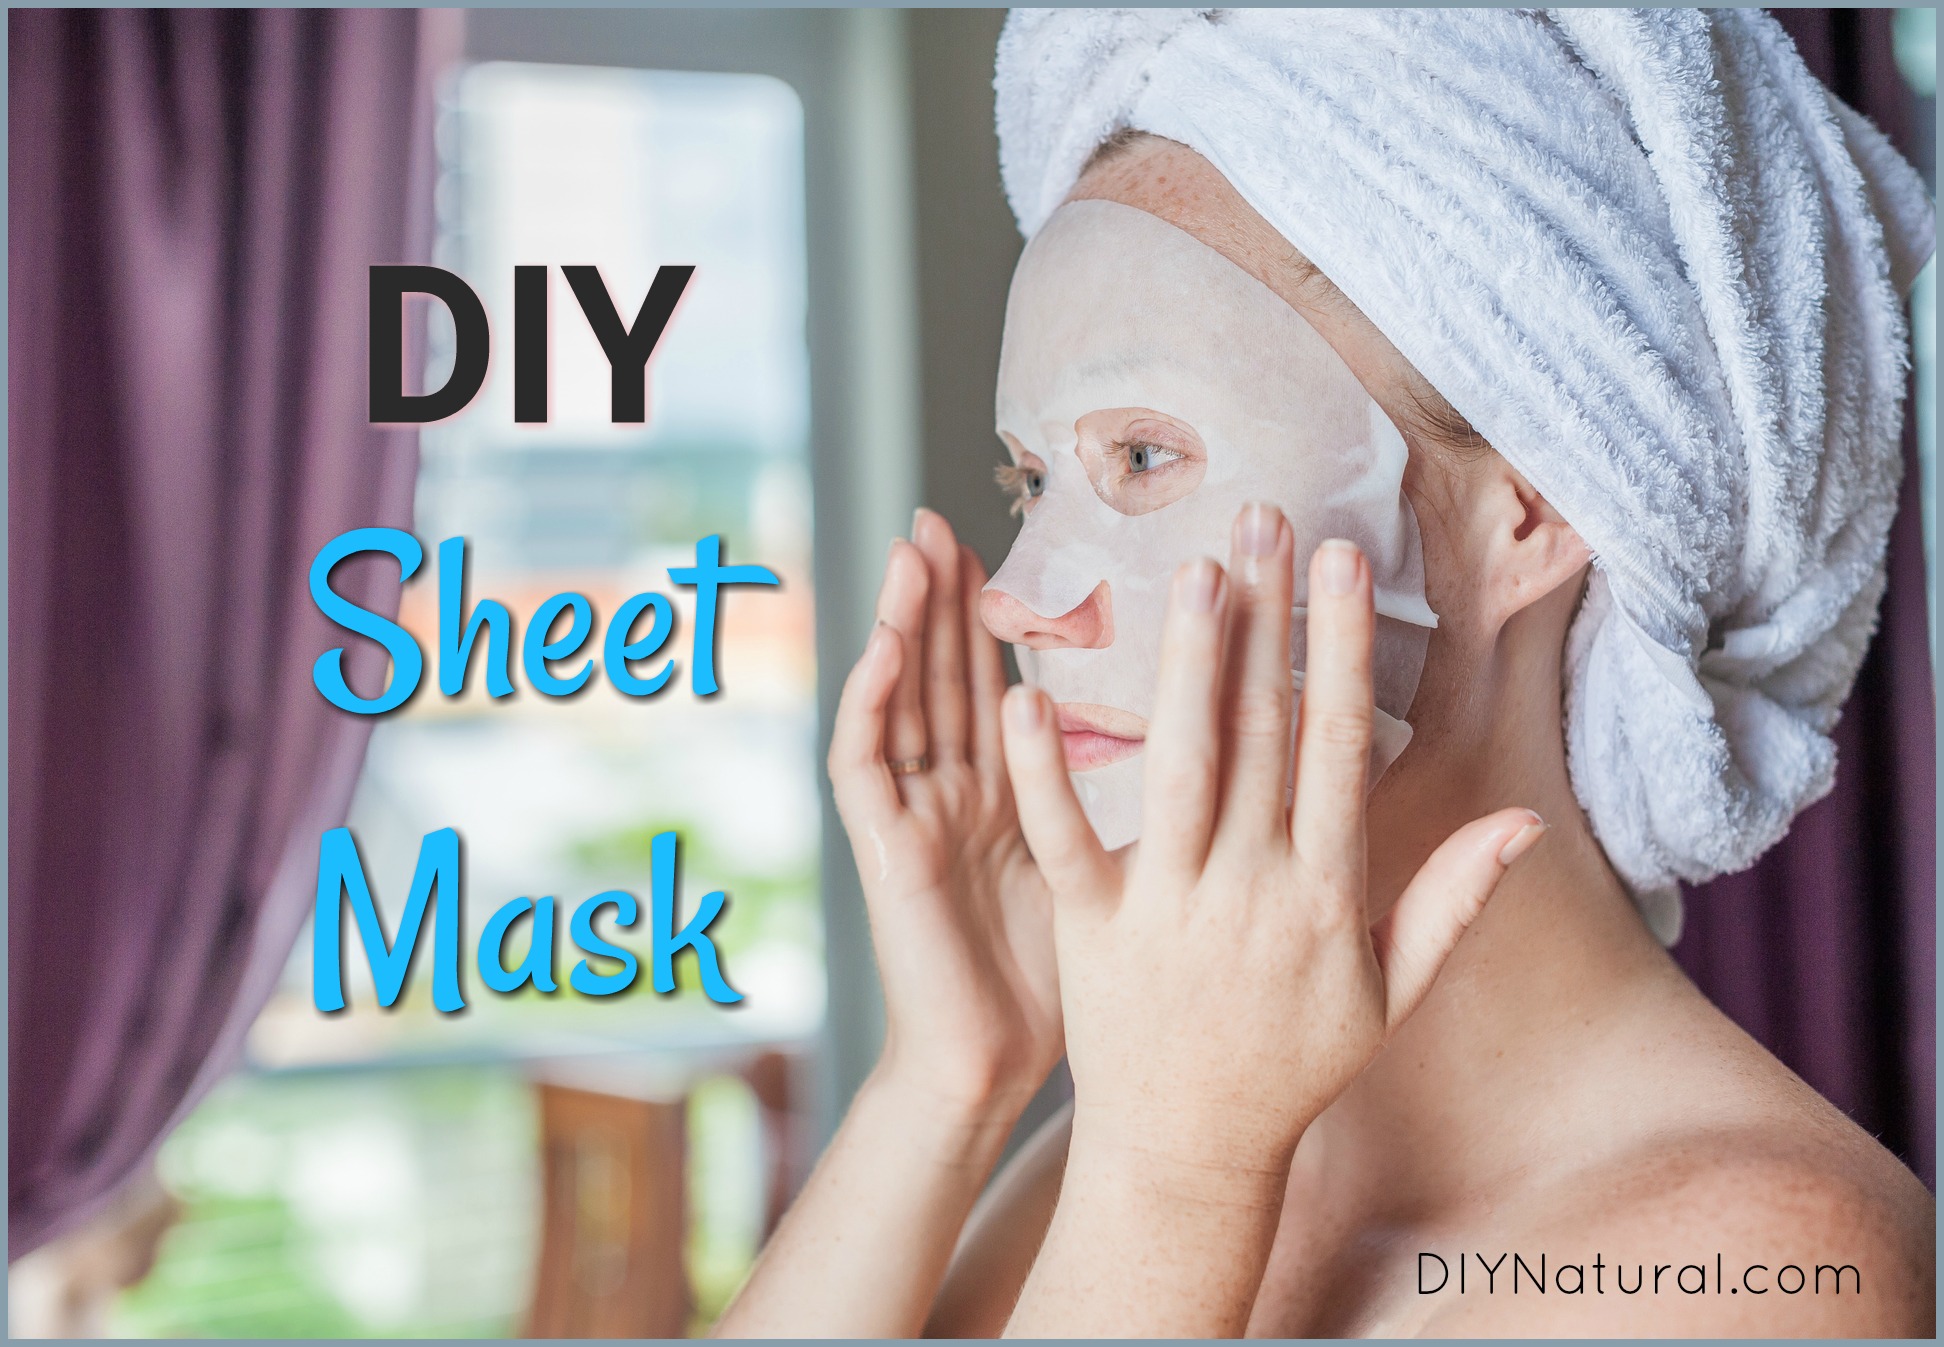
Making your own DIY sheet mask is very simple and inexpensive. Knowing how to make a peel off face mask allows you to customize it to your skin type or need.
Sheet masks have become very popular lately. They are thought to be inspired by a beauty craze in Korea which includes some pretty unusual facial treatments.
You can buy just about any kind of sheet mask you can think of, and they’re priced anywhere from $3.00 to upwards of $12-$18 for a single mask. But making a DIY sheet mask is not complicated, and learning how to make a peel off face mask allows you to customize it to your skin.
Making a DIY Sheet Mask for Your Face
Buying or Making the Sheet
DIY sheet mask blanks are available on all kinds of websites (find them here). You can get them in many materials including all cotton (here) and reusable silicone (here). They are very inexpensive, most ranging from $.05 to $.09 each. For that reason, I get mine in a pack of 100, which lasts me nearly two years if I make one per week. The last pack I bought was $2.75 for 100 masks, and had free shipping!
You can also make your own DIY sheet mask blanks. I’ve made my own from a piece of flannel material, simply cutting to the size of my face and cutting out holes for my eyes, mouth, and nose. Stitch the edges in a zigzag stitch to keep them from unraveling, and you’ll have masks you can use over and over.
Liquid for the DIY Sheet Mask
The beauty of a DIY sheet mask is that you can customize them to your skin type. There are thousands of liquid ingredient combinations when learning how to make a peel off face mask. Below are a few of them.
Liquids and Their Attributes
- Chamomile Tea helps calm the skin and reduce redness (find dried chamomile flowers here)
- Tea Tree essential oil in warm water to help fight acne (find tea tree EO here)
- Lavender essential oil and witch hazel to help shrink pores (find lavender EO here and witch hazel here)
- Oat slurry to help moisturize skin (mix oats in warm water for 5 minutes and strain, using the liquid)
- Raw Milk is rich in beneficial fats for your skin and contains B vitamins and minerals
- Green Tea can help fight signs of aging
- Honey and Lemon Juice acts as a mild chemical peel to help exfoliate skin
- Pumpkin contains antioxidants to help exfoliate skin
- Bentonite or Kaolin clay can help draw unwanted oil from your skin (find these clays here)
- Activated Charcoal can help detoxify skin (find it here)
- Rose Water is a great ingredient in a DIY sheet mask to soften skin (find organic rose water here)
- Aloe Vera and Turmeric can help oily skin (turmeric can stain yellow, so use small amounts)
- Yogurt and Oatmeal can help deep clean your pores
- Olive Oil and Honey helps moisturize skin
- Plantain tea can help fight abrasions or acne (find organic plantain leaf here)
- Aspirin – dissolve a few aspirins in water to help clear blackheads
- Tomato Juice can help brighten skin
- Rice Water can help tighten sagging skin; great for sensitive skin (soak rice in some water like the oatmeal slurry).
This is only a partial list of what you can use on your mask. If you have a favorite facial mask, you can use it in this DIY sheet mask. Just add distilled water to make it a liquid.
Using Your DIY Sheet Mask
You’ll need enough liquid to make the mask a liquid. With things like tea or rose water, this isn’t a problem. With other ingredients like clay, you’ll need to add enough liquid (usually distilled water) to make it into a liquid. You’ll need a cup or so total.
1. In a bowl, prepare the liquid you intend to use and dip your mask into it. You’ll want it to soak in and coat both sides. Don’t wring it out, but let any excess liquid drip back into the bowl.
2. Unfold the DIY sheet mask so you can lay it on your face. Gently place it on your face, making sure the holes are lined up for your eyes, nose, and mouth. Smooth out any wrinkles and add more liquid if it seems bare in any spots.
3. Leave on your face for 30 minutes or so. Your face may begin to feel dried out, but don’t worry, this is only from the drying of the ingredients.
4. After 30 minutes, peel off the mask and discard or wash the sheet. The disposable cotton ones can go into the compost.
5. Rinse your face thoroughly. This may take quite a bit of time. I take mine off in the shower and lay a warm, wet washcloth on my face while I shampoo. Then rinse after it loosens up.
You can follow with a moisturizer if you like. I usually don’t need one. You can use your DIY sheet mask once or twice a week.
Other Mask Uses
The DIY sheet mask isn’t just for the face, although the sheet may look like they are. Use a moisturizing mask on your knees or elbows, or a detoxifying mask on your feet.
Got poison ivy? Use the plantain mask with some jewelweed to help clear up that rash. The plantain mask works great for bug bites too.
Have you tried making a DIY sheet mask? If so, tell us what you think!
Check out our article on making natural chemical peels too!
*******


