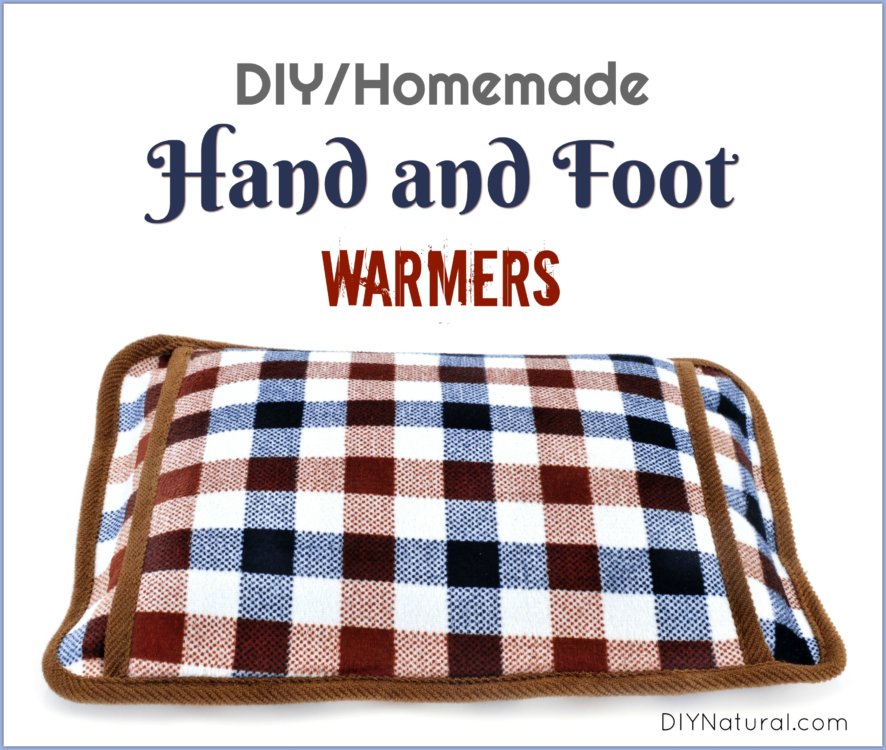
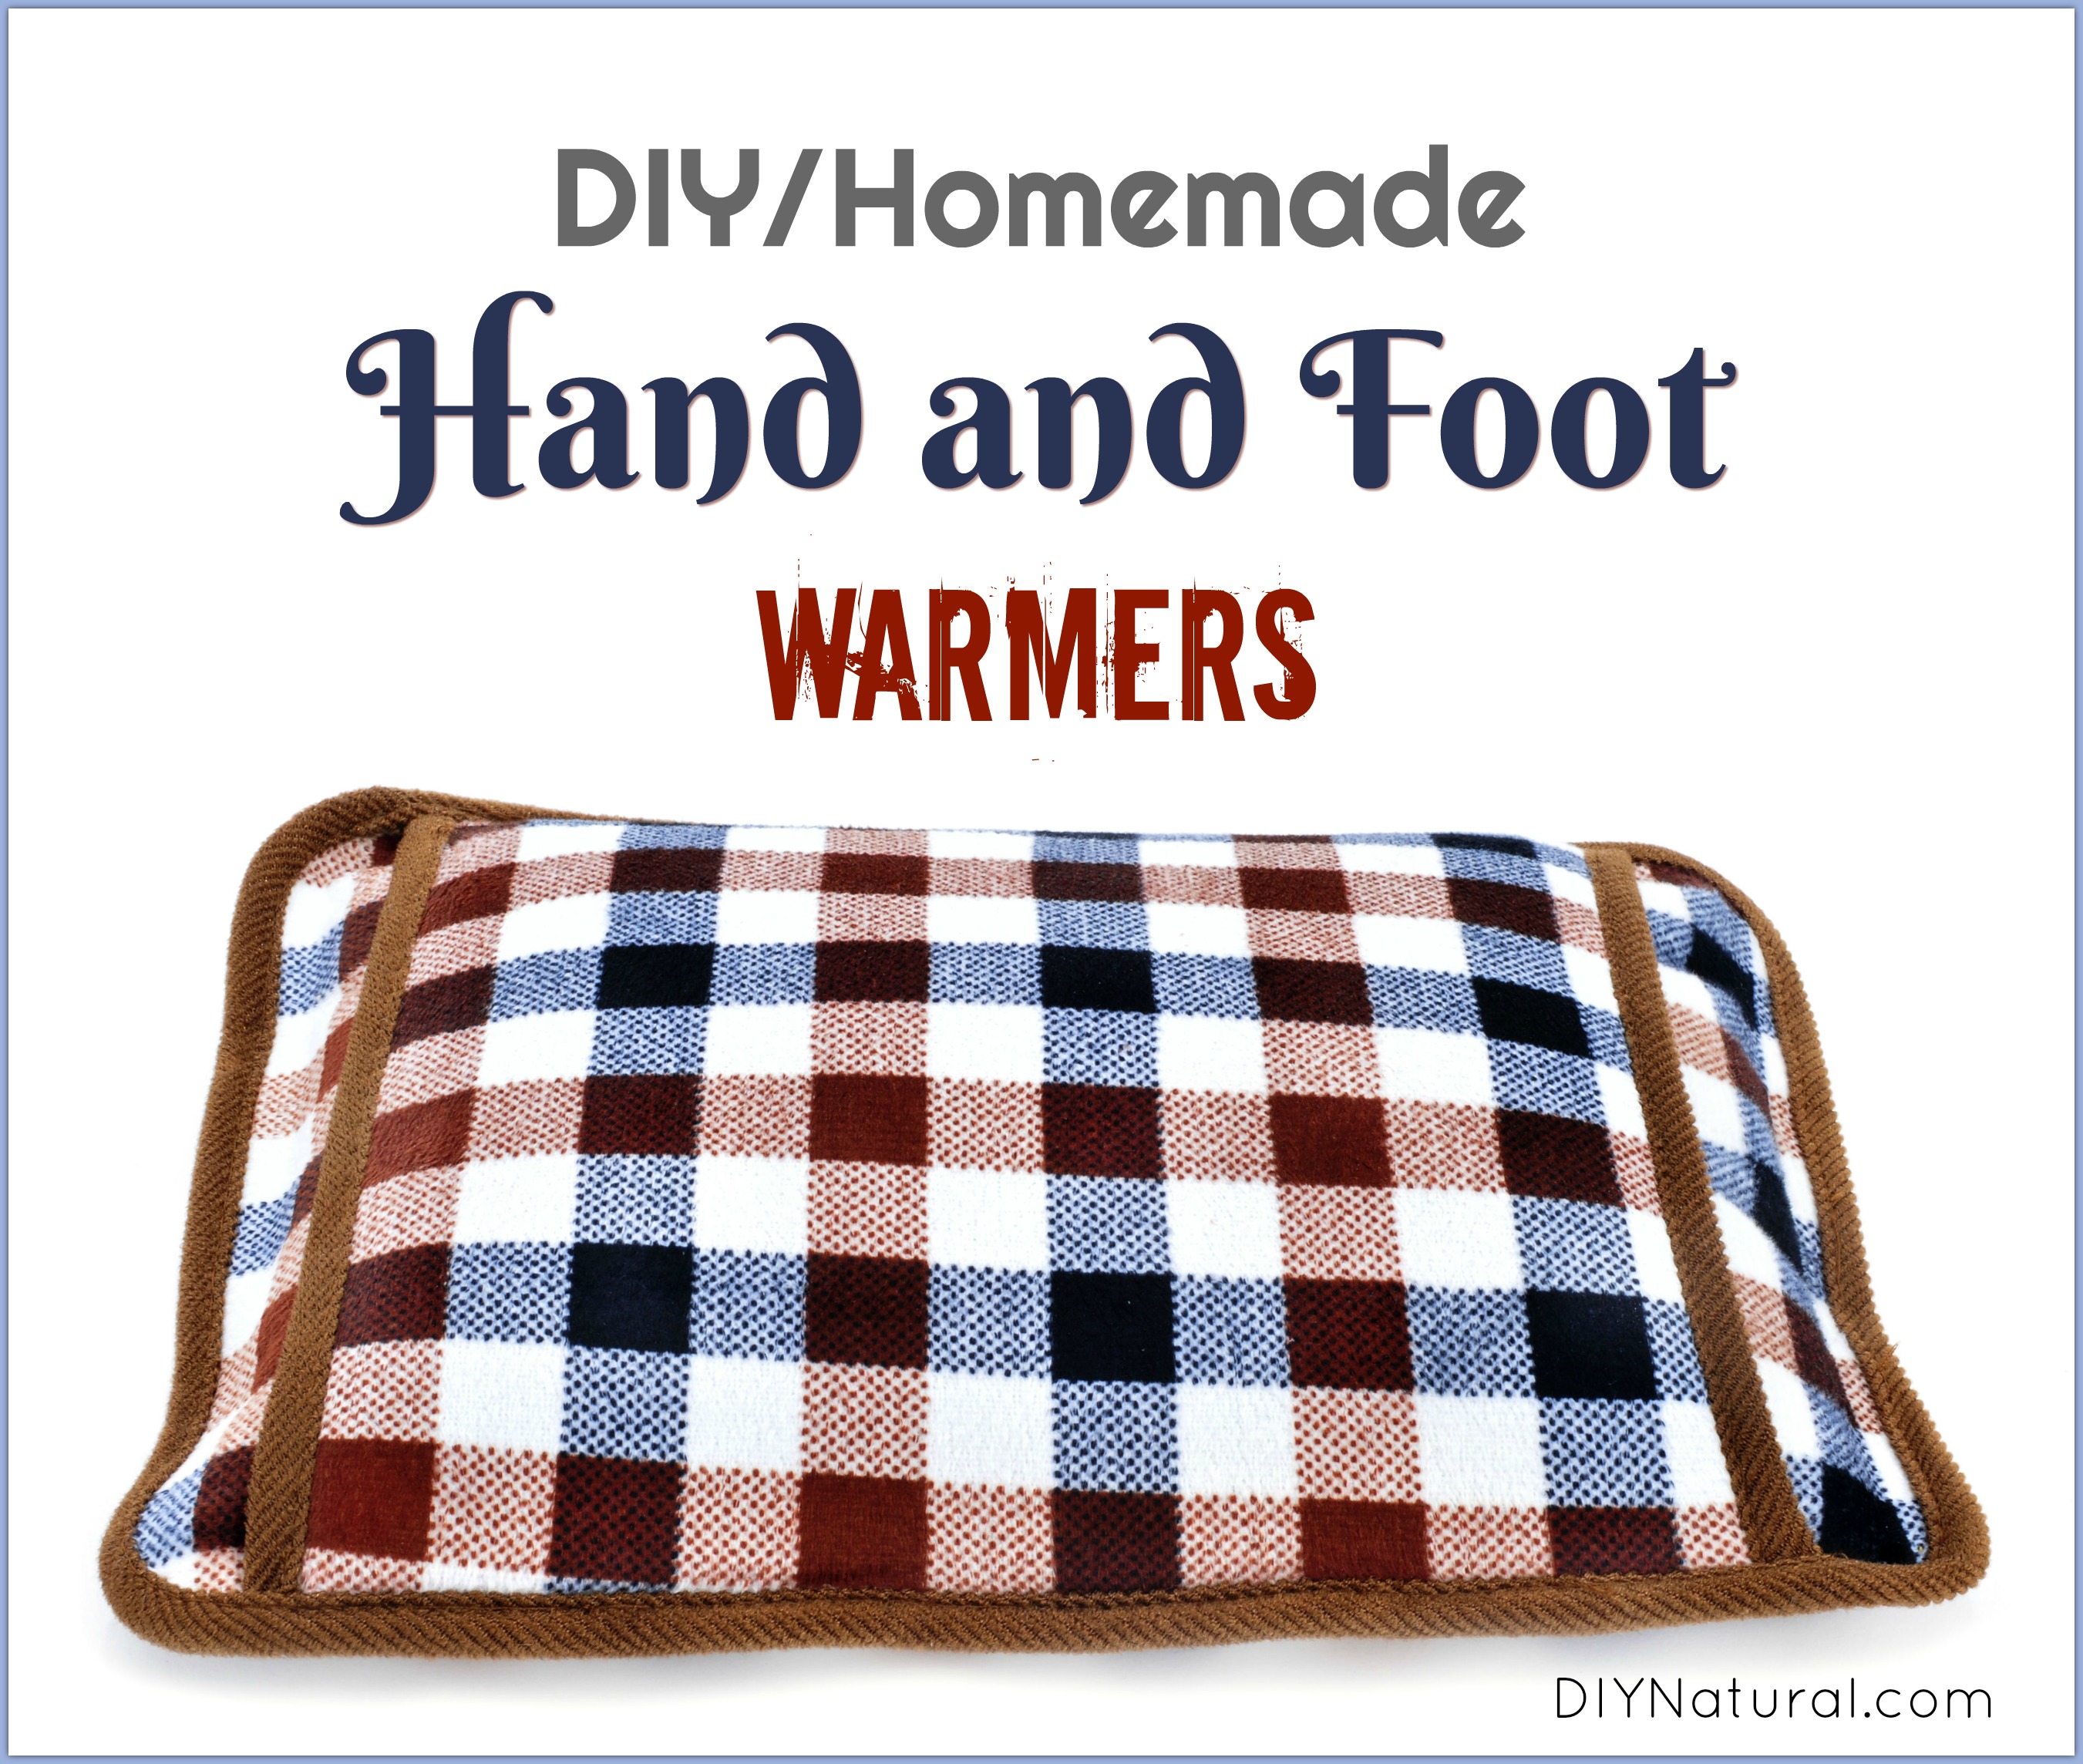
These DIY hand warmers and foot warmers are great for the coming cold months. Sure, you could buy some, but what fun is that? This is a fun homemade craft!
It’s fall, and the mornings are getting cooler. More than once I’ve gone to the car in the pre-dawn morning and discovered the steering wheel or car seat was so cold! This simple project can help solve the problem. Almost anyone can make a hand or foot warmer in a short period of time with a few easy-to-find materials.
DIY Hand Warmers and Foot Warmers
Materials you’ll need
To make DIY hand warmers, you’ll need a few things:
- cotton fabric in various sizes and colors
- either double the amount of fabric or a cheaper cotton muslin to line the warmers
- sewing machine or needle and thread
- something to fill the warmer – rice, flax seeds, small gravel, or sand*
- small funnel
*If using sand or gravel, bake it in the oven for a while to be sure there are no bugs or bacteria remaining.
Making the DIY Hand and Foot Warmers
1. To make the warmers, lay out your fabric on a cutting board or another flat surface. Decide the size you want and cut out a shape that is at least one inch larger on all sides. For example, I like a finished DIY hand warmer that is about 4-inches by 4- inches, so I cut the fabric to 5″x5″. I like homemade foot warmers to sit flat under my shoe, so 9-inches by 4-inches (finished) is a good size. I also made one for the seat in my car, about 16″x16″. Make them any size you like.
2. After you decide what size you need, cut out a lining fabric the same size. Lay the fabric out – the two outside pieces with the printed sides facing each other, then the liner on each side of that.
3. Sew a straight line along three sides and most of the top. I reinforce my corners, then cut a small section of the corner off so it sits better. Then turn the fabric inside out. If you’ve done it correctly, the printed sides will be facing out and the liner will be on the inside.
4. Place a funnel in the hole of the warmer. Fill with the medium of your choice. For DIY hand warmers, I make them pretty full. For foot and seat warmers, I fill them less so they can lie flat.
5. When you get them filled to your liking use a needle and thread to sew the hole shut. You’re done!
Warming your Homemade Warmers
To heat up your warmers, you can use a number of methods:
Warm them for a minute in the microwave.
Put warmers in a pan, then set the pan in the oven after you turn the heat off. (Or warm them on low in the oven.)
Set them over a register or in a pan on a wood stove overnight.
You can even warm your DIY warmers in a slow cooker. I had an old slow cooker that cracked, but it still heats, so I didn’t want to get rid of it. It’s useful for heating my warmers now. I place the warmers in it at night and set it on low, then hook the cord up to a timer, turning it on at 5:00 am and shutting off at 7:00 am. That’s just enough time to heat them before I go to work. (Alternatively, you can use the timer on your slow cooker if it has one.)
Homemade Warmer Tips
Here are some tips to make creating your warmers easier:
- Don’t overfill your DIY hand warmers. You can manipulate the shape better if warmers are not completely full.
- Use organic materials. Rice and flax seeds work very well and can be used over and over.
- If you use gravel or sand, your warmers will hold the heat longer.
- Don’t get them wet. Keeping them dry prevents bacteria and mold from forming in them.
- Use all-cotton material and thread so it doesn’t melt when heating.
- Line with cotton quilt batting to hold the heat longer.
- Make several! You’ll use them over and over, the family will borrow them, and friends will want them. They make great holiday gifts.
- Flannel cotton is a bit fluffy and helps keep them from sliding around. Cotton corduroy is another good option.
- Don’t use fabrics with metallic threads or print if you’re planning to use the microwave to warm them.
- For seat warmers, if the inside material shifts too much, sew baffles or channels into the fabric. This is one of the reasons quilting was created. It helps keep the batting from shifting as opposed to just sewing the outsides.
Have you ever made DIY hand warmers or foot warmers? Tell us how you did it!
*******


I have a neck/shoulder warmer like this but made with cherry pits. I love it! The weight is comforting when I’m having an RA flare up and it warms or cools my neck and shoulders better than a heating pad or ice pack. Just be sure to thoroughly clean your cherry pits!
I’ve never heard of using cherry pits, Jodie, but I’m going to try it! I just throw mine in the garden hoping they’ll sprout.
This is a great idea for gifts! (AND for ME!) Thank you for this wonderful idea. I usually am quite warm, thanks to an often unwelcome high body heat, but my daughters are always cold! I’m going to try making some this Christmas as gifts.
I make some for me ever year too, Carol! They seem to disappear with friends who come to visit when they leave in cold weather, but then I’m only too happy to share!