DIY Fire Bowl
This time of the year, when summer has ended but fall hasn’t quite set in where I live, I like to sit on the porch in the evening and watch the birds. But the bugs are still out in my neck of the woods and they always find me!
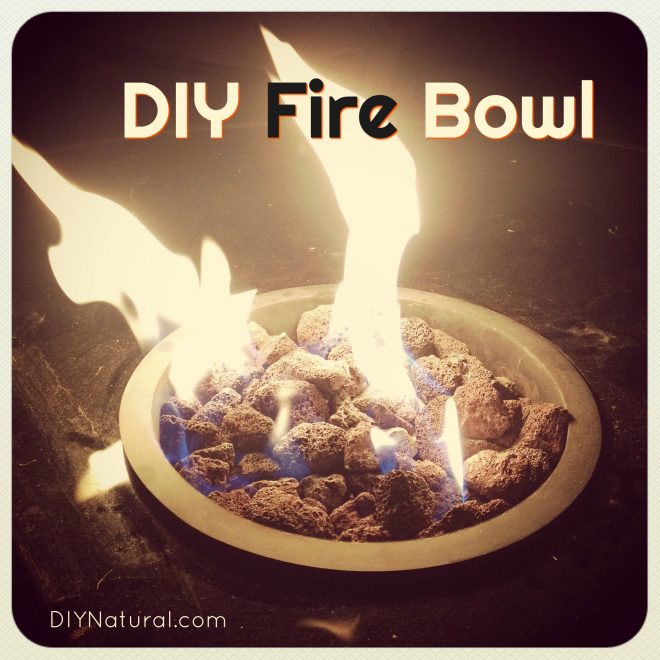
Using a gorgeous fire bowl is the perfect way to keep the bugs away and enjoy some ambiance at the same time. I love my fire bowls and use them often for this purpose.
Here is a simple way to make a DIY fire bowl and keep your evenings bug-free!
Make Your Own Beautiful DIY Fire Bowl
Select a Bowl
The main bowl can be made from a number of materials: any type of pottery, ceramic, terra cotta, or glass bowls will all work well. I usually have a few sitting around the shed waiting for new life in the spring.
Clean out the bowl well and allow to air dry for a few days. Note: When you add fire to a wet bowl and it gets hot, it could shatter or even explode. So be sure to dry them very well. Keep in mind that terra cotta can absorb a lot of water, so be especially careful to completely dry these. Place them in a sunny spot that gets warm. (I put mine on the hood of my car on cotton towels.)
Add Wire
Take a piece of hardware cloth that has ½-inch by ½-inch holes (like this), and cut a square that will fit just inside the bowl. You want it about 2 inches deep at the top. Bend the corners down to form a flat top with the corners bent. It should sit like a table inside your bowl. Fit it inside your bowl to be sure it will sit right, and adjust it if necessary. Take it out of your bowl, set it aside, and go to the next step.
Add Flames
Next, decide on a flame source. You can use a can of Sterno, which is a type of alcohol made into a gel, or you can purchase fuel gel and transfer it into a metal container. Tuna cans are a perfect little metal container.
To help keep bugs away, essential oils like citronella or rosemary can be added to the fuel gel. You can also buy pre-made torch fuel with citronella already added.
If you want a smaller flame, cover with foil, make a hole in the center, and add a wick. You can also just use the larger flame since it will be partially blocked.
Once you have your flame source set, place the wire that you’ve shaped over the top of your flame source. If there is a wick, be sure to thread it through the wire and leave about an inch exposed.
Add Rocks
Next, add a layer of river rocks. Again, be sure these are dry so they don’t explode when heated. The more solid the rock, the less worry you’ll have. Cover the entire screen an inch or so deep with rocks. The rocks need to be large enough that they don’t fall through the wire.
Agates, geodes, amethyst, and other harder rocks all look nice in the firelight. If you have a wick, be sure it’s not buried. If there is no wick, keep the area over the fuel shallow or keep the rocks away from it.
Light the Fire
When your DIY fire bowl is ready, place it on a table away from the wind and light the fire. It will blaze up a bit at first, just like a candle, but will die down momentarily. If it seems like the fire is too high, extinguish it. Wait for it to cool, then remove the screen, being careful not to get rocks in the fuel container. Fashion a cover for the fuel container using foil. Make a hole in the foil, replace the screen and rocks, and light it again. It should be a much smaller flame this time.
Colored Fire
If you want some cool visual effects, sprinkle about ¼ teaspoon of sugar (any type) on the rocks where the flame will be. The sugar will catch right away, flare with different colors, then die down.
DIY Fire Bowl Safety
- Always keep kids away from the flames.
- Don’t leave fire burning unattended.
- Do not use in windy conditions, or in areas of low moisture/drought conditions.
- Only use fire bowls outdoors.
- Don’t use to roast marshmallows! The fuel vapors may get on the food.
- Keep some baking soda handy in case of a loose spark. Water only spreads the oil and makes things worse. A damp towel will also work to extinguish the flames.
Extinguish Flames After Use
After using your DIY fire bowl, you’ll need something to slide under the screen to extinguish the flame.
A simple extinguisher can be made with an old butter knife and a lid from a tin can. Carefully sand the sharp edges on the can lid. Use an epoxy to bond the can lid and knife together on the end of the knife. Be sure to use a non flammable glue. Allow to dry thoroughly. You can then slide this over the flame, under the screen, to extinguish it.
Fire bowls have been a great addition to my porch. Have you ever used a fire bowl?
*******


Great idea! I took a soap making class from you in your home in St Paul many years ago. I am so glad you are still doing it. I just got started again and I am using supplies I bought from you .
Hi Barb! I’m pretty sure I remember you. It’s so good to hear from you again! Yeah, soap is my passion and always will be. You can contact me directly if you have any questions. I’ll be happy to help!
I would like some clarification. If the screen sits 2″ below the top edge of the bowl and then is covered with rocks, how do you slide and extinguisher in there to put out the flame?
*an* extinguisher
I can see where that is confusing Cathryn. I neglected to mention that I left a small space on one of the edges of the screen that I could slide the extinguisher into. Hope this helps!
Thank you!