Compost tumblers are expensive and usually made of plastic. Maybe they’re safe maybe not. I’d rather have a metal DIY compost tumbler, so I made my own!
Spring is Compost Season
Finally, Spring is starting in many areas of the country. I spent most of Saturday outside planting seeds and starts for my garden, using most of the compost that I had left from winter. My bins were new last year and haven’t accumulated much yet. I want to get a tumbling compost bin, but they are so expensive. Maybe I can make my own!
TIP: you can also make your own vermicomposting worm farm.
Bins for a DIY Compost Tumbler
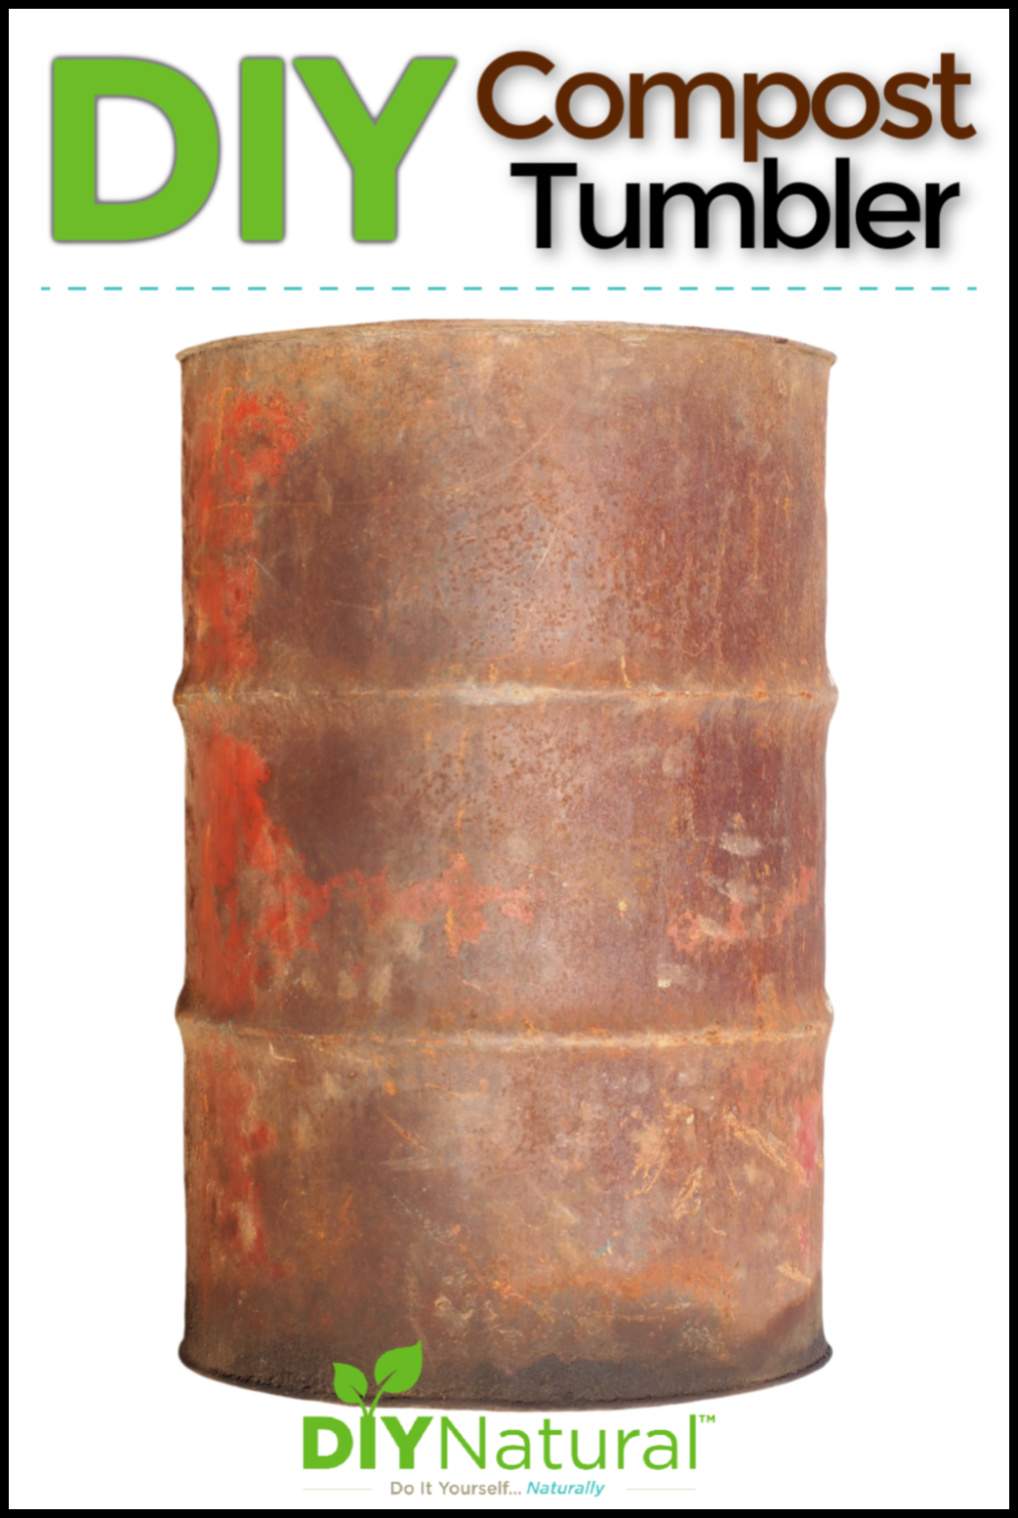
Most tumbling compost bins that you can buy are plastic. The material they use is supposed to be safe, but after months and months of having microbes and bacteria eating at the inside while sitting in the hot sun, I wonder just how safe it really is. I opted for a metal bin, just to be safe. I got a large metal trash can.
Metal Trash Cans
Metal trash cans can be cheap or nicely made. The one I found for my DIY compost tumbler is middle of the road. It’s heavy enough to last a few years but not so heavy that I can’t move it.
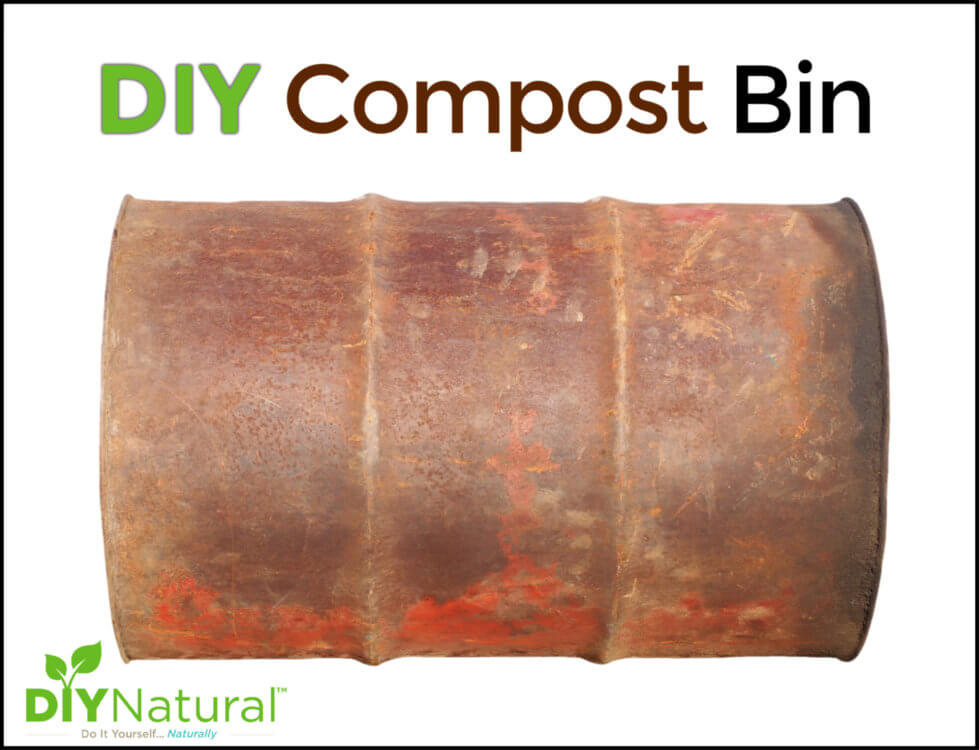
Metal Barrels
You could also use a metal barrel, like the type that is used for burning debris. Just be sure it’s not one that is lined with plastic. Sometimes these types of barrels are used to store and transport food type oils, or oils like motor oil. You can clean them out with hot soapy water, or start a fire in them to burn off anything that may be harmful. Just be careful if you decide to use fire and use a wood that will burn clean, like maple, to avoid residue.
Making Your DIY Compost Tumbler
When you get your trash can or barrel, drill some holes in it. Not large enough to allow the compost to fall out, but big enough to allow liquids to drain out. I have a tarp that I keep mine on when I’m filling it. The holes are in the bottom to allow drainage. When I’m ready to use it, I move the can and pour the liquid that has collected into my regular compost. You could use it as liquid fertilizer, but it will be concentrated and probably smelly, so it would need to be diluted. You could use it 10:1 in water and use this as a watering medium.
Using Your DIY Compost Tumbler
Once your barrel is ready, you can start your compost.
I always add a good layer of straw or leaves in the bottom to absorb any liquid that remains after most has dripped out of the bottom. I do about 6 inches here.
Then you can toss in household produce scraps, egg shells, coffee grounds, anything you would normally put in compost. Avoid bones and meat products as these may contain pathogens (although most are destroyed by the heat) and can attract animals such as bears.
Layer green (fresh stuff and grass clippings) with brown (dried materials like straw and leaves) alternately throughout the DIY compost tumbler. Cover well. Do this for about a week. Then, go to the next step.
Rolling Your Bin
How to Roll It
Here’s the fun part. Use a strong bungee cord and tie down the lid of the can or barrel. Then, tip it on its side and roll. Be sure it goes all the way around when you roll. not just a half roll. I have an X on mine so I can be sure that it goes all the way around. Roll it two or three revolutions, then set it upright on the tarp for a few days. You can add to it, but it won’t take long to break down this way, so I just set any compost I make in my regular pile.
How Often to Roll It
Every few days tip your DIY compost tumbler over and roll it. The amount of what you have will be reduced by about half, but it’ll be good stuff. Using this method, you should have good, usable compost within a few weeks. If you have a lot of larger or coarse material, like bigger sticks or corn stalks, you might want to remove those as it could take longer to break them down. I sift my compost through 1/4 inch hardware cloth to get out any sticks or rocks before I use it.
Compost Tips
To speed up the process, you can throw a shovel full of dirt in the middle of your DIY compost tumbler. Dirt contains microbes that will help to get the “rot” going faster. There are also commercial compost booster products that can help too. Many of them contain mycorrhiza bacteria, which is beneficial for compost breakdown. (Learn more about mycorrhiza bacteria and compost.)
Have you ever used a tumbling compost bin? Why not make your own!
*******

I would also like to see a photo.
Would love to see a photo of your finished composter.