Many people have collections. I’ve seen everything from birds’ nests to buttons, to seed pods and pressed flowers. And yes, I’ve seen a lot of rocks. Whatever you collect, you should have a place in your home or office to show them off.
I’ve had several collections over the years, but have recently been cutting back on all the stuff I own. Now I only have a rock collection that I would love to display, but hate to put on a shelf. They get dusty and need to be cleaned, and I just don’t have time to clean them. So I started thinking about a display box with a glass front…
Display Ideas
There are many clever ways to display items – on glass shelves that seem to float, secured on a board, organized in hat boxes, or many more. One of the best ideas I’ve seen was to use trays to help organize collections. You can store them horizontally in shelves and pull them out to show them off. I took that a bit further and came up with something functional, but fun – a coffee table display box.
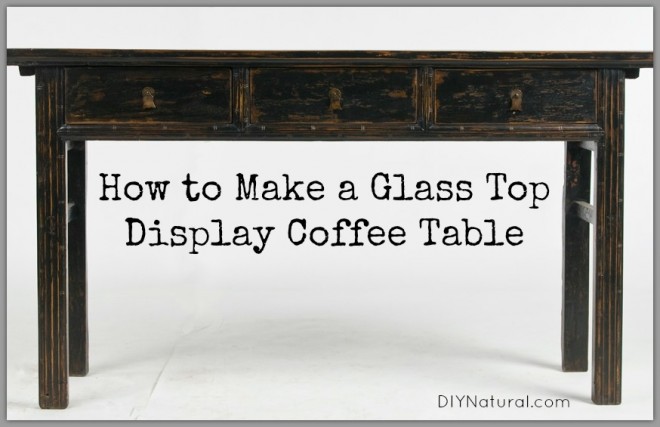
DIY Coffee Table Display Box
Finding or creating the right top
For my top, I used a door frame already set with a glass door. I turned the whole thing over and measured around the frame. I then cut a piece of plywood so that it would overlap the edges and fit right onto the back. (I used ½” plywood since it will be supporting the weight of a rock collection.) Before I nailed it in place, I stapled some black velvet onto the inside. I pulled it tight so there were no wrinkles. Then, once I had it in place, I nailed the plywood onto the back of the door frame with the velvet on the inside. (You could save money and use felt or any other fabric that will show off your collection.) Once the back was in place, I put it on the floor with the glass side down so I could build the base.
You can also build your own top. You’ll need four boards, two long and two short. The size you use will depend on what you want for the finished size. Two feet by four feet would be good for a smaller one, and the plywood would be easy to cut for the back. Make the back the same. Then for the top make a frame for glass that will sit flush on the top. You can get glass pieces already in frames at your local Re-store. In our area we have several, Habitat For Humanity and The Regeneration Station being the top two. You can buy hinges cheaply (and decorative if you wish) and attach those to the glass frame and the bottom part of the top.
Setting up the base
I have visions of a twisted, gnarled tree trunk that would serve as the base to my cabinet, but until I find one, I just built on legs. I took simple 2×4 boards that were 18″ long. You could make them any size, but that seemed like a good height. I sanded the tops and stained the wood to match the door frame. On the bottom of the board, I placed felt pieces that would be glued on so the wood didn’t scratch the floor or get caught in the carpet.
When the legs were finished, I set them in place. I put my legs on the ends to make the whole thing longer. I could have put them on the sides and made it shorter but wider. Set them according to how you want it to look. You could use other types of wood, but I chose a sturdier wood for the legs since my rock collection is heavy. I checked to be sure it was level and went to the next step.
Finishing the wood
If you are lucky, the door frame you choose and legs you build will already be finished. In my case, the door frame was stained but not varnished. I chose a clear varnish that would protect the wood from moisture or damage. At the very least, you should use a paste wax to protect it.
Arranging your collection
Once you have the display box set, move it to the room where you want it to be. I have mine in the living room in front of the couch. I have the hinges toward the TV so that if someone wants to see something closer, I can just lift the lid, or open the door.
I placed my rocks inside on the velvet and arranged them so they could all be seen. I even made little tags for them so people would know what they were without having to lift the lid. If I want to add something new, I can do so easily. And if I ever have something expensive to add, I can always attach a hasp and add a lock.
So now my rock collection is easy to see, movable if need be, and dust free. That may be the best part…I never have to clean them again!
Want a coffee table display box, but don’t want to make it yourself? You can purchase a table like this to show off your collections!
Do you have a collection? If so, how do you display it?
*******