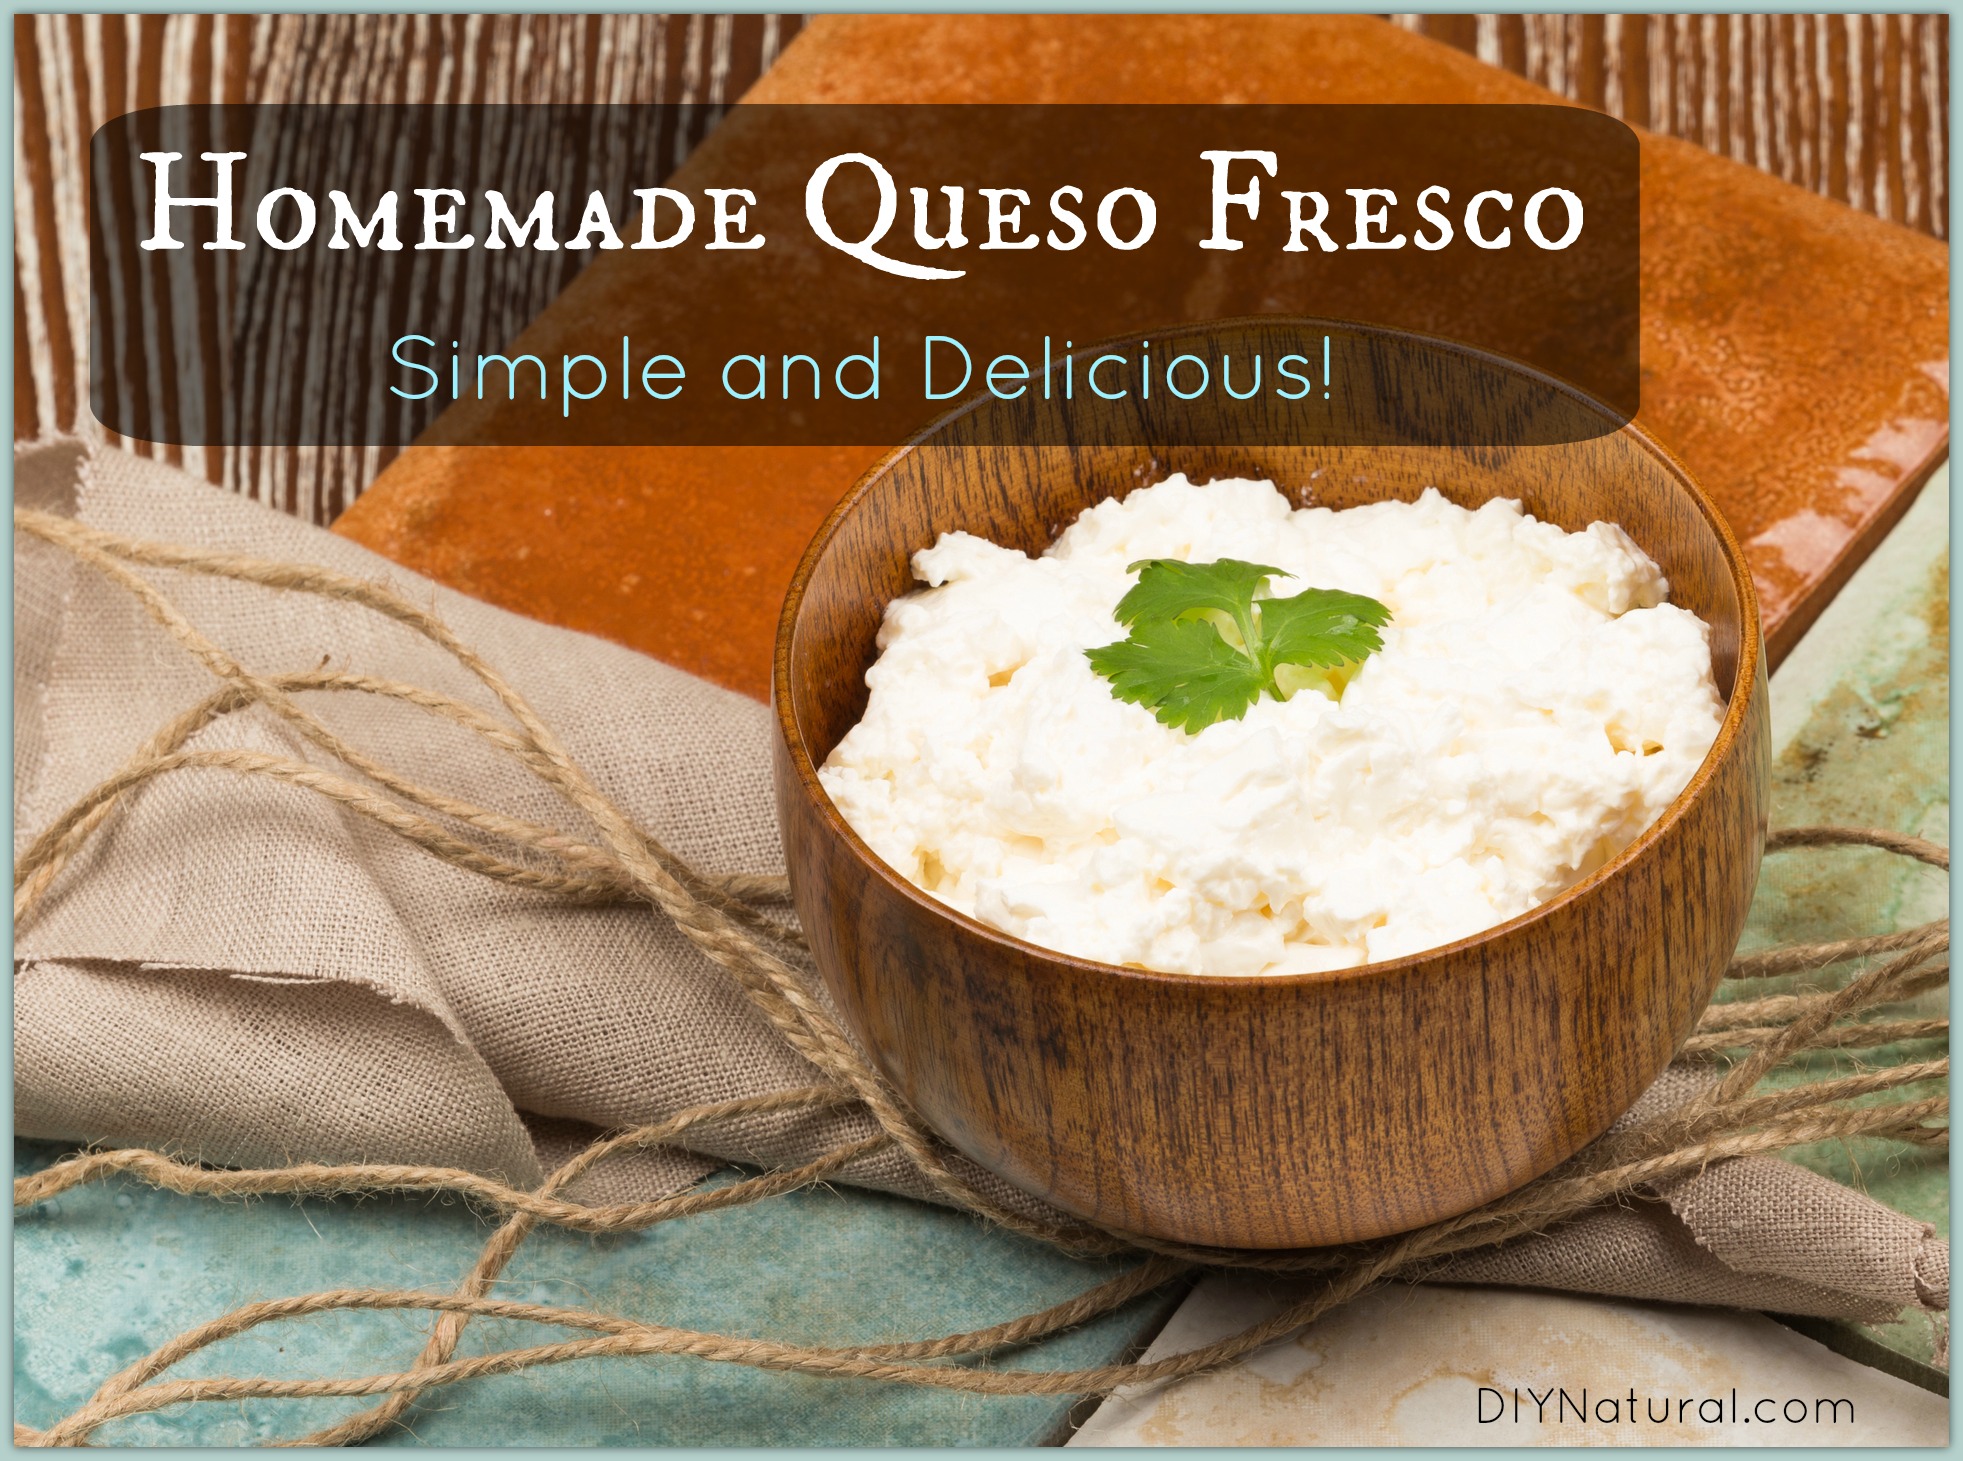
Queso fresco is the most popular cheese in Mexico. Spanish for “fresh cheese,” it is similar to farmer’s cheese, and Indian/Middle Eastern paneer.
Queso fresco is a fresh curd cheese that is simple to make at home with minimal ingredients and equipment. It’s also the perfect cheese to start with if you’re looking to get into cheesemaking.
Many times queso fresco and queso blanco (white cheese) are used interchangeably and, because the definitions of each vary by region, we’ll do the same.
Why Make Queso Fresco?
Learning to make queso fresco is a great idea, for many reasons:
- It’s simple.
- It’s delicious.
- It will whet your appetite for cheesemaking.
- It makes you a hit every time you serve it!
The process is so simple you’ll kick yourself for not trying it sooner. You basically heat milk, remove from heat, add acid, stir until curds separate from whey, strain, and salt.
Cool right? Let’s take a closer look at the process.
How to Make Queso Fresco
Ingredients
- 2 quarts milk (we recommend raw whole milk, but any full fat milk will work as long as it is NOT ultra-pasteurized)
- 4 Tbsp fresh squeezed lime juice (you could also use lemon juice or vinegar)
- 1 tsp real sea salt (find unrefined sea salt here)
Equipment
- 4 quart heavy bottom stainless steel sauce pan (we use and recommend this one)
- cheesecloth or butter cloth (we use and recommend this unbleached brand)
Process
- Pour milk into a heavy bottomed pan and heat to 165°F over medium heat, stirring constantly (otherwise it may boil over).
- Remove from heat and add fresh squeezed lime juice, one tablespoon at a time until curds (white cheese solids) separate from whey (milky colored liquid).
- Let stand, uncovered, for 15 minutes so separation process completes.
- Place a cheesecloth lined strainer over a large bowl and pour mixture into strainer. Allow it to strain to desired consistency. Straining usually takes between 20-90 minutes depending on what consistency you’re looking for. (Whey will store in fridge for up to six months. If you don’t want to catch the whey you can just place strainer over sink.)
- After 20 minutes gently fold in salt:
- For crumbly cheese – let strain for another 40 minutes.
- For pressed cheese – squeeze cheesecloth into a puck shape, cover with a plate and put a weight on the plate to press the cheese (we use a full quart jar of water), and let sit for another 15 minutes.
- Once straining is complete enjoy cheese right away or store in the refrigerator for up to a week.
Some prefer their queso fresco crumbly, while others like to press it and slice it. I think both are delicious and should be chosen for the appropriate intended culinary application.
Melting and More
You should know, this cheese will not melt. It is the perfect companion for Mexican cuisine, great for pan frying in a little butter, amazing on salads, and superb for simple slicing and eating.
Pat yourself on the back, you’re the newest cheesemaker in town!
How did this cheese turn out for you? What is your next cheesemaking project?
*******


I made queso fresco on Monday, and it was devoured by Wednesday. Very good. Thanks for the recipe….it’s so easy to make.
Oh, I’ve got to find time to make this in the next few days. My milk kefir got put on hold while I was out of town and even though I’ve started it back up, I’ve got too much raw goat milk on hand. Then I’ll have cheese to add to my lunch salads next week. Thank you, Matt!
Hi matt,
I have been browsing on line for years to find what i can do to improve my life and find what can help me to go to School.
I have serious been inspired on what you are doing, I would appreciate if you people can help me with the basics on how to make soap and washing liquid for dishes.
I will appreciate.
Hi Matilda: all the recipes/instructions on our site are searchable using the search box in the upper-right corner of the website. Congrats on improving your life and shifting toward a natural lifestyle, that is awesome!
At one point you say this cheese will keep in the fridge for 6 months. Later you say one week. Which is it?
What Matt said was that the cheese would last up to a week, and the whey would last up to 6 months. The whey is the cloudy liquid that you’re straining from the curds to then create the cheese.
Could you use coconut milk in this recipe? Do you have any recipes for coconut milk cheese? Thanks.
We haven’t tried that Lisa, and we do not have any coconut milk cheese recipes as of yet.
At which point do you add the salt?
Step five in the “Process.”
Do you already have a post on all the ways to make use of the whey?
We do not, and that is a great idea. I trust this list from Cultures For Health.
Thanks for the new idea. I prefer my raw milk raw and would prefer not to heat it, even to 165. What would happen if you followed the process but did not heat the milk? I make kefir (raw) with my milk and find it quite resilient—I see no reason it would not work fine as a raw milk queso, unless there’s some reason the separation process would fail without heating.
We understand that since we drink raw milk too. That said, we have not tried it, so if you do be sure to let us know how it turns out.
I will certainly do so and report back. Thanks again.
This sounds very doable and yummy! I like your site because the projects are simple and time spent doing them is well worth the effort! Thanks Matt and Betsy!