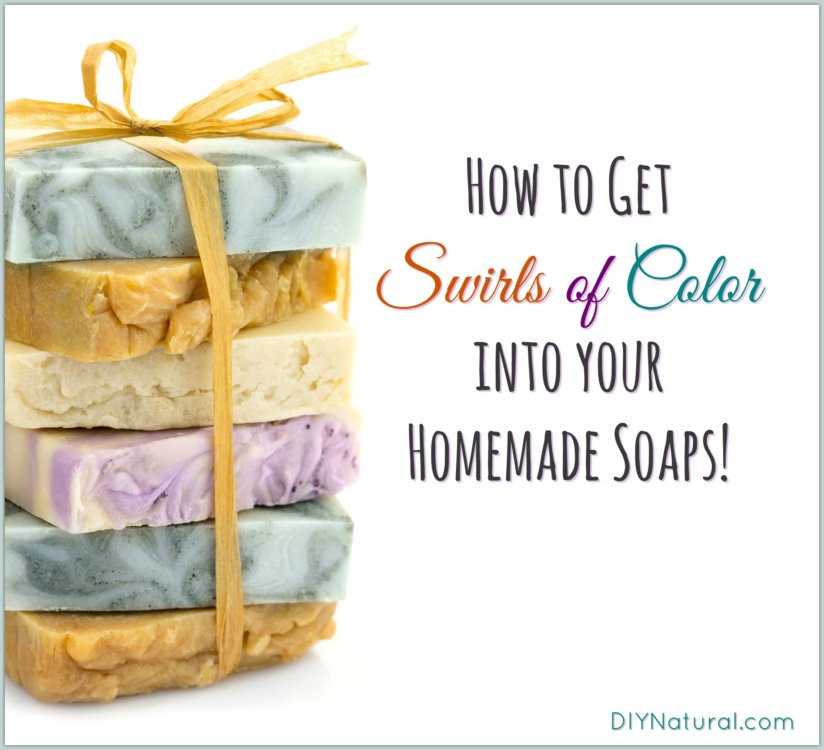
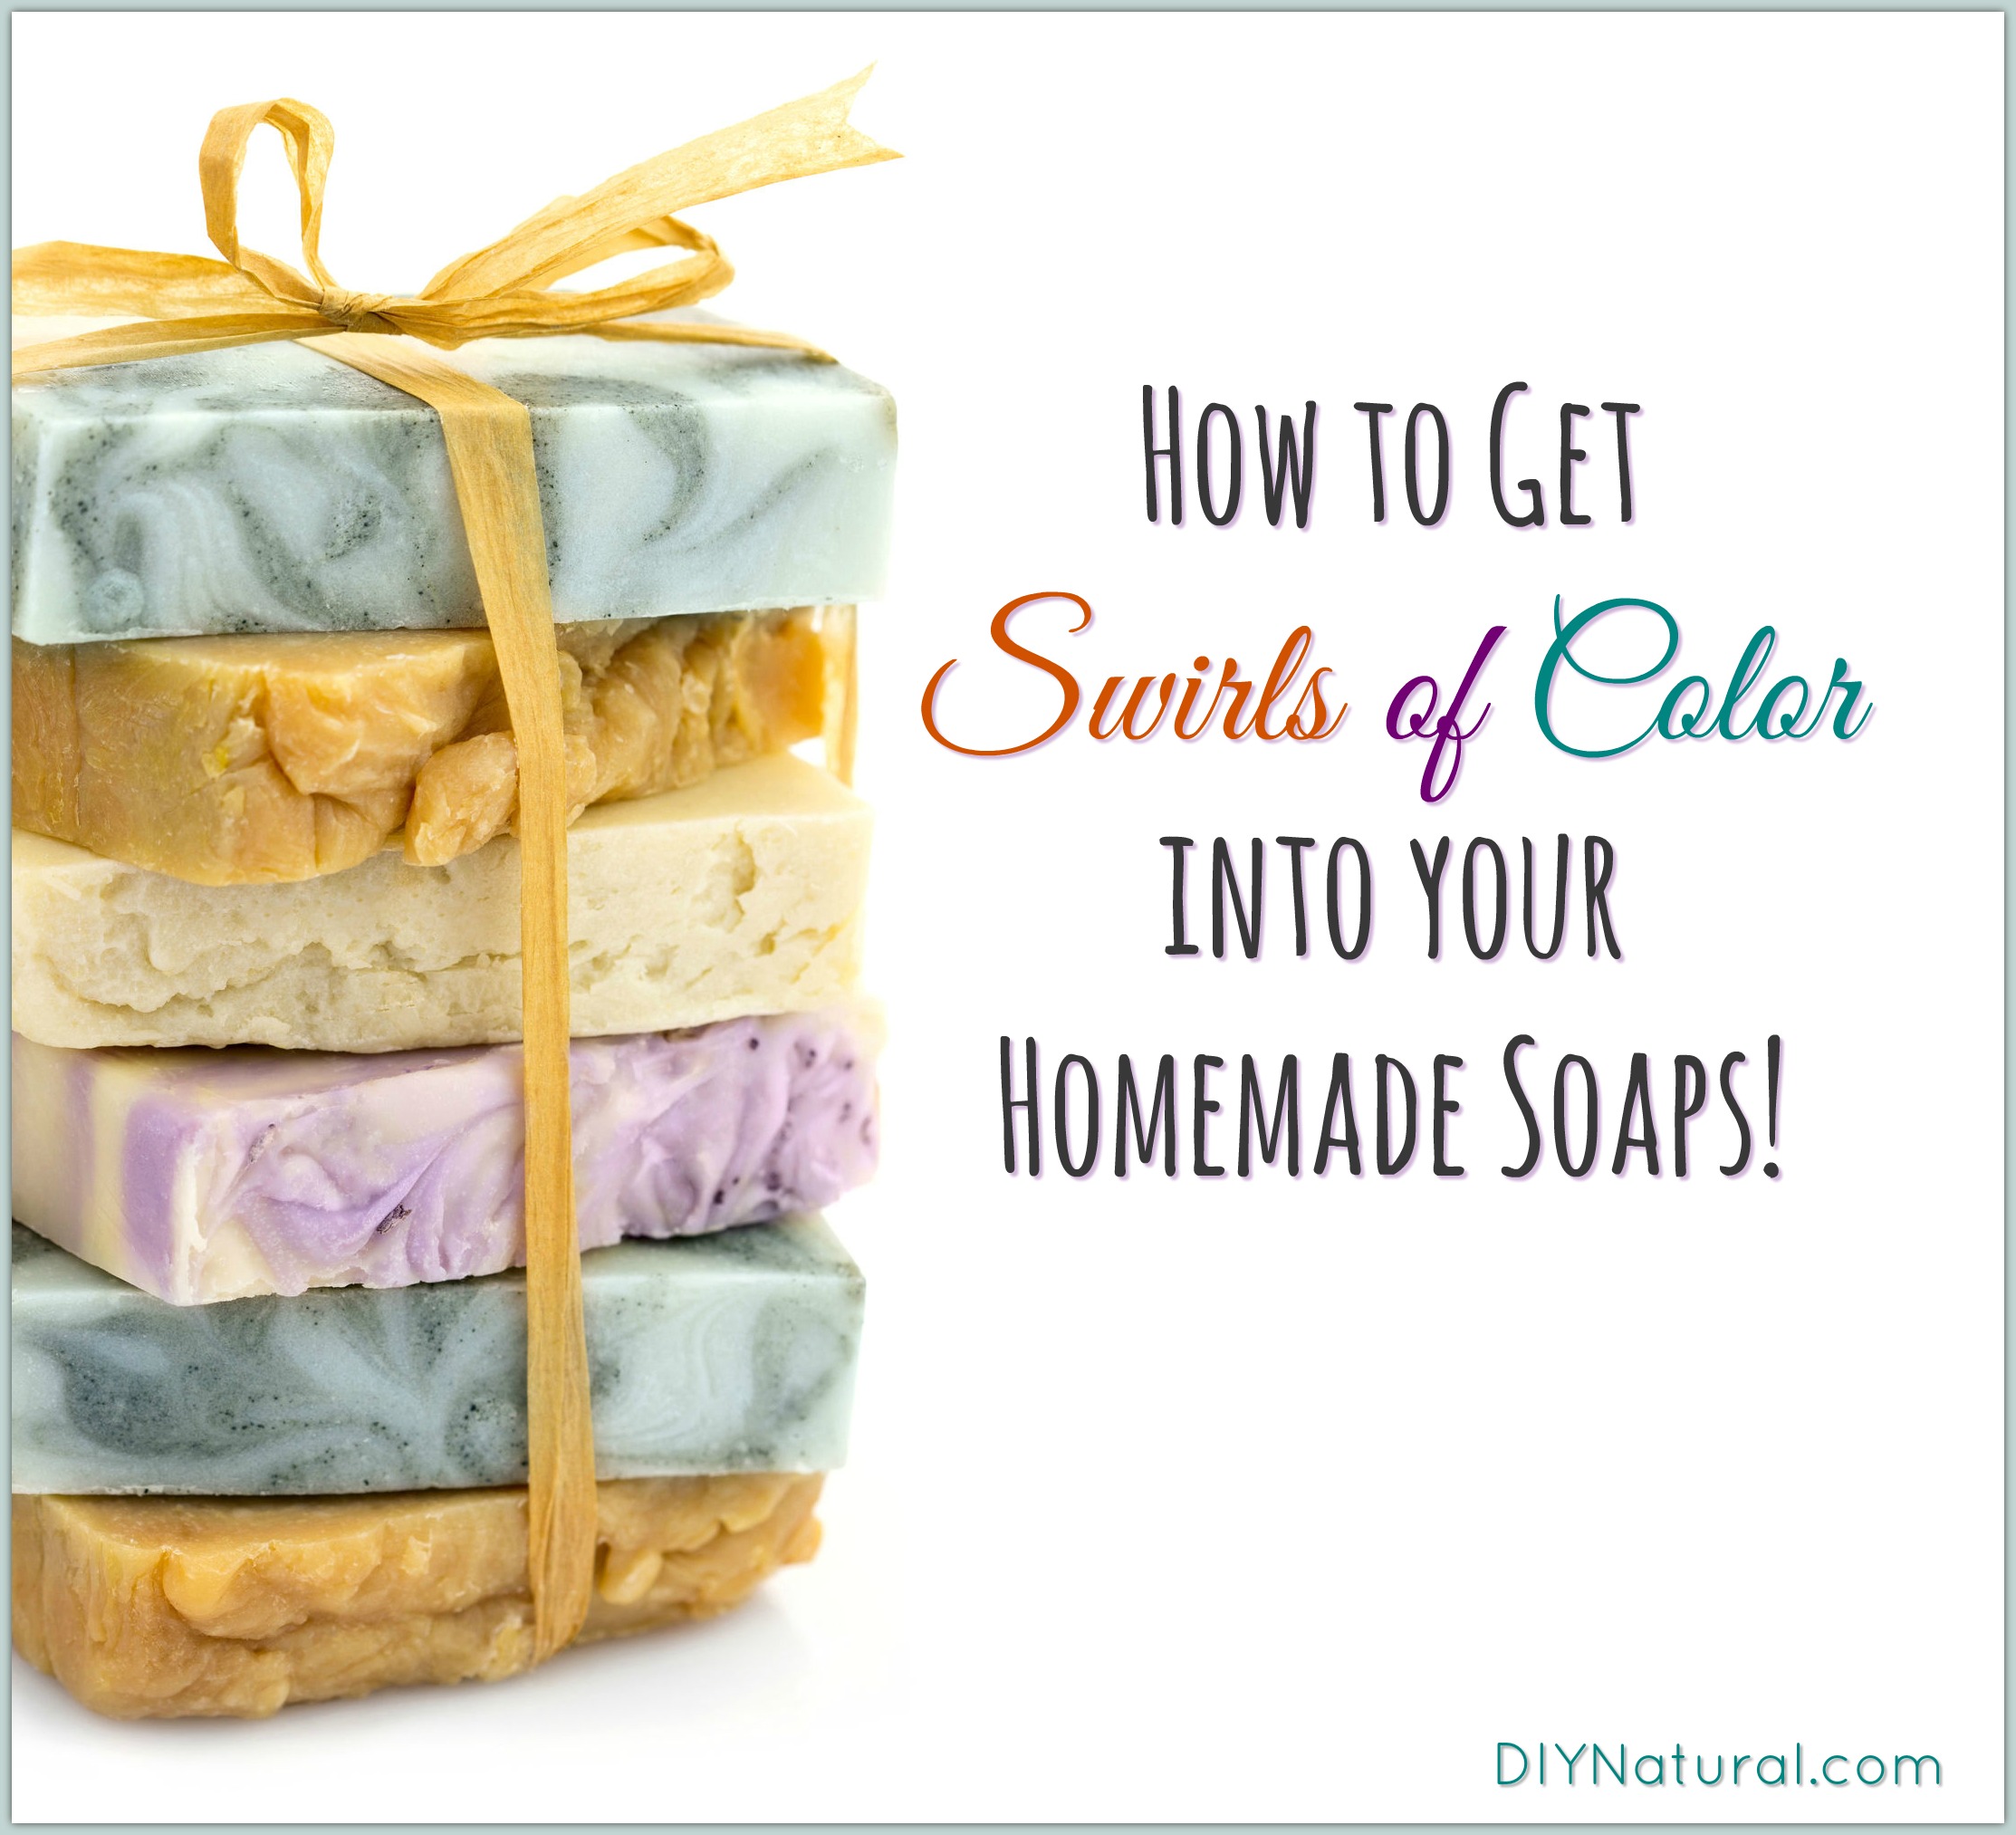
Soap Colorants: Adding Color Swirls
Although I’ve been making homemade soap for years now, I don’t add soap colorants very often. I tend to let the herbs and other ingredients speak for themselves. But lately I’ve had customers asking if I can do pink, blue, and other colors in my soaps, even asking for elaborate swirls of color.
I started experimenting with ideas and had some hits and misses. I’ll share what I found to work best.
Types of Soap Base to Use
The type of base you use doesn’t matter as much as the consistency of the soap when liquid. Following the directions I’ve written about here on cold process soap making, you may need to add a bit more water to keep it thin enough for some of the techniques. Don’t stop before reaching trace – your soap won’t be blended enough. And don’t add more oil – that will throw off the oil-to-lye equation. Adding more water may lengthen the cure time, but will also allow you to be able to get more of the complicated patterns.
Getting Started
- Mix up your soap base according to the recipe you’re using.
- Once you’ve reached the desired consistency, divide soap base into smaller containers. (Example: If you just want one color swirled through your soap, then divide soap mixture into two containers – leave one plain and add color to the other.)
- Add the colors you want to your containers of soap base. For coloring, I use powdered pigments or micas mixed with liquid vegetable glycerine or oil. Note: Using water will cause pigments to clump. Liquid vegetable glycerin provides a smooth texture and mica dissolves well in it. I make a few ounces at a time because this keeps very well. Just stir before using it again. Oil will work too, but if you don’t use it all, it may go rancid after a while. Be sure to use it all up.
- After you get the color mixed into the soap base, choose one of the following methods to add swirls to your soap.
Soap Colorants: 6 Ways to Make Swirls
The Glop Method
This method works well for thicker soap bases. Use a container that will hold up to higher heat. (Certain plastics and silicone work well.) Start spooning a tablespoon of each color into the container, one at a time. Layer color upon color. Then, working quickly, pour this into your soap mold. You’ll notice the color coming out in stripes. You can swirl it around, or after it’s in the mold move it with a skewer to get the swirls you want.
The 2×4 Method
Find a short piece of 2×4 or something similar. I used one that was about 4 inches long. Place this in the center of the mold. Alternately pour different colors over the 2×4. Remove carefully once you have all the soap in the mold. Then, take a skewer and place into the corner of the soap. Drag the skewer through the soap towards the center. You can make intricate designs or keep it simple.
The Ladle Method
This method works very well for smaller molds. Spoon colors of soap into a ladle and then pour into molds. Alternating colors works best, rather than completely filling the ladle with one color at a time.
The Marble Cake Method
Make soap with the colors you want. Place spoonfuls of soap base in the mold, somewhat like a checkerboard. When you have as much as you want, gently swirl the colors around.
The Hidden Swirl Method
This method works well for loaf molds. You can get it to work with larger molds, but the true colors come out better in columns. The trick here is to make two batches of soap, one about an hour before the first. It’s more work, but totally worth the effort!
Pour your base color into the bottom of the mold. This should be pretty thin. Let this set up while you make the second batch. Then, using the Ladle Method (above), pour the mixed soap over the first layer, let this set up a bit, then top with more soap base. Let set until the next day, then remove and slice the loaf. This turns out so pretty!
Bonus Method!
This works really well for soap base that has gotten thicker. This method requires a squeeze bottle with a pointed tip (like this). Condiment or frosting bottles work well, as long as they have a wide enough top to get the soap base into and a small tip. I take a few of these and add colored base to each one. Then start squeezing into the mold. When you get the mold about ⅓ full, tap it on the counter like you would for a cake. This removes the air bubbles. Then keep going. You can create really cool designs, or keep it simple and swirl it with a skewer later.
Cleanup Tip: Get all you can out of the squeeze bottles, then let them sit a few days. Clean up is easier when your mixture has turned into soap.
A Few Tips to Remember
- As I just mentioned, let all your soap supplies sit for a few days, then just wash with hot water. The soapy mess will clean right up.
- Be sure your soap is solid when you cut it and use a straight blade. You can use a wavy cutter, but the soap colorants show up better on a flat surface.
- Mica adds color to cold process soap, but not much shimmer. I use it when I need a certain color that I can’t find elsewhere.
- You can also use powdered herbs and spices for more natural colors. See our list of Natural Soap Colorants.
- Your color will fade a bit over time, so go just a bit darker when you mix it into the soap base.
- Don’t overmix! Just a few flicks with a skewer are enough. Too much mixing will muddy the colors.
- Activated charcoal will not only add a true black to your soaps, but will also help to detoxify your skin.
- Be aware that if you use bold colors that some of the dye may stain linens and your hands. It’s temporary on skin, but may be permanent on linens.
- Try creating designs, such as trees or sunsets, in smaller molds.
- Experimenting is the key. If you don’t like how it turns out the first time, try again. You can always use the soap that didn’t turn out for laundry soap, household use, or donate it to a local homeless shelter.
Swirling in soap colorants doesn’t have to be complicated. Have you tried it? What were the results?
*******


Nice article! I liked the hidden swirl method most. I’ve already made spin swirl soap and I feel excited and happy. Next I’ll also keep these tips in my mind. Thanks for sharing!
Great tips but here’s one you can add or try. When you use the condiment bottles put a piping bag into the bottle before adding your soap, you can still screw on the lid and clean up is SO much easier. You basically throw the bag away and just have to clean the top and you can get small brushes for that. Thanks for all your great tips, not just with the soap. I love your insight and have used many of your suggestions.
I like that idea Renee! Thanks for the advice. I hate to throw anything away, but there are only so many times you can use piping bags. And thanks so much for the kind words!
Thanks for these awesome tips ! I’ve just started with swirling. Oh how fun! I did a swirl with activated charcoal, using black, gray, and white. The soap ended up looking like a granite counter top. Just one question: is mica a natural substance? What about the colors? Thanks for all of your articles and advice!
Hi Deb. Yes, mica is natural. It’s a rock that’s found in a lot of areas. It’s unique, because the layers will peel apart. There are two types, Biotite, which is black and Muscovite, which is clear. These can be ground up and colored much like glitter, which is plastic. The colors can range from natural to created. The cool thing is that you can get mica in colors you can’t normally get from cold process soap. You will probably lose the shimmer that’s common with mica, but the colors won’t fade much, so you get more of a true color. And thank you for being a devoted reader!
Another great article! I was doing some soap on my own, was usually concentrated on herbal additions, the same way you were. I normally use rose petals, camomile, but also comfrey. I think it provides significant boost to my skin. I’ve looked up some of your herbal mixes and will probably try them out too. Camomile comes highly recommended as a tea component-but I think it is very good in the soap as well. At the same time, looks matter as well. Everyone wants to use something beautiful in the shower. And your techniques seem to help with that a lot, thank you for sharing them!
Thanks Adria! I’ve joined a soap making forum and am getting all kinds of great ideas, including even more ways to do swirls!