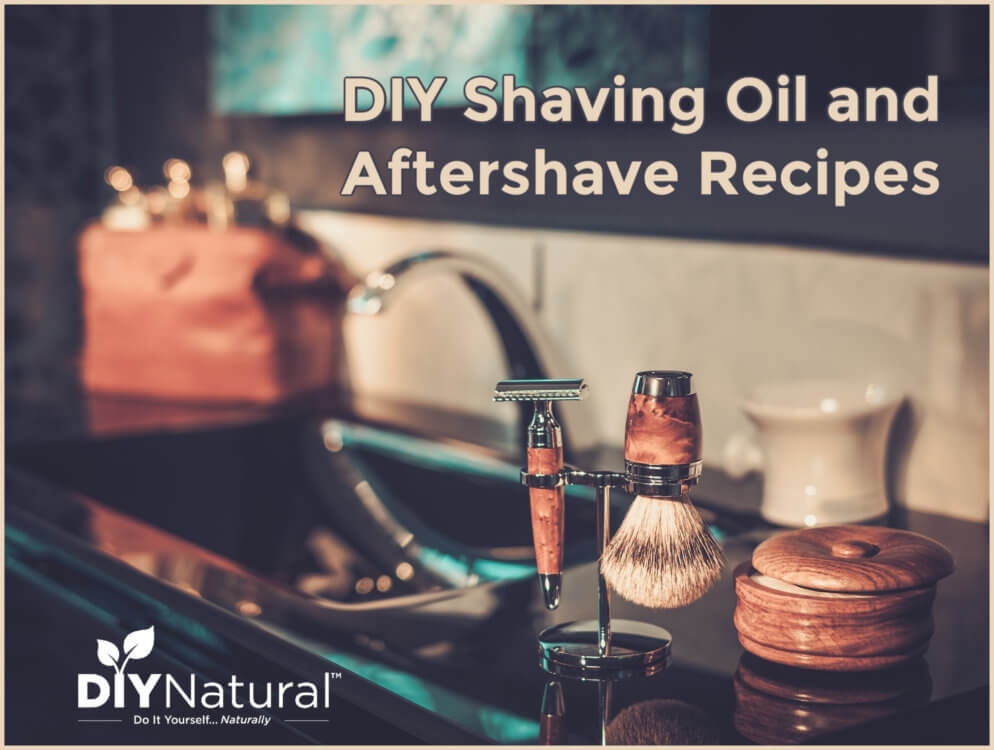
These recipes for homemade shaving cream (DIY shaving oil) and homemade aftershave leave your skin silky smooth, and you made them all yourself, naturally!
Note: these recipes are for both men and women.
Mark steps up into Charlie’s Barber Shop and plops down in a brown leather chair before the bell on the door stops ringing. Charlie presses the foot pump and brings his loyal customer up to a comfortable level. He grabs a warm, wet towel, draping it carefully about Mark’s face, preparing his beard for a nice, close shave.
Grabbing his straight-edge razor, Charlie slowly runs it up and down his leather strop. Taking his boar bristle brush, he wets the soap and creates a rich, foamy lather. Removing the towel, he applies the cream to Mark’s softened skin and, with the precision of practiced hands, carefully uncovers a smooth, supple face.
When he’s done, he wipes off any excess cream and then pours a tiny bit of Bay Rum oil into his hands where he warms it before patting it onto Mark’s cheeks and chin.
Ah, what an experience!
Gone are the days of the straight-edge barber shave (unless, of course, you want to pay a good $45 for one visit). Those days have been replaced by disposable razors and cans of stank foam.
But don’t worry, you can still enjoy the traditions of the past! Using our tips and homemade shaving cream you can treat yourself to a nice shave (ladies, I’m talking to you too). And you can do it in the comfort of your own home for no more than the cost of supplies.
Tips for a Good Homemade Shave
Heat Prep
Before picking up your razor, decide whether you want to do this in a shower. If not then be sure to prepare a warm, wet towel to wrap your face/legs in prior to shaving. This softens the hair, making it easier to shave and less likely to cause pulling, razor-burn, and irritation. Shaving right after getting out of the shower, or ladies, in the shower, just makes it a little easier.
Technique
Lightly go over the spot a few times – if you’re getting all the hair in one fell swoop you’re probably pushing too hard, which increases your chance of nicks. Instead of hurrying, gradually cut the hair so you don’t cause razor burn and irritation. Patience will yield a far more pleasant experience.
Next, we’ll take a look at the necessary tools for a good shave. And we’ll finish with the recipes for homemade shaving cream and aftershave.
DIY Shaving Tools
Soap/Oil/Cream
Shave cream didn’t always come in a can. It came in the form of oil or soap to protect the face from irritation and razor burn. It can be a rich lather that comes from soap. Or a thin layer of oil that provides lubrication for the razor to glide across. It can be as simple as applying either or using a…
Cup and Brush
I’ve said for a long time that my husband was born in the wrong era. He loves old-fashioned everything, and shaving is no exception. The cup and brush is a classic way to lather up some face-protecting cream.
My husband uses a mismatched coffee mug and a brush that he got at a local store. Specialty shaving soaps are sold and can range from $1 to $40, but a plain ole’ bar of castile soap will do. You know, the same kind you use to make laundry soap. Add a touch of water and swirl the brush around in the cup, et voila! Creamy lather.
Razor
Straight edge, safety razor, disposable. There are a lot of different options out there, especially in the disposable department. Some men (my husband included) are all about the straight edge or safety razor for their sheer coolness factor. I like that they are more environmentally friendly but they take more practice.
I don’t exactly have a steady hand when I’m quickly trying to shave my legs in the shower before a sneaky toddler magically appears at my side. For that reason, I opt for a disposable razor.
Choose a razor that is most comfortable for you to use. Some people swear by 4 blades, I like 2. It’s a matter of preference. But when choosing a razor, use whichever one works best for you and your homemade shaving cream.
Aftershave
Aftershave is the icing on the cake. Sure, you don’t need it if you’re careful in your preparation and technique, but why not? If you’re taking such good care of your skin, I think it’s important to take that last step.
After-shave lessens any irritation caused by shaving. It helps moisturize your skin and frankly, it smells good. And it’s not just for men. Many ladies will use lotion after they shave, but you can also whip up your own delicious-smelling after-shave in a lovely scent.
Essentially, you can get away with some soap and a razor, as long as you prep your skin beforehand by softening up the hair and shave with a light hand. Or better yet, you can use coconut oil both as a shave oil and aftershave. Then you can go use it to fry up a pancake. It’s really versatile stuff.
But if you’re looking for good-smelling, giftable goods, that you can also use yourself, you’ve come to the right place.
DIY Shaving Oil and Homemade Aftershave
Let’s start with a recipe for DIY shave oil, which is what we use for homemade shaving cream, and finish with a recipe for homemade aftershave.
Infused DIY Shaving Oil
Infused with what? Skin-soothing, nick-stopping herbs like calendula and yarrow. You can find these on Amazon, Mt. Rose Herbs or possibly your local natural food store or co-op. Be sure to get dry herbs simply because the end product will last much longer.
- ½ oz calendula petals, chopped up finely (find organic calendula petals here)
- ½ oz yarrow flowers, chopped up finely (find organic yarrow flowers here)
- 10 oz. grapeseed oil – you can use olive or avocado or even coconut oil if you don’t mind melting it in your hands before using (find these organic oils here)
Warm your oven to 200° and shut it off. Pour the oil and herbs into a small, oven-safe dish. Mix until herbs are covered and put in the oven for 4 hours. After they’ve steeped, pull them out and strain them into a jar.
Keep your homemade shaving cream (DIY shaving oil) in a cool place to extend its shelf-life. It should last for months if you keep it cool and used dried herbs. You can even store it in the freezer.
Orange Homemade Aftershave
- ⅛ cup coconut oil (find coconut oil here)
- ⅔ cup shea butter softened (find shea butter here)
- 2-3 drops of orange essential oil, or even more for a really strong scent (find 100% pure orange EO here)
Whip by hand or in a stand mixer to a delicious consistency. Seriously, it will look like frosting. Don’t eat it. You need to save some to put on your face/legs. Store the homemade aftershave in a jar in a cool place. Let me emphasize cool here, as it will melt but looks just like butter when solid.
Have you ever made homemade shaving cream, DIY shaving oil, or homemade aftershave? What were your recipes?
*******


Was wondering about the shave oil recipe myself – how many drops of each oil should we use to replace the cooking and straining of the dried herbs? I’m thinking 1/2 ounce bottle of each essential oil would be entirely too much. Has anyone tried this?
Question about using the essential oils – how many drops of each oil do you use in this shave oil recipe?
My husband was skeptical at first because of the ingredients. After trying it, though, he really liked it. Glad it worked well for you!
I tried the Orange aftershave and it is really great. Its a bit greasy at first (to be expected considering the ingredients) but it does sink in and you are left with soft skin.