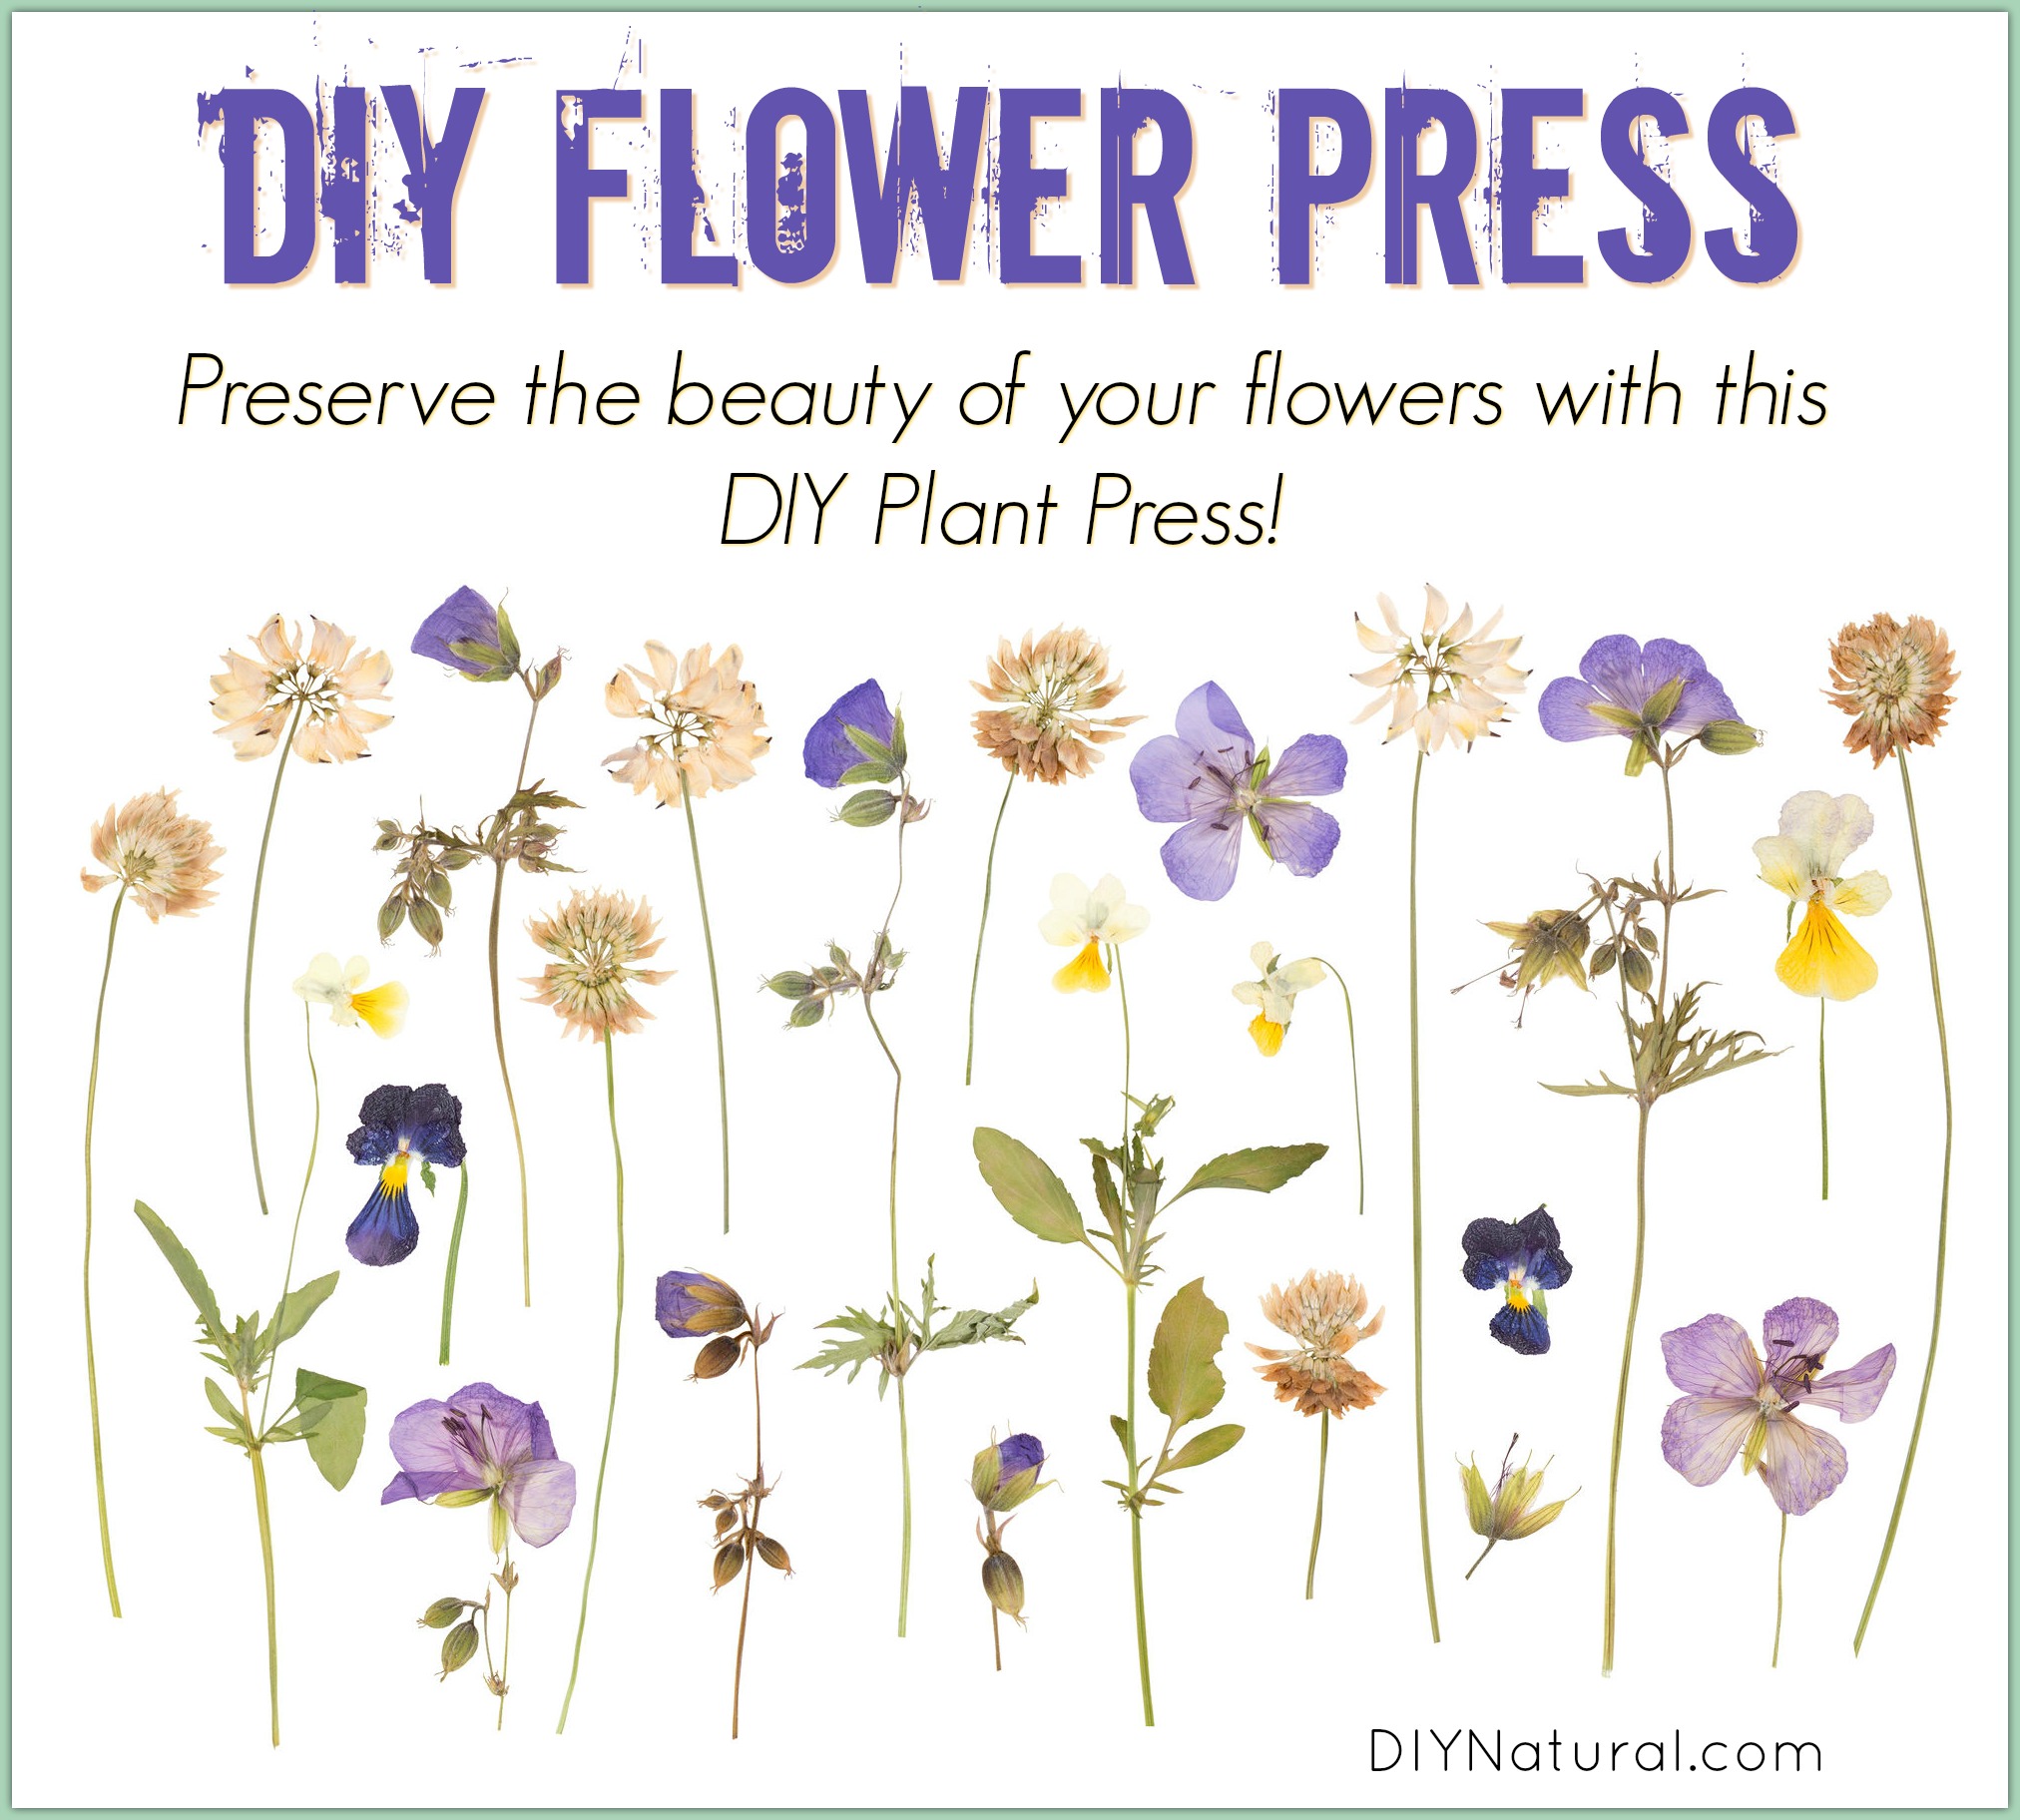
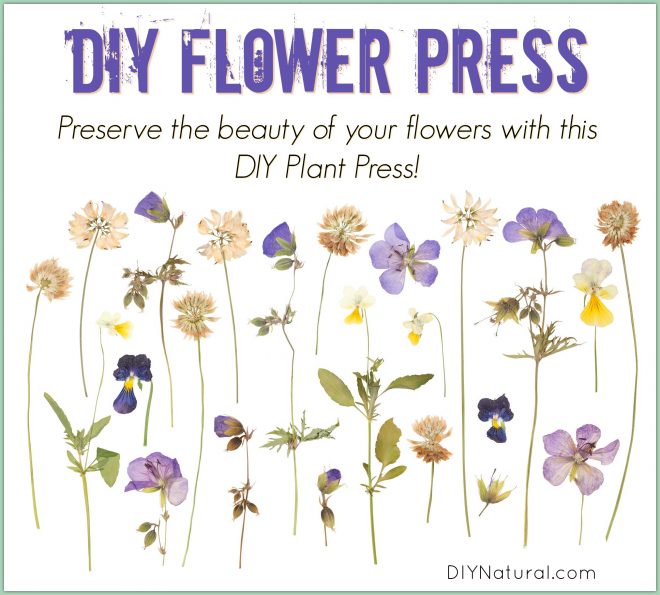
Pressing Flowers for Crafts
I have such mixed feelings about fall. I am usually bushed and ready for winter’s hibernation. The outside plants and gardens are being put to bed and I can take a rest from trying to take care of both the inside and outside work at the same time.
Fall is a time to put away and harvest, but what about the things we can’t freeze or can? Every year I look at my patches of flowers, still bravely blooming in the face of impending doom, and want to capture them in some way.
My husband had the perfect solution a few years ago and designed a flower press for me. While I’d like to say I am actively pressing flowers for winter crafts all season long, it seems instead that I only remember to do this during harvest time. I’m sharing his design with you, but I advise you to make more than one if you are like me. At this time of year I need several going at once to capture all that fall has to offer. In the winter, there are so many beautiful crafts I can do by myself or with the kids to use this bounty!
How to Make a Plant Press Using Cutting Boards
Time is always of the essence, so going to the local store and buying two matching cutting boards was a quick choice. You can pick the size of the board to meet your needs. We selected ones with handles so that it can be carried around the farm or on trips. With materials in hand, this project took us about 15 minutes to complete and is much more cost-effective than flower presses you can buy on the internet.
Tools and Supplies
- drill with drill bit
- paper cutter or scissors
- optional wood clamps
- 2 wooden cutting boards with handles
- 4 bolts with matching wingnuts
- cardboard
- blotting paper or watercolor/marker paper
Directions
- Drill holes in the four corners of one of the cutting boards. Use that board as the template to make matching holes in the second board (clamp with wood clamps for ease). To minimize wiggling/twisting, the holes should be just big enough to force your bolts through.
- Cut cardboard and blotting paper into a stack of rectangles that will just fit inside the bolt holes on your cutting boards.
- Put your bolts through the bottom cutting board and stack in your cut cardboard and paper. Place second cutting board on top and tighten down with the wing nuts. You’re ready to go in search of flowers!
To Use
- Take off the wing nuts and top cutting board to begin layering flowers.
- Start by laying a sheet of cardboard on the bottom board and place as many flowers as you can fit in between two sheets of blotting paper. Add a square of cardboard to complete the first layer.
- Keep adding layers to press as many flowers as your bolt length will allow.
- When finished, put on the top cutting board and tighten down with the wing nuts to press. Place your flower press in a dry ventilated place and wait for success.
Do you love pressing flowers? Have you ever made your own flower press? Share your experience with us!
*******


I think this is a great idea. Thank you for providing a do-it-yourself version of something that can be very expensive to buy.
However, internet articles usually have great pictures and/or videos of whatever they are about. I’m a visual learner and I really appreciate pictures and videos, but there are none with this article.
Can you add pictures and videos here (as well as future articles)? What does the finished product look like? What does the flower press look like when you’re adding flowers? I *think* I know from reading the article, but pictures really do help solidify the written information!