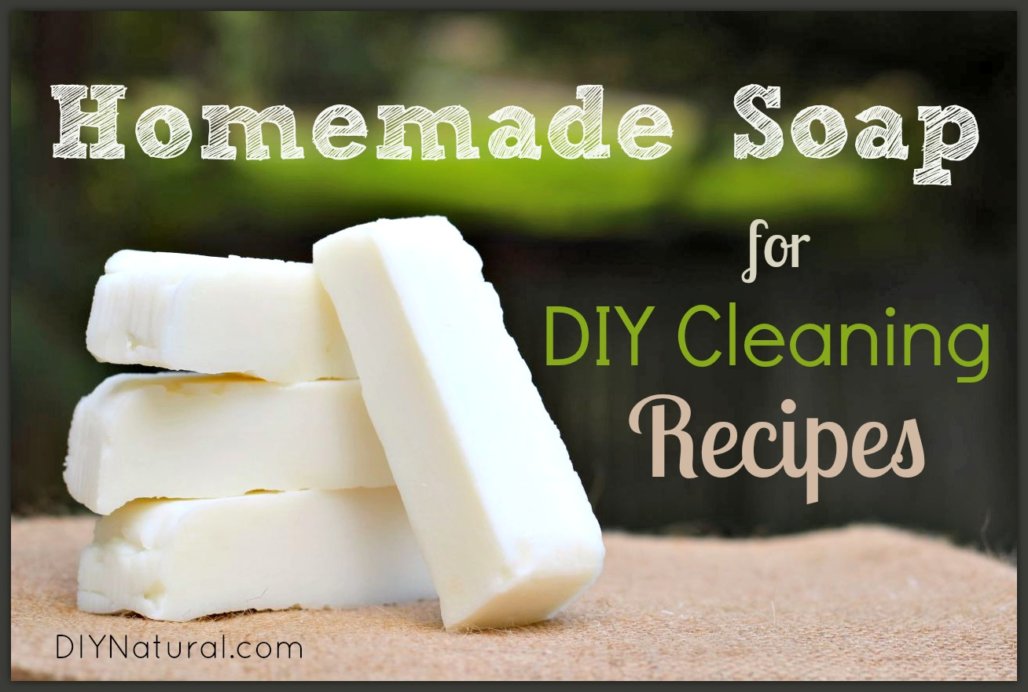
This is a basic cleaning soap recipe that can be used in MANY other DIY cleaning recipes. It’s easy to make and great for general cleaning.
Since publishing our homemade laundry detergent article back in 2009, we’ve had several readers comment on the types of bar soap we recommend in our recipe. Why do we recommend certain brands? Because they do not formulate most bar soaps for use in laundry.
They formulate most bar soap to create an extra moisturizing bar that has a low pH. These soaps are great for our skin, but not for lifting stains in the laundry. A good laundry bar will be very hard, effective at cutting grease, and will produce a fabulous lather.
Tip: if you’re wanting to make a moisturizing soap for your hands and body, read our how to make soap article.
So in true DIY fashion, we’re finally bringing you a recipe for a far of homemade soap that is not only perfect for use in your laundry but also in most other DIY cleaning recipes that call for grated bar soap. (Hooray! This means you don’t have to purchase natural bars of soap for $4/piece anymore!) This homemade soap is also free of coloring and fragrance.
Cleaning Soap Recipe
For laundry and cleaning
There are two ways to make homemade soap – using the cold process method or the hot process method. The process I use to make this soap is the cold process method. When making this natural soap I basically make a very pure homemade soap and cut it into thin bars, which makes a nice hand-held bar for grating or rubbing directly on stains. (See the last section of this article for ideas on using your finished soap.)
Safety Considerations
If you’ve never made soap before, don’t allow this section on safety to scare you off. Just keep in mind that in order to enjoy this cleaning soap project you’ll have to take some precautions so nobody gets hurt.
Lye is the most important ingredient in soap making. However, most folks misunderstand this ingredient. While you make your soap with lye, it does not actually contain any lye when finished. A reaction called saponification takes place during soap making – this is the lye reacting with the fats in your recipe to create soap and glycerin. Lye can be nasty if not handled properly, but if you can follow a few safety precautions you’ll be making this wonderful cleaning soap without any worries.
- Because you’ll be handling lye (which can burn skin and damage certain surfaces), be sure you don’t have kids or animals underfoot while you’re making soap. Some precision and concentration are required, so make arrangements to be alone for a while during this project.
- Because lye is very harsh, you’ll want to use safety equipment like goggles and gloves. I always wear long sleeves and long pants while making soap to reduce the amount of exposed skin. Set up your equipment in a well-ventilated area and cover work surfaces with a newspaper in case lye splashes or spills.
Important Safety Note:
If splashes or spills do occur, lye can be neutralized with white vinegar. Keep a spray bottle or jug full of vinegar nearby for this purpose. If lye comes into contact with your skin, you’ll notice a strong itching, followed by a burning sensation. If you notice this itching, immediately rinse the affected area with vinegar, then rinse with running water.
You may also want to fill a sink with several inches of vinegar before beginning – you can dip any utensils or supplies that came into contact with lye into this sink of vinegar.
Cleaning Soap Supplies

I have a box of dedicated soap-making supplies that don’t get used for anything else. Although, if things are properly neutralized with vinegar and washed, you really don’t need to worry about using them in your kitchen. However, some things (like rubber spatulas or wooden spoons) will absorb odors if essential oils are added to your soap, and I never like using these things for cooking. For making this cold process cleaning soap you will need:
- a kitchen scale that displays ounces to weigh the lye and fat (we use this one)
- a medium-sized mixing bowl – use stainless steel, glass, or enamel-coated (we use this)
- two mixing spoons – hard plastic or rubber (like this)
- heat-resistant spatula (like this)
- a stainless steel instant-read digital thermometer that reads from 70°-200° (like this)
- measuring cups
- a wide-mouth glass quart jar
- a glass pint jar or glass measuring cup
- a glass loaf pan or silicone loaf pan (I use this)
- an old towel or blanket
- parchment paper
- plastic wrap
- kitchen timer
- rubber gloves
- safety glasses
- stick blender, optional but recommended (find it here)
Ingredients
You will need
- 6 ounces cold water – use distilled, reverse osmosis, or rainwater (lye will react with minerals in tap water)
- 16 ounces coconut oil (we buy this in bulk here for soap making and other projects)
- 2.9 ounces lye – also called 100% sodium hydroxide (find it here or at local hardware stores)
Method
Have everything laid out and ready to go before beginning making your cleaning soap. You’ll need to be prepared to move quickly for some of the steps.
Step 1
Cover your work surfaces with newspaper or another protective layer in case splashing occurs. Prepare a spray bottle of vinegar and/or sink full of vinegar. Put on gloves and glasses. Prepare a loaf pan by lining it with parchment paper, then set aside.
Step 2
Begin making your cleaning soap by adding cold water to a wide mouth quart jar. Measure lye on the scale. Slowly pour the lye into cold water (never add water to lye) and carefully mix with a spoon until the lye is completely dissolved. (This mixture may fume, which is normal.) It will begin heating up as soon as it’s mixed, so be very careful with your hot jar. Mix completely and set aside, until the temperature falls to around 95° – 105°. (It can be cooled or heated carefully in a hot or cool water bath – do not use a cold water bath or ice bath or your jar could break. NEVER place lye-water in a microwave.)

Step 3
Place pint jar or glass measuring cup on a kitchen scale, tare the scale, and measure out 16 oz. of coconut oil. Place jar of coconut oil into a pan filled with a few inches of water, and heat on the stove until it reaches 95° – 105°. Use your digital thermometer to test the heat of the lye water and the coconut oil, wiping the thermometer off thoroughly before transferring between mixtures.
Step 4
When coconut oil and lye-water are both at 95° – 105°, add coconut oil to your mixing bowl, and carefully pour lye-water into coconut oil. Pour very slowly to avoid splashing, stirring with a spatula as you pour. Stir for 5 FULL MINUTES. (The idea is to bring all of the fat into contact with the lye. If you don’t, there will be pockets of lye in your cleaning soap, and you’ll have to discard the whole batch.)
Step 5
After 5 minutes, you can begin blending with a stick blender if you like, or just continue stirring with a spatula. Using a stick blender will make things move along very quickly. The goal is to get the mixture to “trace.” This means you’ll be able to draw a line in your mixture with a spatula, and the line will remain. If the line disappears quickly, you have not achieved “trace.” (Watch this video to see what trace looks like.) It will be a little pudding-like when it gets to trace.

Step 6
Once you reach trace, you can pour your cleaning soap mixture into your prepared loaf pan, spreading with a spatula to smooth it out. Gently press plastic wrap on the surface of your soap to prevent soda ash (a harmless powdery white substance) from forming while the soap cures.

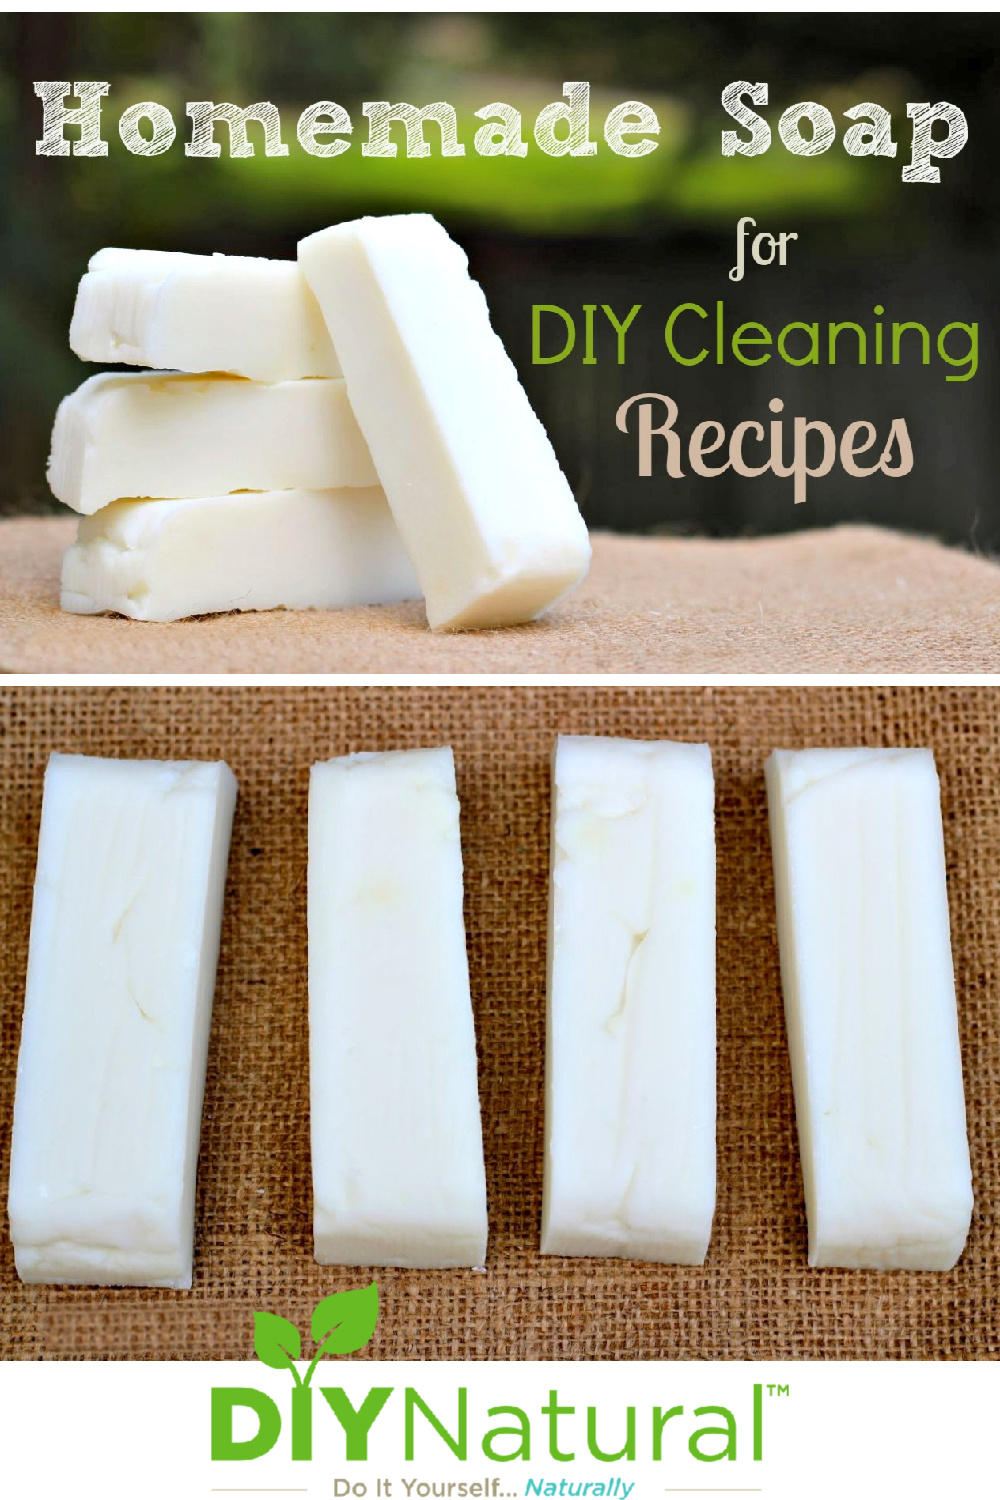
Step 7
Wrap your loaf pan in an old blanket or towel, and allow to sit in a warm spot for 24 hours. After 24 hours, pop the soap out of the mold and cut it into bars. (Don’t wait too long to cut your bars because it may be too hard to cut later.)
Step 8
Lay your cleaning soap bars out for three weeks to fully cure. (I spread my homemade soap on a baking rack on top of the refrigerator.)

Cleanup Tips
While making homemade soap, it’s nice to have a sink full of vinegar. Anything that lye or lye-water comes in contact with should be dipped in the vinegar to neutralize before washing in soapy water.
For the rest of the materials that have the soap mixture on them, there is a much easier way to take care of them. I carefully place everything that has soap residue on it in a garbage bag, tie it up, and leave it for about three days. The soap on your items will be hard at this time and will suds/clean your items very well. Just wash in hot water! However, you will want to use gloves when washing your equipment because the curing process has not fully taken place and the soap remaining on it is still very caustic.
Using Your Cleaning Soap for Laundry and Cleaning
Once your bars are fully cured you can begin using them. You can use this particular bar in any DIY cleaning recipe that calls for grated soap.
To make laundry detergent
This is the perfect homemade soap to use in your homemade laundry detergent! You’ll need about 4-5 ounces of this soap, grated.
As a stain stick
These little bars are the ultimate stain stick. I like to keep one in a bowl in the laundry room so I can treat stains while the washer is filling up. I just wet a corner of the bar with the water in the washer, rub the wet bar on stains, rub the fabric together to further work the soap in, and then throw the garment in the wash when it looks like the stain has lifted.
To make homemade dish soap
You only need 1 tablespoon of this grated soap to make a homemade dish soap. Alternatively, you can just put a bar of this soap in the kitchen sink before filling it up with water. Remove the bar from the water when you have enough suds. You’ll have a sink full of sudsy water to hand wash your dishes with, without any extra effort!
To make a soft-scrub cleanser
If you want a ready-made soft-scrub cleanser, simply grate a ½ cup of this homemade soap and combine it with 1 cup of baking soda. Transfer to a jar with a shaker-top (like an old grated parmesan cheese container), and sprinkle on surfaces before cleaning. Use a wet sponge to work this cleanser into surfaces to create a sudsy soft scrub.
*Keep in mind we do not recommend this homemade soap for use in DIY personal care recipes or for everyday use on hands or body. Due to the high pH of this soap, it could be very drying to the skin. However, it may be the perfect soap for a poison ivy treatment, when drying sores up is the goal!
*******


I had a glass jar break when mixing lye. The bottom came right off after it got too hot so ever since I use a plastic container. Better safe than sorry!
Is there a reason one wouldn’t use these for washing the body? Too harsh? Drying?
Any idea how one would convert this recipe to a skin-friendly version?
Thanks!
~Angela
Yes, this particular bar is too drying. We’ll have more recipes out soon for skin-friendly soaps! 🙂 Or you could run the ingredients through a lye calculator to see how much lye to use for a milder bar of soap. Here’s one to use: https://www.thesage.com/calcs/lyecalc2.php
You’ll want to use enough lye for a finished bar with about 5-10% excess fat. (Instead of 1%, which is what this recipe ends up being.)
Thanks so much for sharing this! I’ve wanted to start making my own laundry supplies for a long time- hopefully it goes well.
Wow, thanks so much for this! This will come in so handy.
You specify that the scales must show ounces. If I usually work in grams, is there any reason why I shouldn’t convert the weights to grams and use scales that display only grams?
May I assume that the temperatures given are in degrees Farenheit?
You can convert to grams and Celsius.
Is it ok to make this soap using hot process? Thank you so much for all the information on your site!
Sure thing Kristy!
Did you use a 0% lye discount? So far, I made your laundry detergent recipe using my own soap scraps (I typically use 5% discount) and it worked.
However, I would be interested in making a laundry soap as gift for my mom, so I would need to know the discount, in order to adjust quantities. Thank you.
This recipe uses about a 1% lye discount. Great gift for your mom! 🙂
I am new at soap making and natural cleaning so excuse the question, but could I use olive oil instead? Would it have the same cleaning effects? Thanks
You can make olive oil soap, but the measurements would be completely different. An olive oil bar also won’t make a hard bar for cleaning.
I use a lard/coconut oil mix with no superfatting and add tea tree oil for my laundry soap bars. Makes a VERY HARD white bar and the tea tree leaves a fresh scent as well has having the antifungal/antiviral properties for the washer. Best change our family ever made.
That sounds great Pam! I might have to try a tea tree bar for cleaning. 🙂