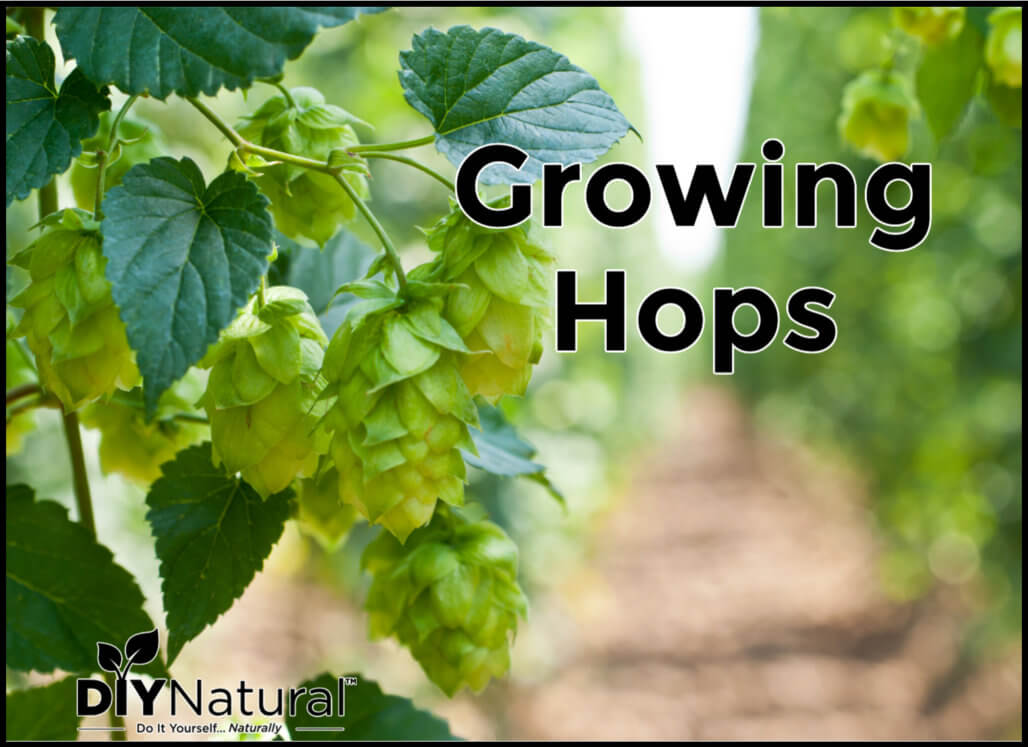
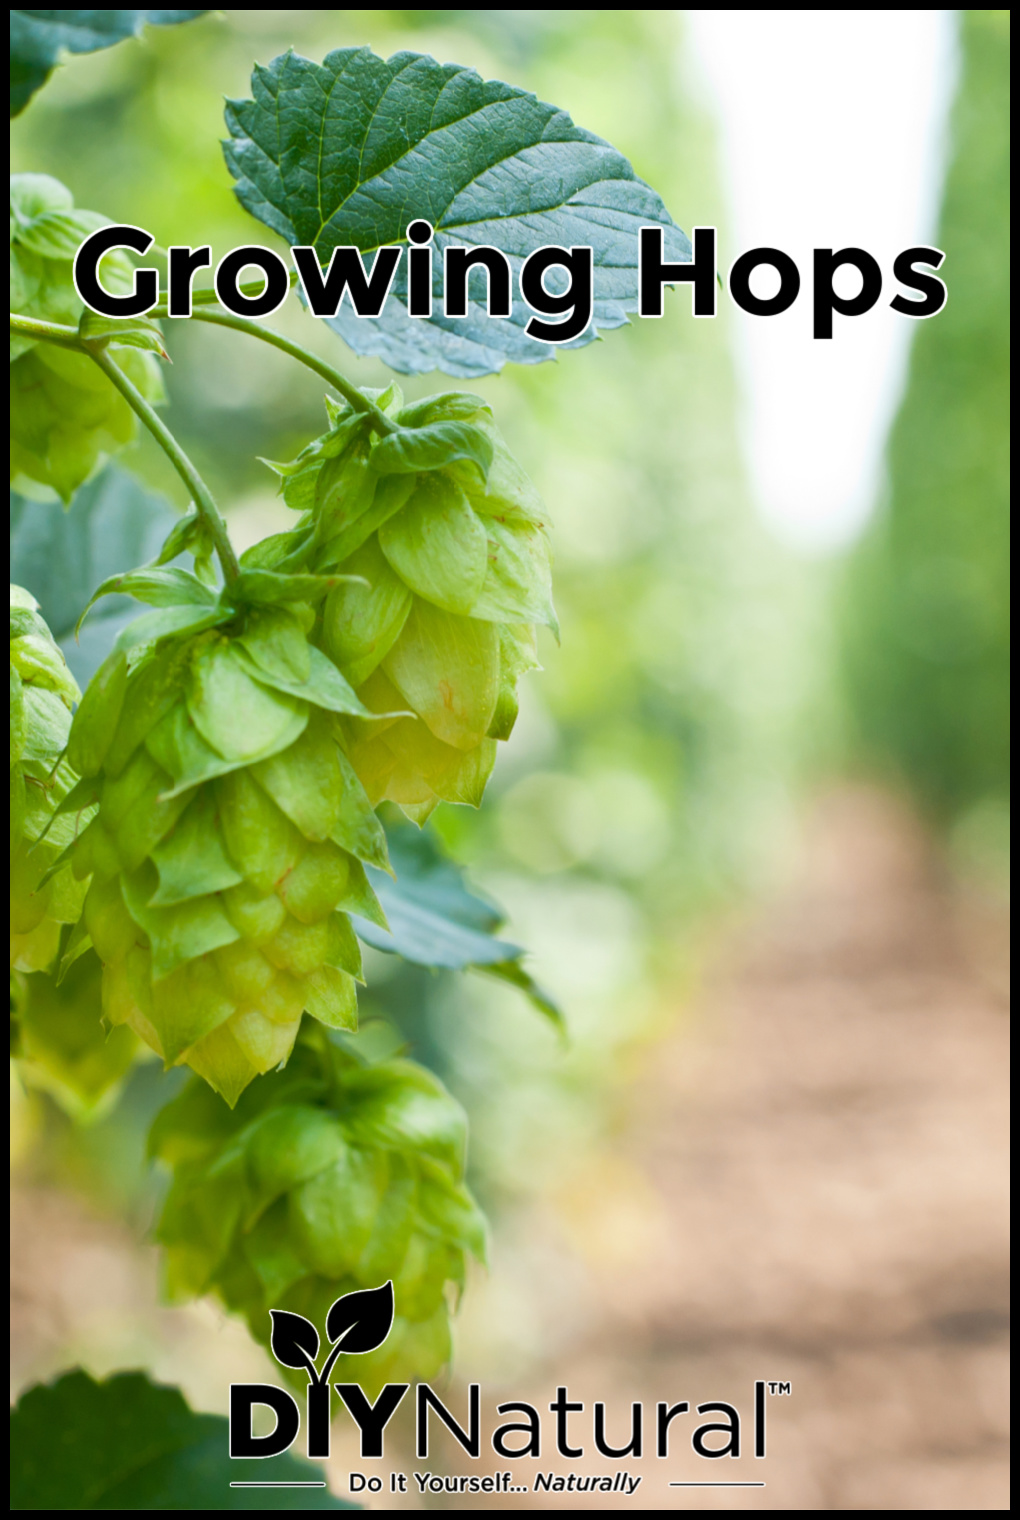
Growing hops is easy and fun. You can use your hops as shade plants, make beer with them, or use them as a soothing agent in soaps and balms.
I was introduced to hops, again, when I moved to North Carolina. The warm sun in the early part of spring is often enough to tease the first sprouts to life. Hops are versatile. Their most common use is to make beer. But you can also use them as a soothing soap-making ingredient or as a shade plant on a trellis.
Growing Hops
First, it’s important to remember that hops are a bine, which is just a variation of a vine. Bines are the flexible twining or climbing stem of certain plants, such as the hop, woodbine, or bindweed. Bines use tendrils or suckers to attach themselves to a structure and grow on that structure, like a trellis.
Starting The Bine
Bines often need a bit of coaxing, like wrapping the stem around a length of twine and nudging them upwards along the line towards the trellis. The hop bine is a soft bine, meaning that hops grow new bines each year, unlike grapes vines which just get bigger each year. Each fall when the frost hits, the hop bines die back making it easier to harvest the cones.
Hop Bine Gender
When growing hops it is important to know that there are male and female bines. From what I have learned, the male bines are undesirable. The female bines are the only ones that produce cones. Males have no value other than to fertilize the female cones. And since the seeds of the hop bine often don’t produce what you want, and fertilization isn’t necessary, male bines are usually discarded.
Hop Root Cuttings
The most common way to propagate hops is with root cuttings. To grow your own, first you need a good female root crown. You can use one that you have or purchase one from a garden center. Then, you can divide the root in a number of ways. My root crowns are thick and woody, so I use an ax to chop parts off of it. Like potatoes, make sure that each piece has a growing tip or eye. You’ll know because it will be bright red to burgundy, unlike the rest of the root crown, which is brown to gray.
Growing Hops from Root Cuttings
Once you have your root crown ready, soak it in water overnight. The center is often dry and will benefit greatly by a good long soak in water.
Next, prepare your site. The ideal spot is in the sun along a south-facing or west-facing wall. I have some along my garden shed, which has a wall facing west. I’ll be moving some to the other side, which faces east.
Dig a hole that is as deep as the root piece, but twice as wide. Mix up some good soil mix. My secret mix is one part compost, one part garden soil, and one part pine bark mulch. When growing hops it’s important to use a good amount of organic matter as this will help to feed the root as it gets started. Spread some soil in the bottom of the hole and water it well.
Now, place the root crown in the hole, making sure that it is positioned upright. Fill in around the root with more soil, pack it lightly to keep the root in place. Make a hole around the root by the base, but mound it up around that, creating a depression in the center. This will allow water to collect in the hole and keep it near the feeder roots instead of allowing it to spread out too far, rendering it ineffective.
Planting in Pots
Alternatively, you can plant the root crown in a large pot and position it at the base of your trellis. This will allow you to move the bines the next year if needed. Follow the same directions as planting the root in the ground.
Watering and Soil pH
You’ll need to water your hops on a regular basis. Hops, like other crops such as bananas and tomatoes, are heavy drinkers. Don’t let them dry out, especially during the first year while they are getting established. The optimal pH for growing hops is 6.5 to 7.5. You may need to amend your soil to make it more alkaline or acidic. My soil is 5.5-6.5 and it does very well here. The only real problems that I have are that the soil is heavy clay and doesn’t drain well. I solve that by mixing compost and pine bark mulch into the soil. This improves soil texture and drainage.
Harvesting and Storing Hops
When fall hits, you can start harvesting your hops. I wait until the bines die back and dry out, usually after a few touches of frost. If it looks like the weather will have heavy freezing weather, you can pick them sooner. Pick your hop cones in the late morning after the dew from the morning has dried. You can set your hops to dry on an old cookie sheet or in a dehydrator. Or you can use one of the many methods described here for drying herbs. Keep your heat low, below 140°F, and check them every 10 minutes or do. The outer leaves of the cones are delicate and can burn easily. Once your hops are completely dry, you can store them in a sealed container for up to a year.
Using Hops
Hops can be used for a number of things including but not limited to:
- beer
- sleep pillows
- bitters
- soap
- in tea as a sleep aid
- in tea for anxiety
- to reduce flatulence
- as a compress for wounds
- to reduce inflammation.
You can see a few premade hop products here.
Growing hops is easy and fun. Why not plant some this spring?
*******