Gelling, or the gel phase in soap making, is when the center turns hot and translucent. You may or may not want gelling so here’s how to control it better.
To gel or not to gel, that is the question. All soap makers experience gel at one time or another, but what is it? Is gel necessary? Or is it bad? Let’s find out!
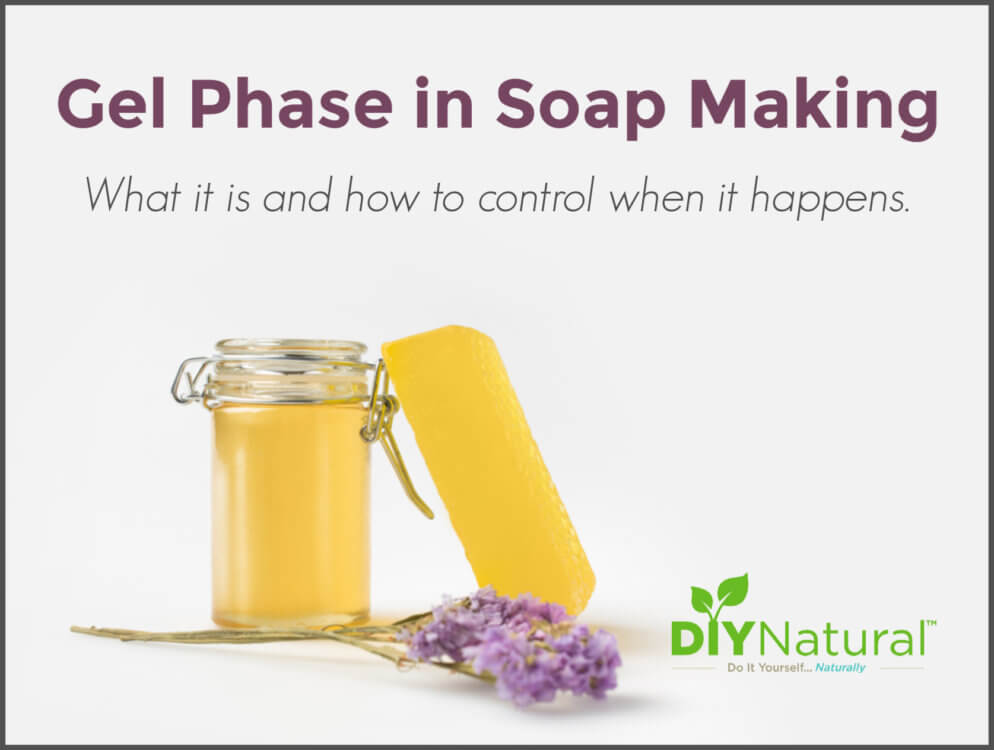
The Gel Phase in Soap Making
Gelling, or the gel phase in making soap, especially cold or hot process soap, is when the center of the bar or loaf turns hot and translucent. Sometimes this happens on its own, sometimes it doesn’t. Sometimes it’s just the center of the bar, sometimes it’s the whole thing. If you insulate your bars and they gel, a volcano effect could happen. While it looks cool, it can ruin a good soap. But-sometimes you want gelling to happen.
The Gel Phase Can Be a Good Thing
The gel phase in soap making can be beneficial in a few ways. One is to add translucency to the bar. Not only does it help avoid a chalky look, but it also helps add to durability to the bar. Soaps that have gel tend to last longer. Another way gelling is good is that it makes the colors darker. When you cut loaf soaps, sometimes a ring or circle may appear in the center where the gel happened, making the colors look distorted. After a while, it will all even out. One more benefit of gelling is that it adds to the pliability of your soap. You’ll need this if you ever want to bend your soap to make rimmed soaps. If you’ve never seen them before, check these out! Gelling will add the pliability you need.
The Gel Phase Can Also Be a Bad Thing
The gel phase in soap making can also be bad. The main reason is that when soap gels, it usually heats up-a lot! This can cause cracking and volcanos. Both can ruin the appearance of your soap, though if you leave it alone, it will still saponify normally. However, if you stir it, which was my first inclination, you’ll upset the balance and it becomes a lumpy mess. Gelling can also muddy the colors of some soaps, or totally destroy the colors of others. And if you want an opaque soap, gelling will turn it more translucent. It can also hinder the scent throw, a term commonly used in candles. This is the aroma that you get from the soap just sitting there.
How to Prevent Gelling
If you decide that you do not want the gel phase to occur when making soap there are a few ways to prevent it.
Use a Water Discount
Gelling seldom happens when you use less water. In a soap recipe, water can be discounted quite a bit to speed curing and help to get the soap out of the molds. Try 2-3 ounces less of water to see how it goes.
Use a Smaller Mold
Gelling frequently happens in larger molds. Smaller molds equal less heat. And heat can’t build up as much.
Mix at Lower Temperatures.
I teach my students to bring each unit (oils and lye) to 95-105°f, but you can go a bit lower than that to prevent the gel phase in soap making. I wouldn’t recommend going lower than 85°f. Saponification only happens at a certain temperature range.
Cool Your Soap
By putting the soap in the refrigerator to cool down, gelling won’t happen.
Watch Your Ingredients
Honey can heat soap up a lot, causing soap to volcano or gel. Sometimes both! Some colorants can cause gelling too, like titanium dioxide. Gelling with TD can cause glycerin rivers, which can be cool or not, depending on what you are trying to achieve.
Put Your Soap On a Rack
Sometimes soap can heat from the surface underneath it. If you pick it up off the counter, the counter can’t heat up.
Don’t Insulate Your Soap
While it’s true that soap needs to be kept warm the first few hours for saponification to happen, insulating in an already warm room can cause gelling.
Force Gelling With CPOP and Other Methods
If you want the gelling to happen there are a few different ways to make it more likely to happen.
Cold Process Oven Process (CPOP)
is one of the best ways to force your soap to gel. With CPOP you make your soap as you normally would, but instead of leaving on a counter to set, you place it in the oven for a time. Be sure you are using heatproof molds, like silicone. Heat your oven to 170-180°f, then turn it off. Place your soap on a cookie sheet and set in the oven. Leave for about 6-8 hours, or overnight. No peeking! When you peek, you let heat out. When you take your soap out, you may notice the gel, you may not, but it will have happened.
Increase Temperature
You can also do the opposite of what you would do to prevent gelling. Soaping at warmer temperatures, like 125°f, can help the gel phase. Be careful not to get your soap too hot, as very high temperatures can lead to crumbly bars of soap.
Use More Water
More water can help with gelling, although be aware that more water can lead to longer cure times and significant shrinkage. I made a pumpkin soap last year that looked great, but shrank like an old apple because of all of the moisture.
Insulate The Soap
Insulating your soap can help in gelling too. If it cracks or causes a volcano effect, don’t touch it! By leaving it alone, you are allowing the saponification process to take place as it normally would. Alternately, you can use a heating pad set on low to help the gel to form. Hot process soap made in the slow cooker heat so much that gelling is inevitable. Try the slow cooker method if you want gel no matter what!
Ingredients That Promote Gel Phase
Use different ingredients. Honey, as mentioned above, as well as titanium dioxide, can cause your soap to heat up, thus forcing a gel phase to happen.
Have you forced your soap to gel or tried to prevent gelling? Tell us how it went!
*******